


As a needlepoint beginner, the number and variety of needlepoint stitches available can be a little intimidating. It can be difficult to understand when to use a stitch, how to master a specific stitch, or even which needlepoint stitches to learn first.
However, the truth is: there are only a few basic needlepoint stitches that a beginner should learn to start needlepointing. In this guide, we’ll cover the basic stitches for beginners and how to use them for needlepoint. You will learn where to start on a needlepoint canvas.
Continental Tent Stitch
A variation of the Tent stitch, the Continental tent stitch is an easy stitch that looks extremely polished. To make the Continental stitch, you’ll create diagonal stitches along either vertical or horizontal rows. You’ll follow the same pattern as the tent stitch, bringing the needle up from behind the canvas and then down through the diagonally adjacent canvas square, but repeat the stitch down or across the row. The key to the continental stitch is to keep each stitch in the same diagonal direction.
Here's the diagram of this needlepoint stitch, followed by a video tutorial on how to do it:

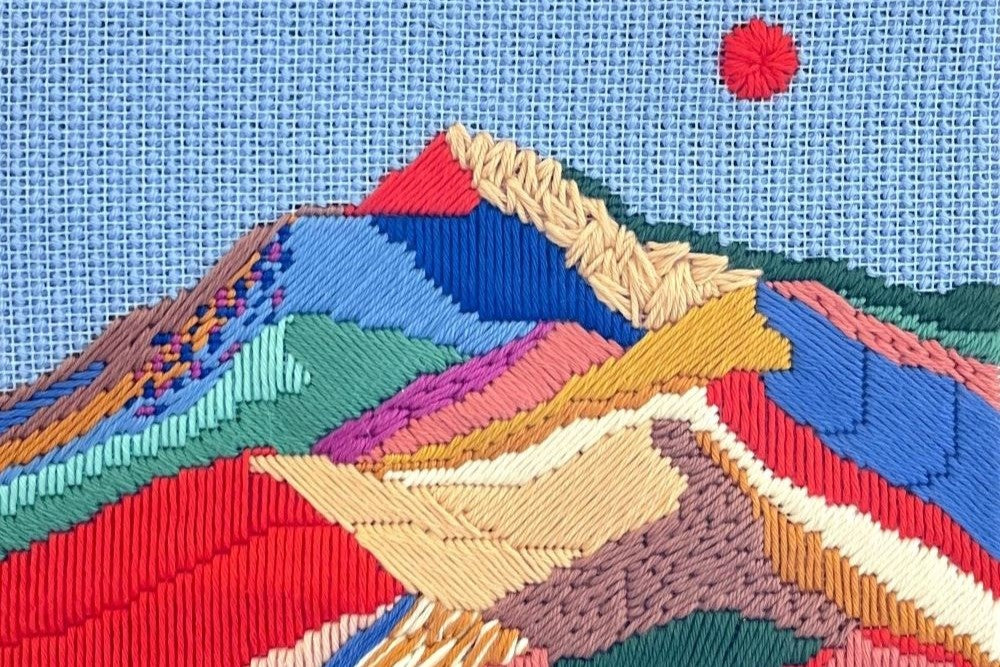
Skipped Tent Stitch
To create small, raised areas of color on your canvas, opt for the Skipped Tent stitch. For this basic stitch, you’ll utilize the Tent stitch technique to create a full row of stitches. However, between rows, one stitch is then skipped to build an open area between the sets of stitches.
A tip about the Skipped Tent stitch is that it needs to be worked on the diagonal, so that the skipped holes have thread passing by in the back of the canvas, creating a more pleasant-looking result.
This stitch is also great if you want to quickly fill in a big area, without feeling overwhelmed!
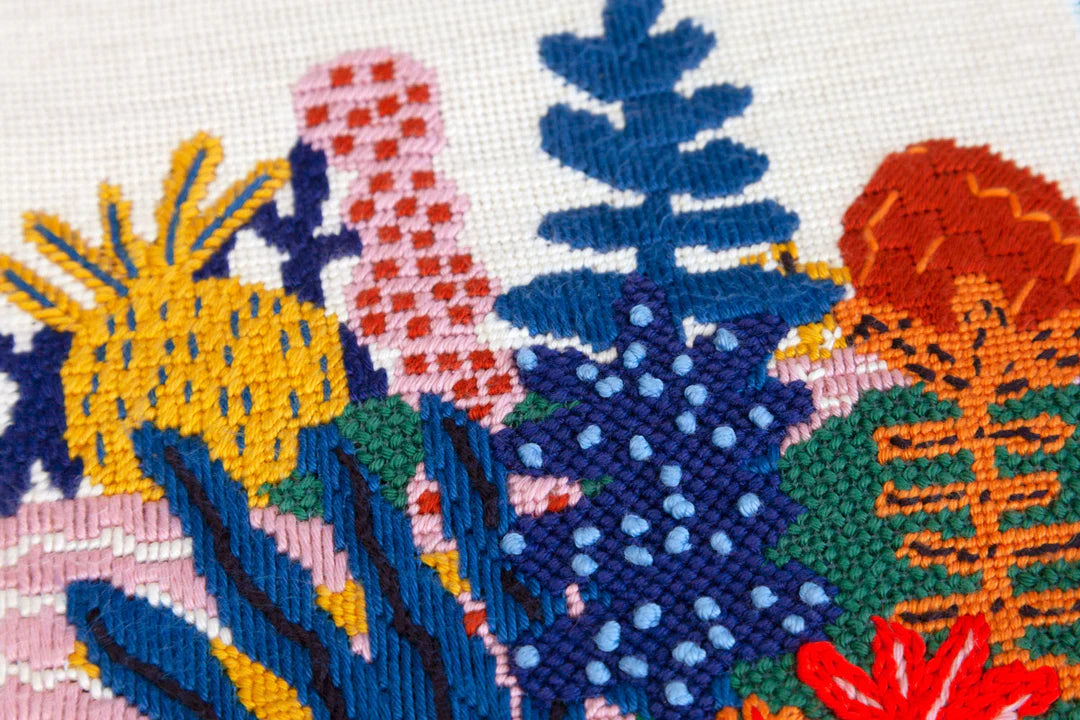
Here's the diagram of this needlepoint stitch, alongside some examples of its use in our needlepoint canvases:
The Sun Needlepoint Kit

Longstitch or Satin Stitch
For an amazing neat texture, or to add depth or visual interest to your needlepoint project, try using the Long Stitch (also known as Satin Stitch). This beginner-friendly stitch produces raised, straight lines, but can also produce slanted or angled lines depending on the variation. A regular Longstitch begins by bringing the needle up through the back of the canvas and straight down again through a vertically adjacent canvas square. For larger stitches, leave more canvas squares between needle movements. Continue to work the Longstitch in equal, vertical lines to complete a section.
Here's the diagram of this needlepoint stitch:

Here are some examples of the Longstitch/Satin Stitch:

Our Ghost Needlepoint Kit here is all done with Longstitch!

Scotch Stitch
The Scotch stitch is a wonderful first stitch to try if you’re new to needlepoint because it requires minimal effort, but still generates an elegant texture. When finished, the scotch stitch produces neat squares or columns when the stitch is repeated.
To complete a scotch stitch, you’ll create a small diagonal line stitch in the top corner of your square area. Then, working down the left-hand side of the stitches in diagonal lines, continue to fill in the square until finished.
This is also a great stitch for background areas!
Here's the diagram of this stitch, alongside an example of its use in our Smokies Needlepoint Kit:

Learn how to do our favorite variation of the Scotch Stitch with this video tutorial:
Brick Stitch
Small areas, straight lines, curved lines, or large backgrounds can all benefit from the Brick stitch. Named for the brick pattern it forms, the Brick stitch can be used either vertically or horizontally.
For the Brick stitch, you’ll simply stitch one straight stitch that covers at least three canvas squares. Then, begin the second stitch in the middle canvas square of the first stitch and create another straight line that’s parallel to the first. The third stitch should then be even with the first, while the fourth stitch is even with the second. Repeat this process until a beautiful brick pattern appears.
This is also a great stitch for background areas!
Here are some stitched examples of the Brick stitch:
Needlepoint Double Brick Stitch

Travel Van Needlepoint Stitch Guide
Needlepoint Horizontal Brick Stitch

Mountain Spring Needlepoint Stitch Guide
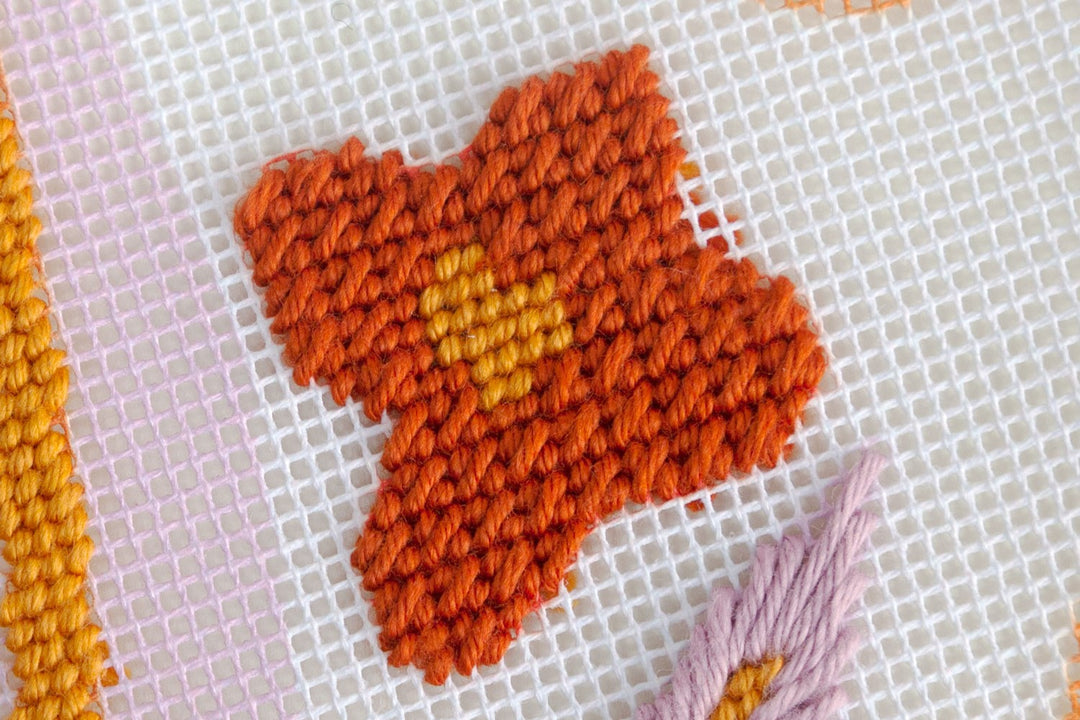
Mosaic Stitch
The mosaic stitch helps any needlepoint beginner build incredible patterns. Similar to the scotch stitch, the mosaic stitch is worked in diagonal stitches to make small, square patterns. A small stitch is first made at the top across one canvas intersection. Next, a larger diagonal stitch is made parallel to the first and covers two canvas intersections. Finally, a third stitch the size of the first is made on the other side of the second stitch. This square sequence is repeated across a vertical or horizontal row.
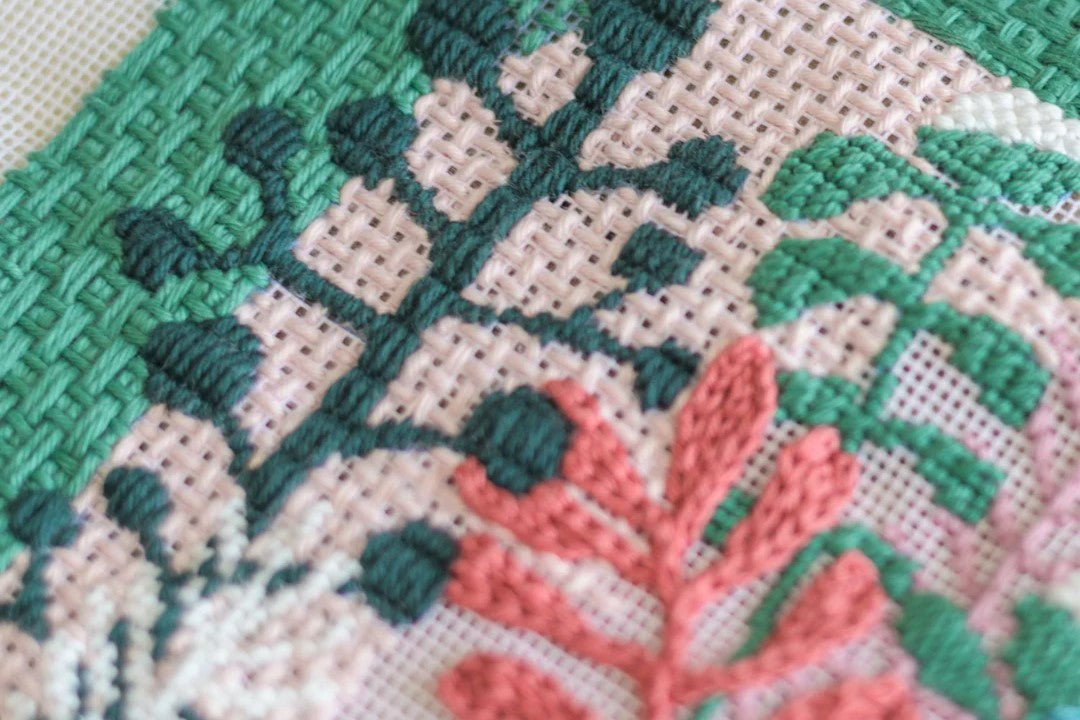
Here’s the diagram of the needlepoint Mosaic stitch alongside two examples of this stitch being used in our Garden of Joy Needlepoint Kit & Crocodile Needlepoint Kit:
Needlepoint Mosaic stitch (variation):
Needlepoint Mosaic stitch:

Check out our Stitch Guides for inspiration on how to use the mosaic stitch: Breath, Crocodile, Garden of Joy, Pink Ice Protea & Bellflower!
Anyone Can Learn Needlepoint!
Needlepoint is so often seen as a complicated craft that’s difficult to learn, but this couldn’t be farther from the truth. Regardless of age, skill, or experience, anyone can learn to needlepoint with just a little time and patience.
If you’ve been curious about learning needlepoint, but aren’t quite convinced it’s the right hobby for you, consider these benefits to needlepoint:
-
Portable
Needlepoint can be done just about anywhere. Since needlepoint doesn’t need any large equipment or a large amount of space, you can easily pack up a needlepoint project and stitch it from any location. You can needlepoint outside, on a plane or road trip, or simply from the comfort of your couch. Our portable packaging tube was specially designed to facilitate the transportation of needlepoint projects wherever you go.

-
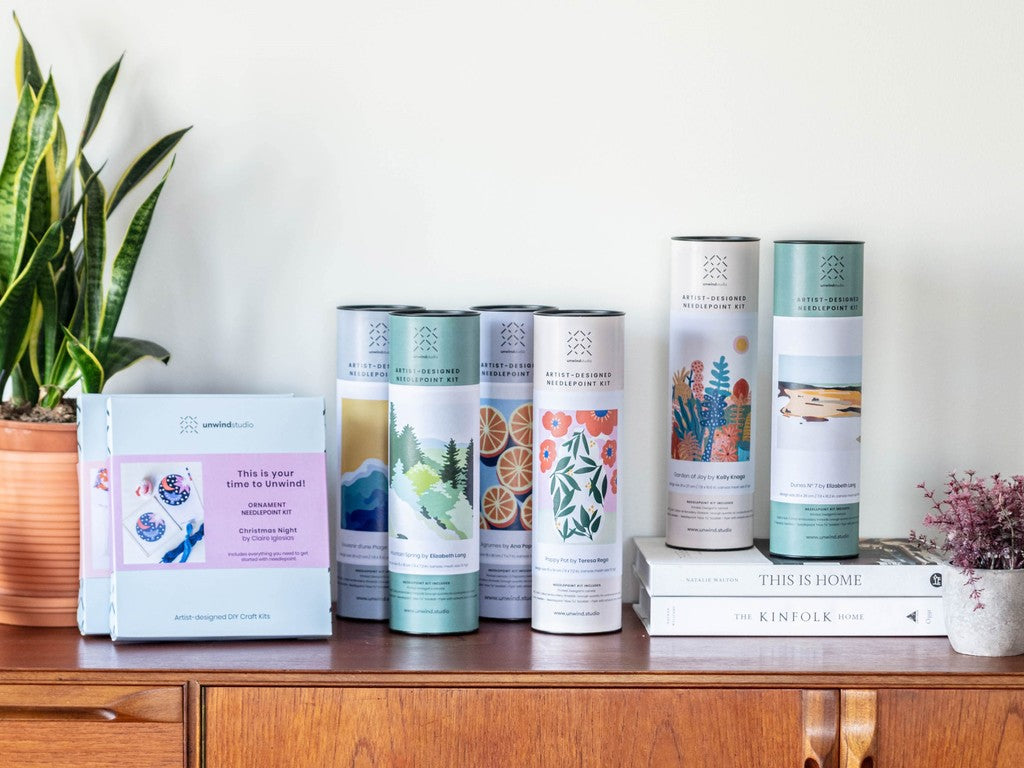
Inexpensive
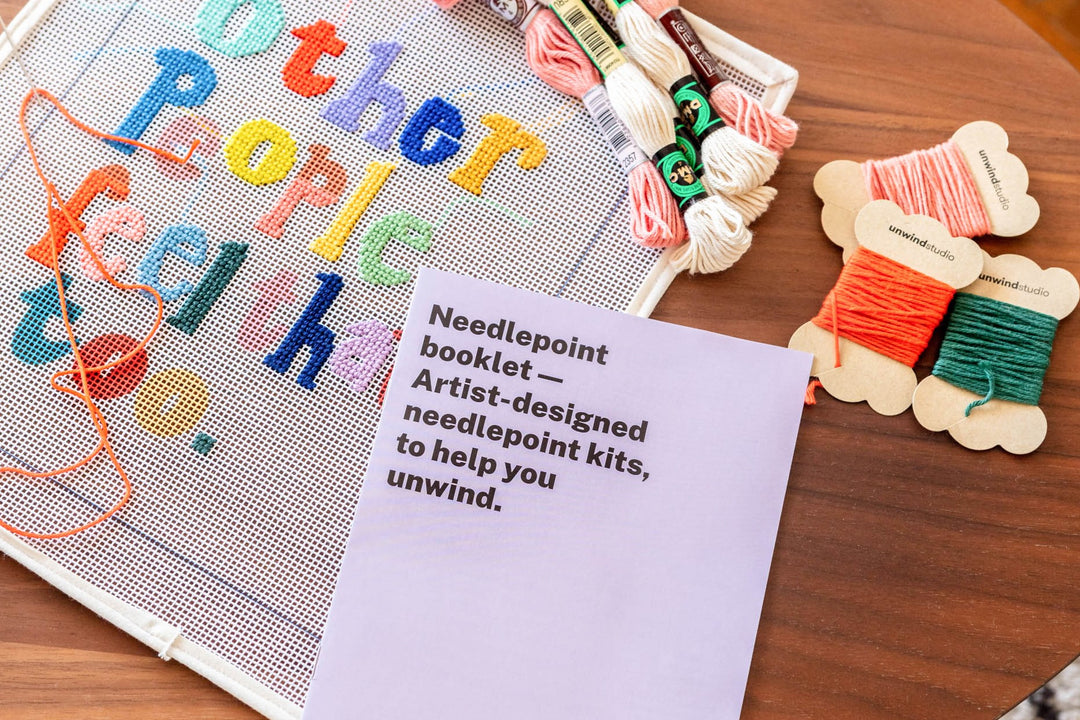
As a whole, craft hobbies can normally be incredibly expensive. However, needlepoint is the surprisingly affordable exception if you opt for printed canvases. Needlepoint requires only a few supplies (blunt tapestry needles and embroidery scissors) and threads: DMC stranded cotton is a great option if you’re looking for low-budget fibers.
Plus, the overall size of needlepoint crafts is fairly small, meaning you’ll only need small quantities of each supply, helping to minimize the overall cost. Check out our selection of small needlepoint kits.
-
Popular
Needlepoint has grown in popularity in the last few years, which is a great thing for anyone looking to learn needlepoint. Due to its popularity, there are tons of educational resources available across the internet to help you learn any stitch or technique you like.
In our website you will find a lot of content to help you start your journey, such as our Stitch Guides for inspiration, Video Tutorials, Finishing Tutorials and Blogposts that tell you all about the needlepoint craft!
By using the right basic stitches, learning how to needlepoint is easy and fun. With these beginner needlepoint stitches, and a little time and patience, you’ll be able to master needlepoint in no time. If you’re learning how to needlepoint, check out our needlepoint kits for beginners to help you get started.
Happy stitching!