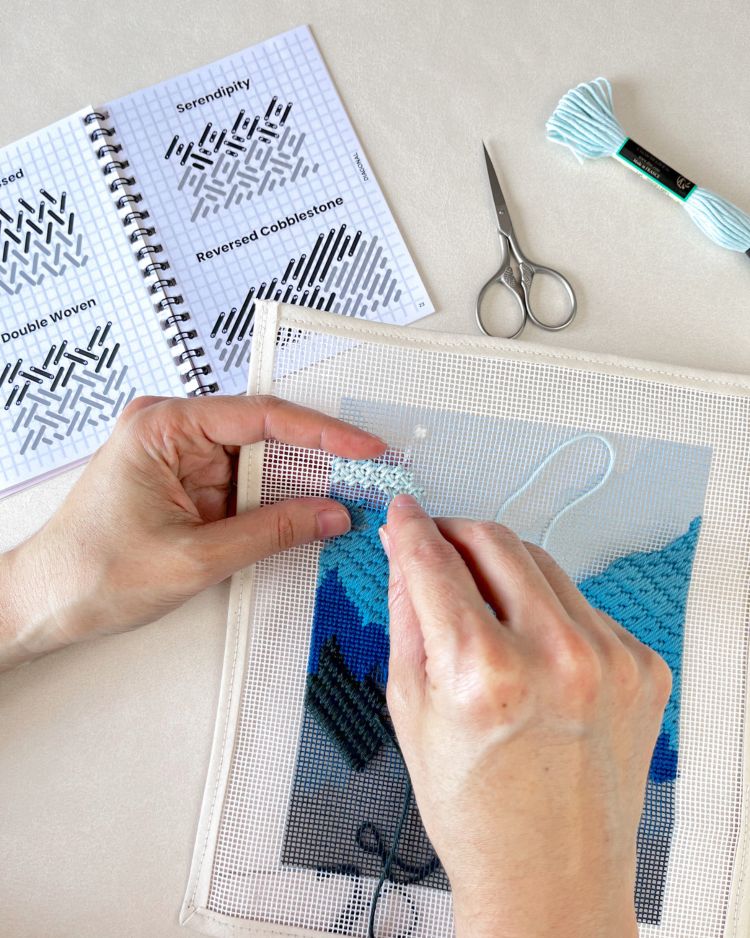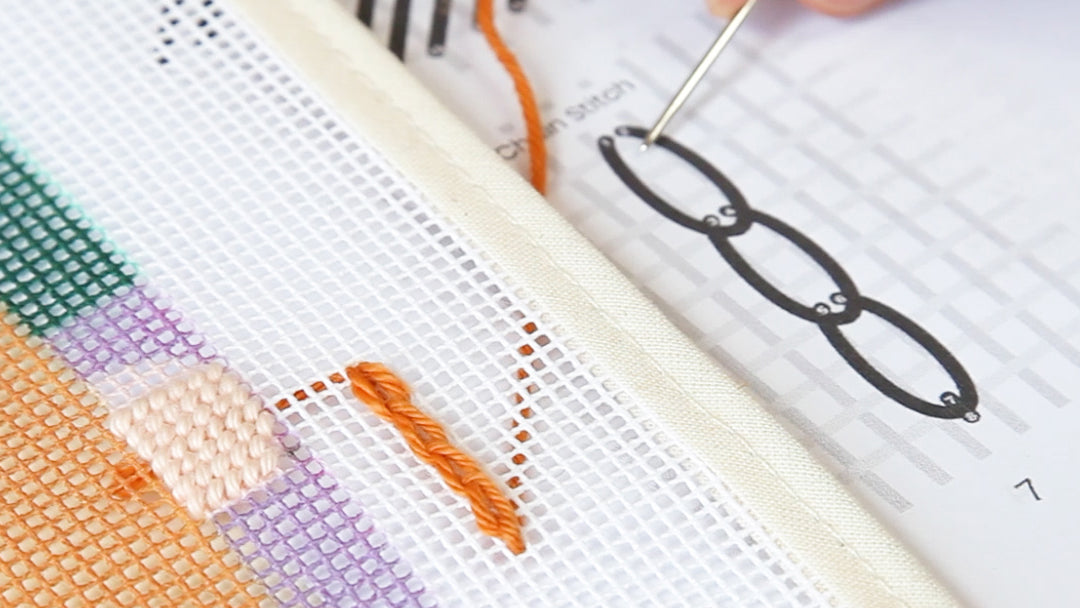


The Wi(e)nner Christmas Needlepoint Bookmark Kit Stitch Guide
Best for: Compact, quick-finish projects, detailed textures, and durable flat coverage.
Difficulty: Beginner to Confident Beginner
Technique: Tent Stitch, French Knot, Diagonal Brick/Staggered Stitch, Backstitch and Binding Stitch
Learn how to stitch thin, durable bookmarks that fit smoothly between book pages! This guide highlights tight, flat stitches that maintain structure while adding crisp detail to literary motifs.
In this blog post, we will show you the stitch guide for our The Wi(e)nner Christmas needlepoint bookmark kit.
The Wi(e)nner Christmas Stitch Guide

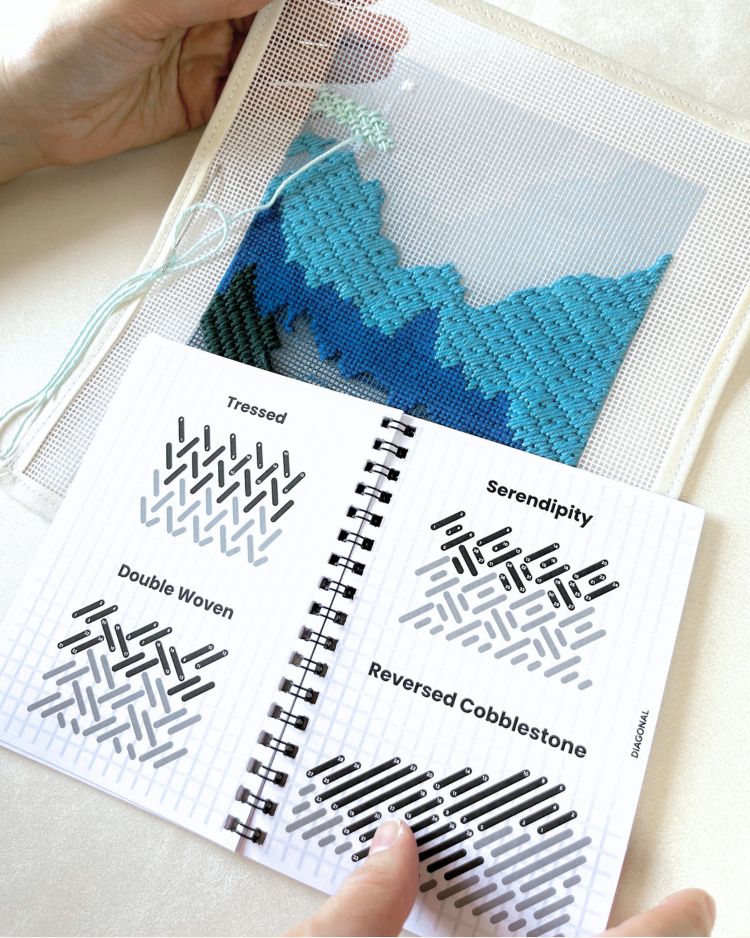
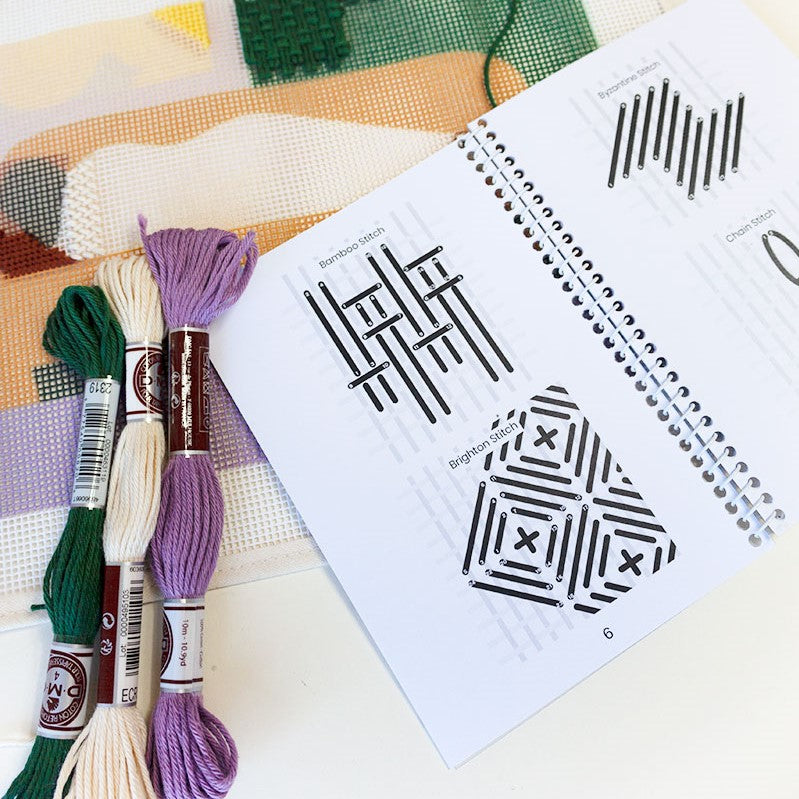
Needlepoint Stitches Used:
1. French Knots
2. Tent Stitch
3. Diagonal Brick/Staggered Stitch
4. Backstitch
5. Binding Stitch
How to Stitch this Canvas:
Before you begin, here’s the stitching order we recommend to achieve the same look as our sample:
-
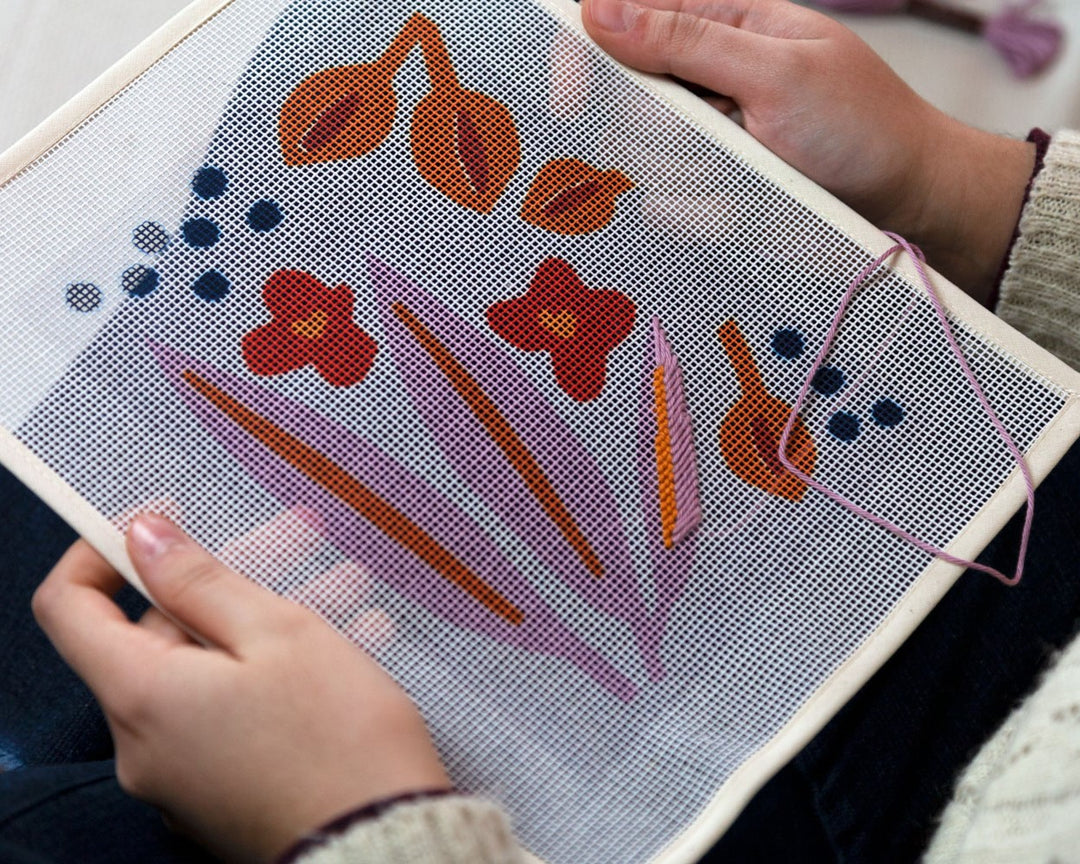
Start with the French knots. They’re much easier to work on an empty canvas, and this ensures you won’t miss any holes once the rest is stitched!
-
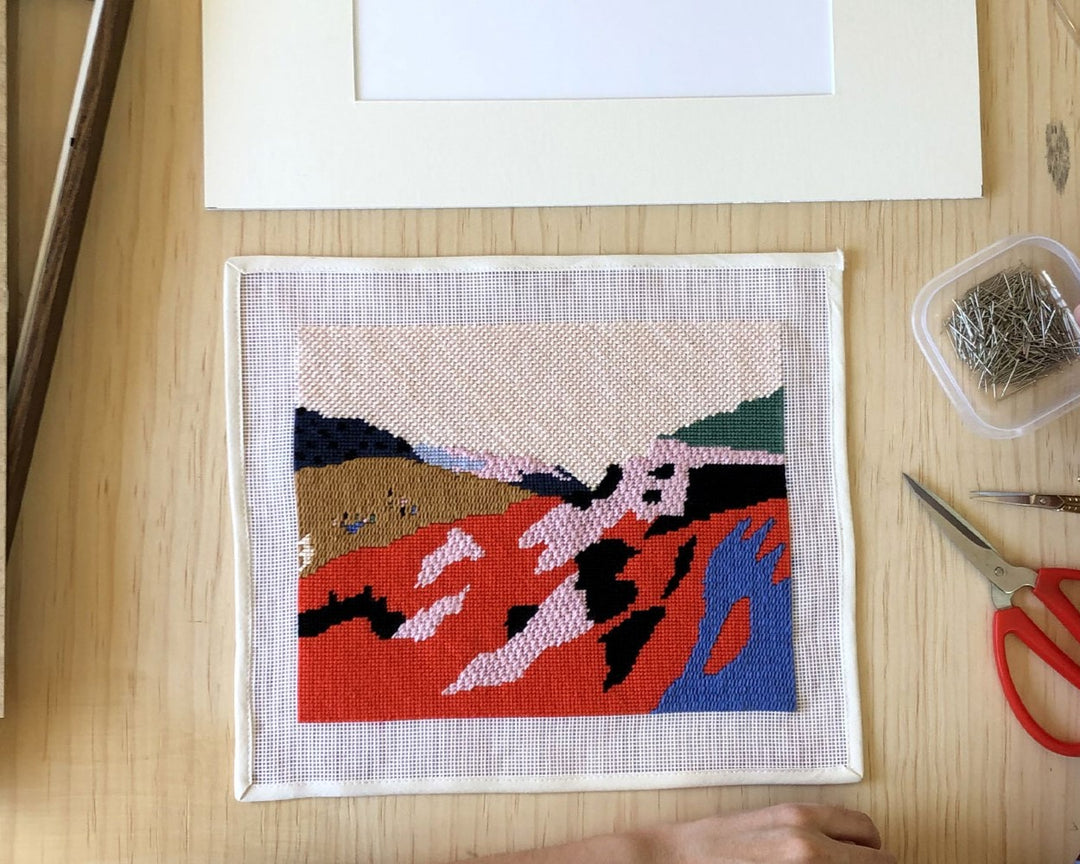
Stitch the design and background. Work these areas as usual, filling in all the canvas around the French knots.
-
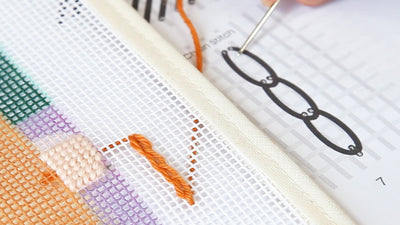
Add the backstitch “cord.” Follow the printed guide or a reference photo to connect all the light bulbs smoothly.
-
Finish with the binding stitch. This gives your bookmark a clean, polished edge so you can easily finish it and use it every day :)