

Stitching with needlepoint charts is one of the most affordable, accessible, and rapidly growing ways to enjoy needlepoint. While many stitchers love counting directly onto a blank canvas as they go, we know that plenty of you prefer the ease of a pre-painted canvas.
The good news? You can easily paint your own canvas using a needlepoint chart!
Painting your canvas beforehand completely eliminates the counting process while you stitch, leaving you with a relaxing, plug-and-play project. Below is our foolproof, step-by-step guide to translating a needlepoint chart onto a blank canvas using paint.
Quick Summary: Canvas Painting Basics
The Golden Rule: Paint canvas intersections, not the holes.
Best Tool: Acrylic paint, or acrylic pens if you're a beginner and are looking for a easier, quicker way to paint.
Mistake Fixer: Made a mistake? Don't panic. Simply use white acrylic paint as an eraser to cover it up and try again.
Learn more about Needlepoint Charts:
⮕ How to read a Needlepoint Chart Pattern / How to stitch with Blank Canvas Project
⮕ Affordable Needlepoint with Counted Charts: How to Start Without Breaking the Bank
Video Tutorial - How to Paint a Needlepoint Canvas
Gather Your Materials
Before you begin, set up a comfortable workspace and gather these essential supplies:
-
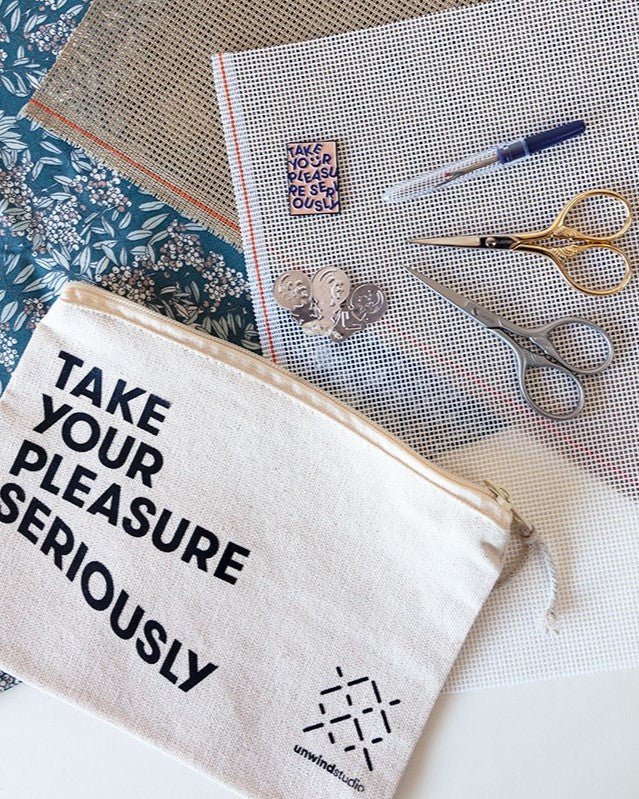
Your Needlepoint Chart & Blank Canvas: (If you grab a complete Counted Kit from Unwind Studio, it includes the blank canvas, the design chart, and the respective threads).
-
Acrylic Paints or Acrylic Paint Pens: Choose colors that match your chart's color palette.
-
Paintbrushes: A tiny, fine-tipped brush for small details and a larger, flat brush for filling in big color blocks.
-
Surface Protection: A piece of thick paper or cardboard to place behind your canvas to prevent bleed-through.
-
A Ruler & Marker/Pencil: For finding and marking your starting point.
The Golden Rule: Intersections vs. Holes
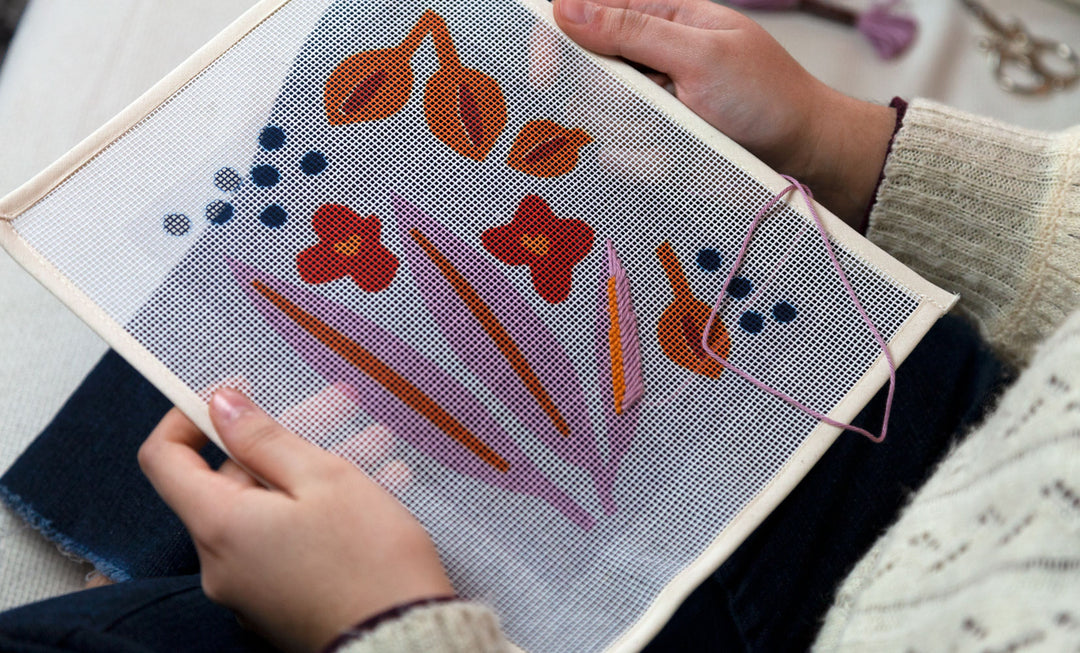
Before touching paint to canvas, there is one crucial concept to understand: The squares on your chart grid do NOT represent the square holes in the canvas. They represent the mesh intersections.

When painting, do not paint inside or around the holes. Instead, paint directly over the vertical and horizontal thread intersections. This ensures that when you go to stitch later, you know exactly where each stitch should go.
Step-by-Step: How to Paint Your Canvas
Step 1: Find the Center Point
To ensure your design is perfectly centered with comfortable stitching margins, you need to find the middle of both your chart and your canvas. Your chart will have two red lines that converge at the exact center. To find the center of your canvas, use one of these two methods:
-
The Fold Method: Fold your canvas diagonally from both sides. The point where the folds meet in the exact middle is your center.
-
The Ruler Method: Use a ruler to trace light, diagonal pencil lines from corner to corner. The point where the lines cross is your center. Mark it with a tiny dot.
Step 2: Understand the Grid & Count Your Way In
Needlepoint charts are typically divided into thick grid lines every 10 squares to make counting effortless. Find a distinct color block near the center of your chart, count how many squares it sits from the center line, and repeat that exact count on your canvas starting from your center dot.
Step 3: Outline the Design Shapes First
Dip your fine paintbrush (or grab your acrylic paint pen) and paint your very first intersection. From there, follow the pattern on the chart to count left, right, up, or down to outline the outer border of that specific color block.
Stitcher Pro-Tip: Keep a pen nearby. Every time you paint a section on your canvas, cross it off on your printed chart paper. This ensures you never lose your place in the counting game!
Step 4: Fill In the Large Color Blocks
Once you have mapped out the boundaries of a specific color with your fine lines, switch to a larger, flat paintbrush. Now you can freely and quickly paint inside the lines to fill the entire shape.
Step 5: Clean and Repeat
When switching to a new color, always thoroughly wash and dry your paintbrush to avoid unwanted muddy color mixtures on your canvas. If you are using acrylic pens, remember to shake them well and gently press the tip onto a scrap piece of paper to prime the paint flow before touching your canvas.
How to Fix Mistakes (Because We All Make Them!)
If you miscount and paint the wrong intersection, do not worry. Even the pros miscount sometimes!
Because you are using opaque acrylic paint, mistakes are incredibly easy to fix. Simply let the wrong color dry, grab some white acrylic paint, and paint right over the mistake like a bottle of correction fluid. Once the white paint dries, you have a fresh blank canvas to try again. (You can also use this trick at the very end to erase your initial center pencil mark!)
Painting your own canvas is a wonderfully therapeutic, relaxing craft in its own right. Give it a try, skip the mid-stitch counting, and enjoy the pure flow-state of needlepoint!
Happy Stitching!!