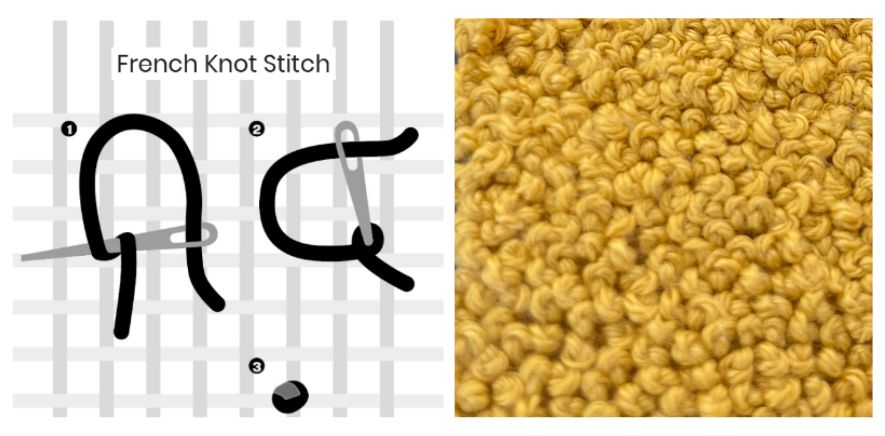
French Knot Stitch
The French knot is a small, raised knot made by wrapping the thread around the needle once or twice and stitching it down next to where it came up. In needlepoint it adds dots of texture: flower centres, berries, eyes, snow, or a whole textured area when worked close together. It can feel tricky at first, but once you know how to hold the thread it becomes quick and easy.
Stitch Details
- Stitch Structure: Knotted, Raised
- Recommended for: Small areas, Flowers, Animals
- Skill level: Intermediate
How to Do a French Knot: Instructions & Diagram
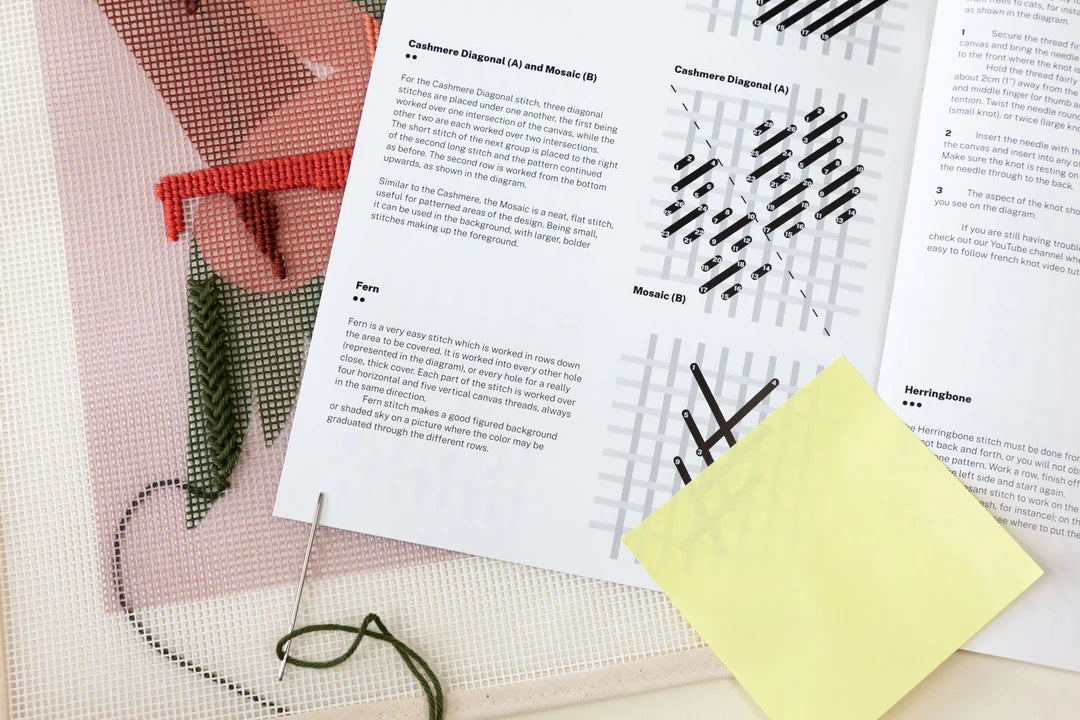
You can see the diagram of this stitch below, and a video tutorial further down.
- Secure the thread firmly on the back of the canvas and bring the needle all the way through to the front where you want the knot.
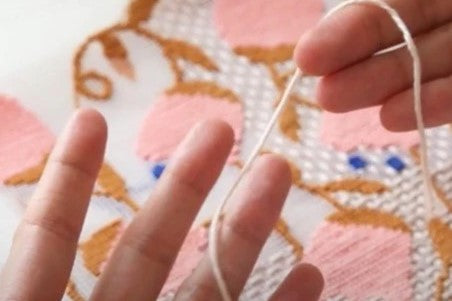
- With your non-stitching hand, hold the thread taut about 2 cm (1") from the canvas, between your thumb and index finger (or index and middle finger).
- Lay the needle against the taut thread and wrap the thread around the needle once for a small knot, or twice for a larger knot.
- Keeping the thread taut, turn the needle point back down towards the canvas and insert it into a hole right next to where it came up, not the same hole, or the knot will pull through.
- Slide the wraps down the needle so they sit on the canvas, then pull the needle gently through to the back while still holding the thread. Let go only at the very end.
French Knot Stitch Video Tutorial
Tips for Perfect French Knots
- Tension is everything. Keep the working thread taut while the needle goes back through. A loose thread gives a floppy loop instead of a neat knot.
- Change the size with thread, not wraps. More than two wraps makes knots that topple over. For a bigger knot, use more strands or a thicker thread instead.
- Never use the same hole. Going down in the hole you came up through pulls the knot to the back of the canvas.
- Stitch knots last. Work French knots after the surrounding area is stitched, so they sit on top and don't get flattened.
- Use a laying tool or your finger to guide the wraps down the needle, so they stay neat and even.
Common French Knot Problems
- The knot disappears to the back: you went down in the same hole. Use an adjacent hole.
- The knot is loose or loopy: the thread wasn't held taut while pulling through.
- The thread tangles into a messy ball: the wraps were too tight on the needle. Wrap firmly but let the needle slide through easily.
When to Use French Knots
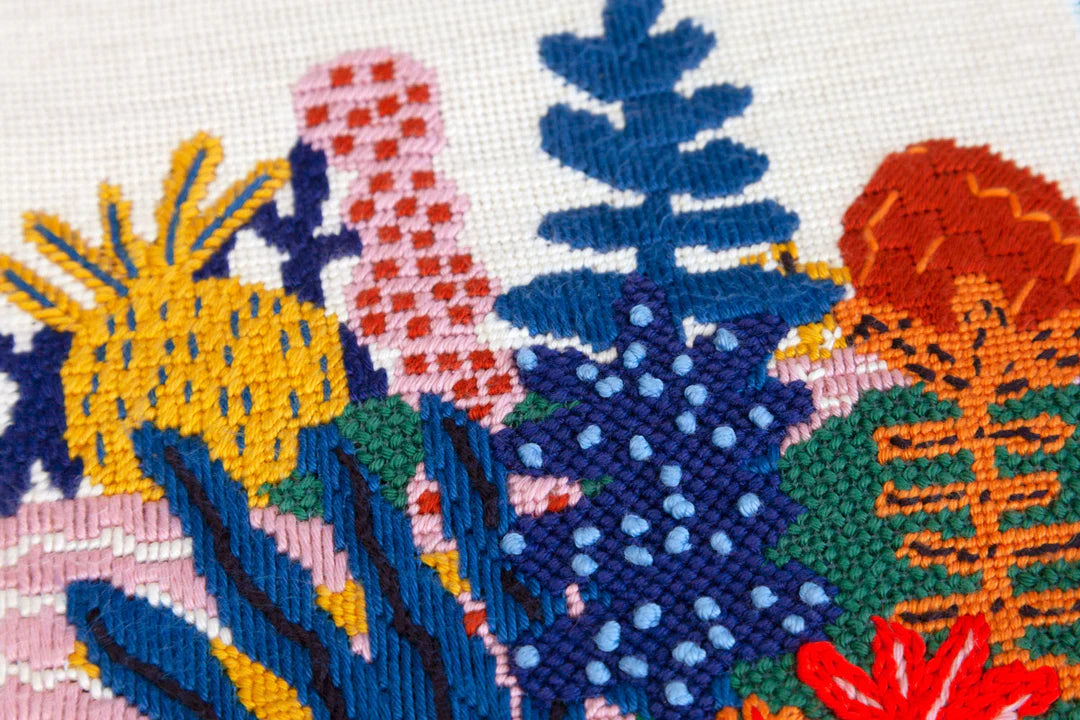
Use them as single accents (flower centres, eyes, buttons, stars), scattered for snow or pollen, or packed tightly together to fill a shape with a rich, nubby texture, from tree tops to a sheep's fleece.
French Knot FAQ
How many times should I wrap the thread for a French knot?
Once for a small knot, twice for a larger one. More wraps tend to make the knot unstable, so change the thread thickness instead.
Why does my French knot pull through the canvas?
Usually because the needle went down in the same hole it came up from. Go down in a neighbouring hole so the knot has something to sit on.
Are French knots hard for beginners?
They take a little practice, mostly to get the tension right. Try a few on the edge of your canvas first, and they'll quickly become second nature.
Stitch Guides where French Knot Stitch is used
See it in action in these needlepoint kit stitch guides:
- Summer Day Needlepoint Kit - Stitch Guide · Shop the kit
- Blue River Needlepoint Kit - Stitch Guide · Shop the kit
- Nutcracker in the Snow Needlepoint Kit Stitch Guide · Shop the kit
- Nutcracker in a Snow Globe Needlepoint Kit Stitch Guide · Shop the kit
- Ballerina in the Snow Needlepoint Kit Stitch Guide · Shop the kit
- Floral Snake Needlepoint Kit Stitch Guide · Shop the kit
Browse all our needlepoint kit stitch guides for more ideas.
Happy stitching :)