Comment faire de la broderie au point de croix
Bienvenue ! C'est votre point de départ.
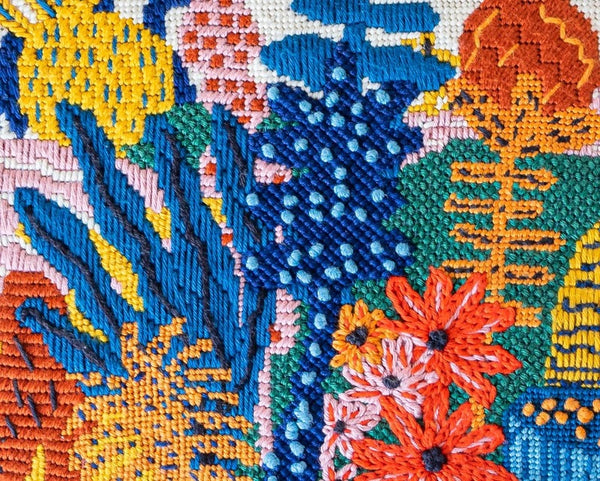
La broderie au point de croix est simple, apaisante et amusante ! Grâce à nos étapes faciles et à notre tutoriel vidéo , vous broderez avec assurance en un rien de temps.
Jump to:

Broderie 101 : Tutoriel vidéo
Apprendre la broderie au point de croix : guide étape par étape
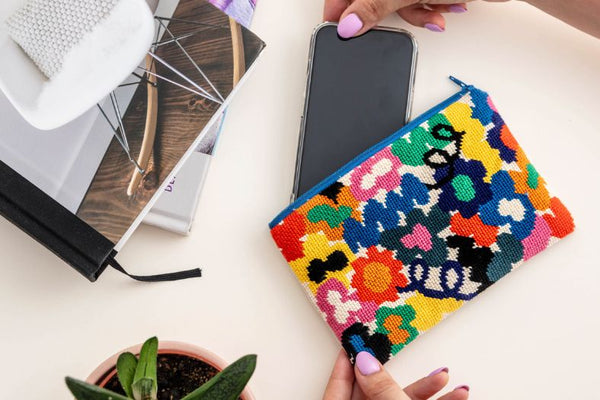
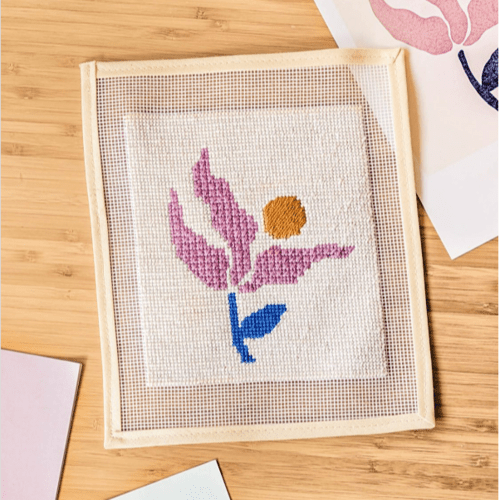
Choisissez votre projet
Si vous débutez, commencez par de petits motifs, une faible densité de points (10 à 13 trous par pouce) et des palettes de couleurs simples. Consultez notre guide complet ici :
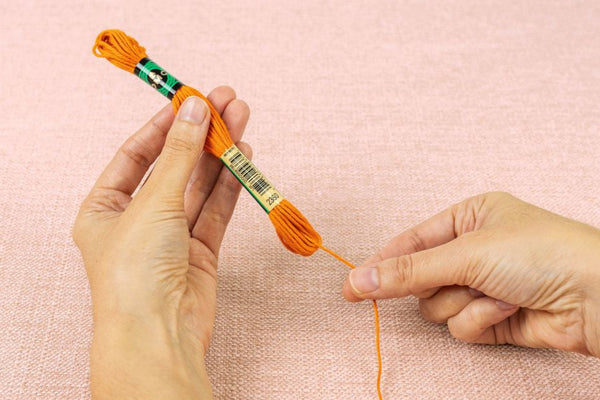
Manipulez votre écheveau
Tirez toujours le fil du côté où se trouve la longue étiquette , afin d'éviter les nœuds sur votre écheveau.
Manipulez votre écheveau
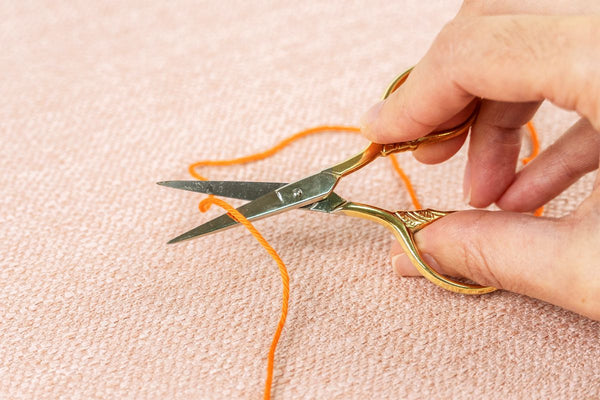
Commencez par couper un morceau de fil d'une longueur maximale de 50 cm (20'') : environ la distance entre le bout de vos doigts et votre aisselle.
Si vous utilisez des fils de coton DMC, ne les séparez pas en brins et utilisez le fil entier pour broder.
Enfilez votre aiguille
Apprenez 3 façons simples d'enfiler votre aiguille et choisissez celle qui vous convient le mieux !
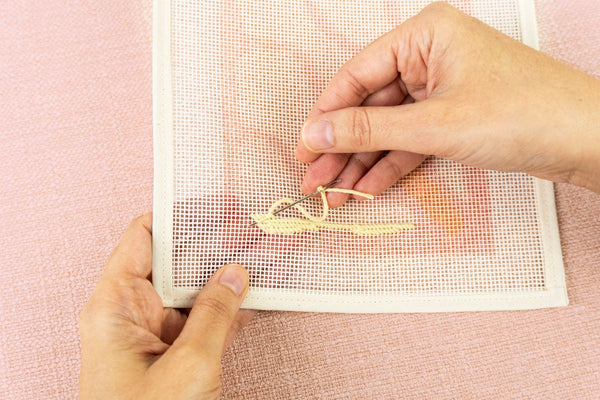
Début de la couture : Méthode du nœud de rebut
Un nœud de rebut se trouve sur la toile et sert à ancrer votre fil lorsque vous commencez vos premiers points.
Au fur et à mesure, vous coudrez par-dessus le « bout » du nœud de rebut (le fil à l'arrière de la toile) pour fixer le fil dans la toile.
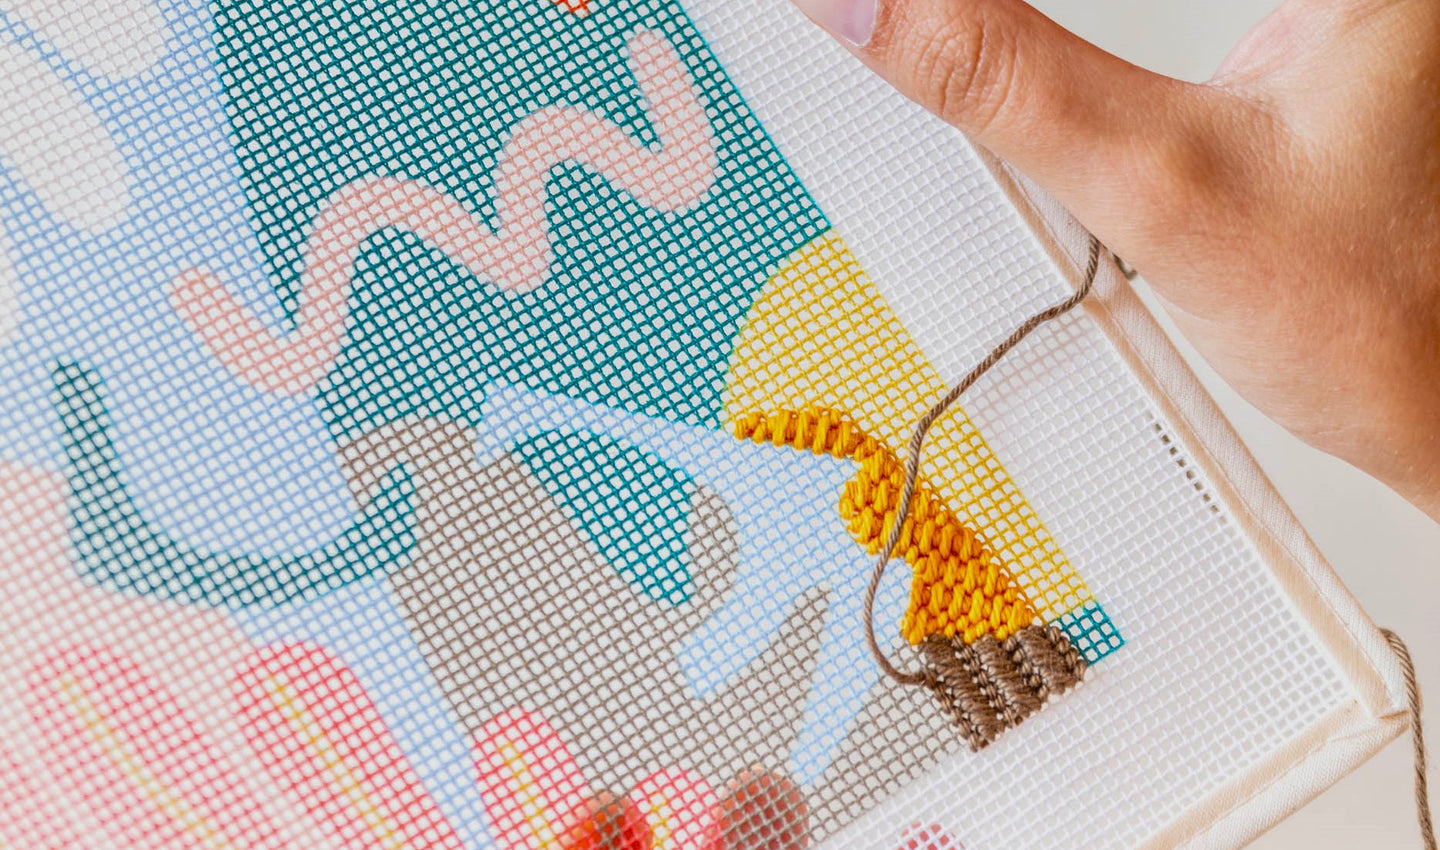
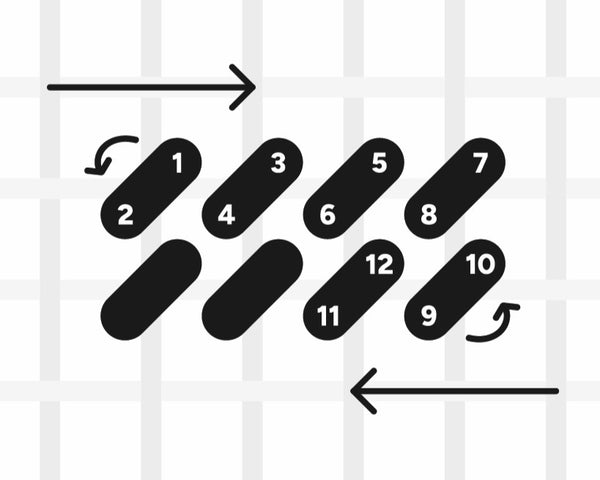
Apprendre le point de tente continental
Remontez l'aiguille depuis le haut d'une intersection de toile (point 1), puis descendez dans le bas de l'intersection précédente à gauche (point 2).
Cela créera une série de points diagonaux, tous inclinés dans la même direction.
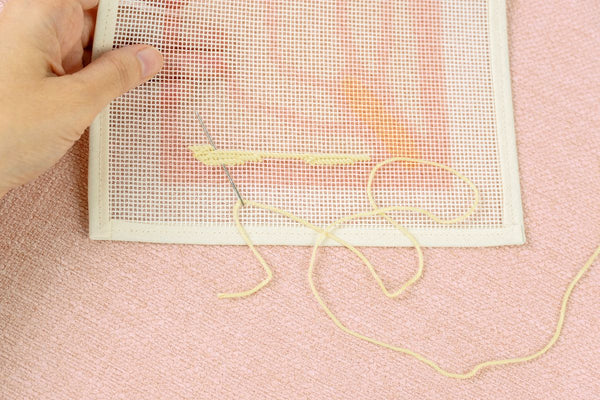
Terminer un morceau de fil
Arrêtez de broder lorsqu'il reste environ 8 cm de fil. Au dos de la toile, passez l'aiguille sous les derniers points réalisés sur environ 5 cm, puis coupez le fil.
Démarrer un nouveau fil de discussion
Une fois votre canevas partiellement brodé, le nœud d'arrêt n'est plus nécessaire. Commencez un nouveau fil en le glissant sous quatre ou cinq points déjà réalisés, de la même manière que pour terminer un fil.
Recommandations : Par où commencer la couture
Cousez les petits détails avant les grandes zones pour conserver des formes nettes .
Commencez par les couleurs les plus claires (sauf si votre fond est clair – auquel cas, gardez-le pour la fin) afin d’éviter les ombres portées par les fils .
Travaillez l'arrière-plan en dernier, si le design le permet, afin de réduire la distorsion de la toile .
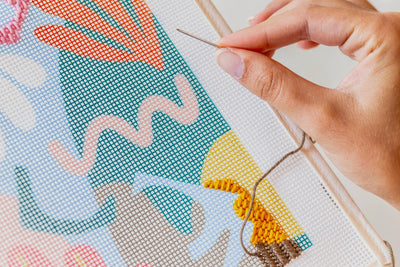
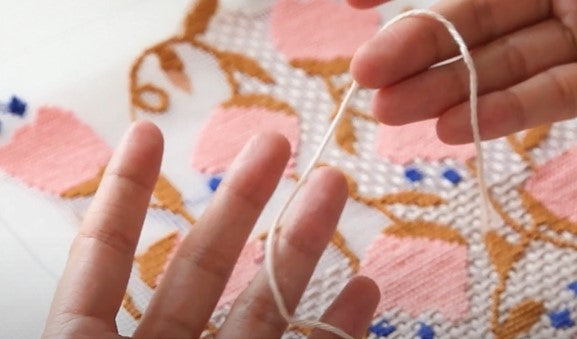
Conseils de couture
Pour éviter les nœuds : laissez pendre votre aiguille de temps en temps pour démêler le fil.
Veillez à votre tension : vos points doivent être réguliers : ni trop lâches, ni trop serrés.
Lisez tous nos conseils pour une couture parfaite :
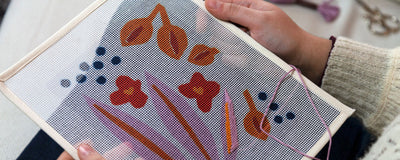
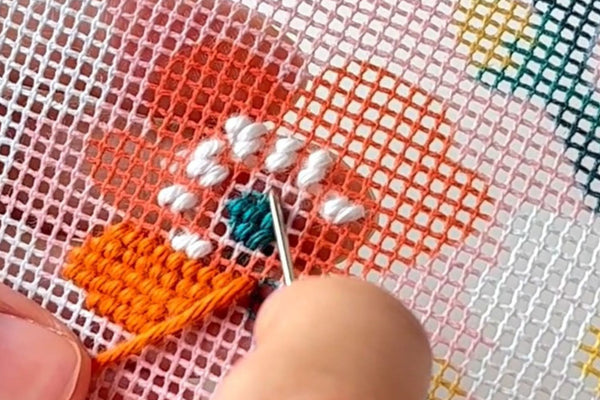
Points décoratifs de broderie
Explorez les points décoratifs de broderie comme les nœuds français, le point mosaïque et les variantes du point de tente pour ajouter de la texture et un intérêt visuel à votre ouvrage.
Accédez ci-dessous à notre bibliothèque Stitch complète :
Finaliser votre projet
Terminer votre broderie n'a rien de compliqué ! Notre guide DIY étape par étape, rempli de tutoriels, vous donnera l'assurance nécessaire pour mener à bien votre projet.
Commencez ici :