Cashmere Stitch
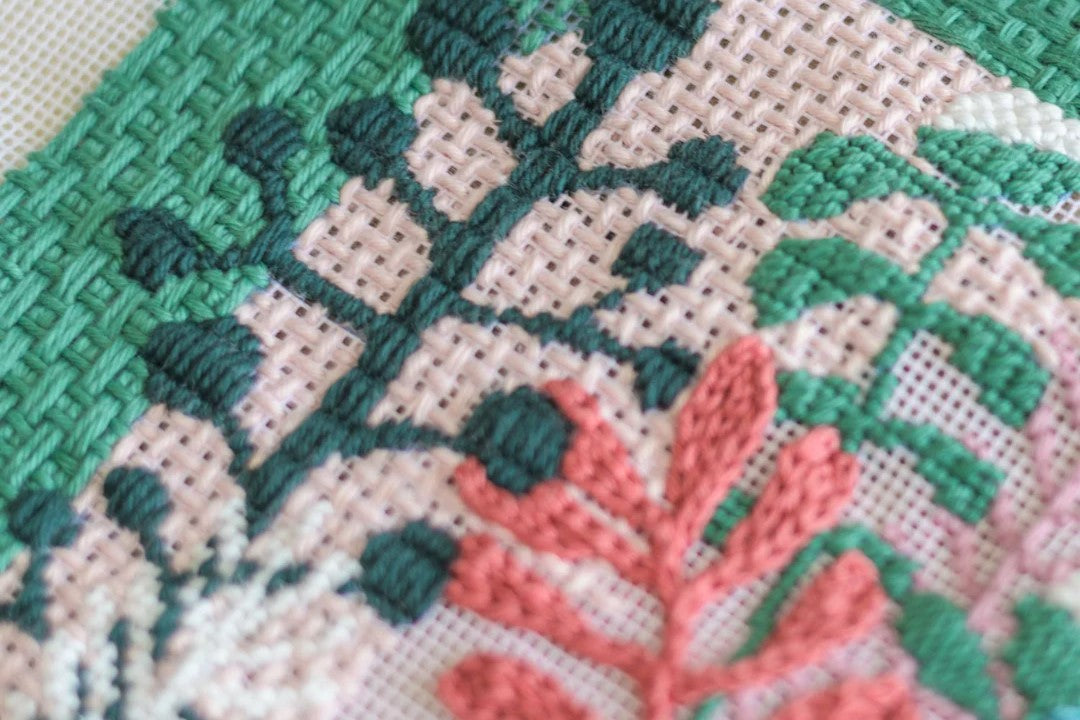
The Cashmere stitch is a small rectangular needlepoint stitch made of four diagonal stitches: one short, two long and one short. Each unit is a little rectangle, taller than it is wide, and repeated rows of them create a dense, woven texture reminiscent of a cashmere knit. It is a close relative of the Mosaic stitch, just stretched into a rectangle.
Stitch Details
- Stitch Structure: Flat, Parallel, Diagonal, Condensed
- Related Stitches: Mosaic Stitch, Scotch Stitch
- Recommended for: Small areas, Large areas, Backgrounds, Flowers
- Skill level: Beginner
Cashmere Stitch Instructions & Diagram
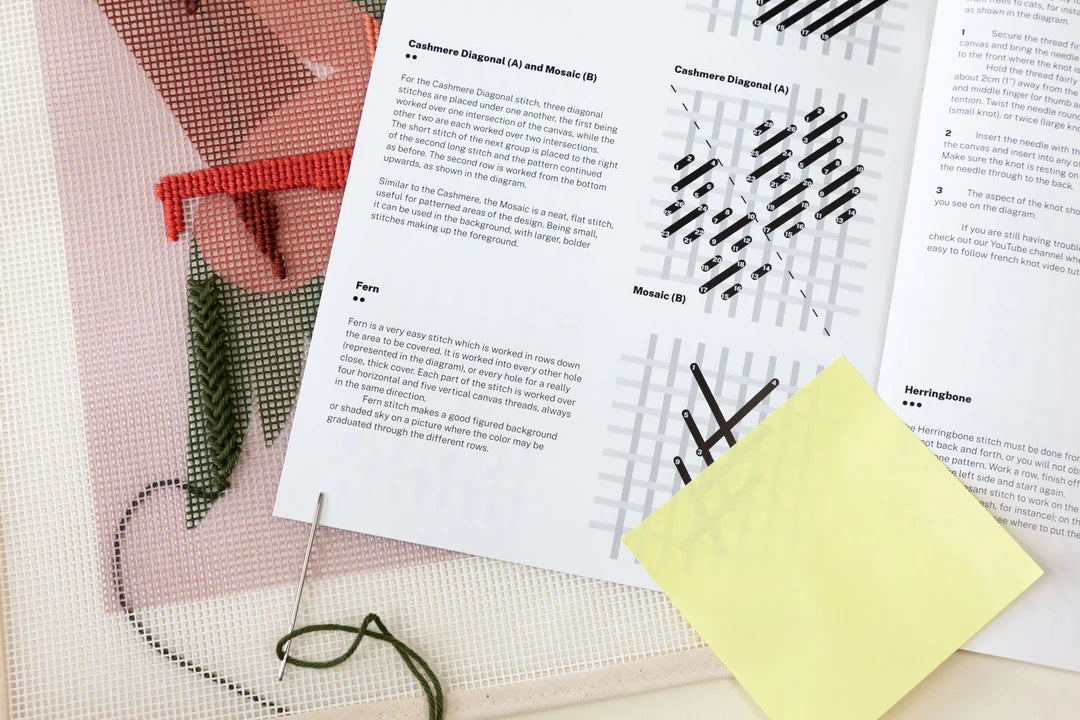
You can see the diagram of this stitch below.
- Secure your thread on the back of the canvas with a small knot, and bring the needle up from the back to the front.
- Go diagonally to the next canvas intersection, forming a short diagonal stitch, and take the needle down to the back.
- Bring the needle up in the canvas hole immediately below the start of the first stitch.
- Go diagonally across the canvas again, this time over two intersections, forming a long diagonal stitch. Take the needle down to the back.
- Repeat the last two steps one canvas row lower, to make a second long stitch.
- Move down two canvas threads and one to the left.
- Bring the needle up and go diagonally to the next intersection, forming the final short stitch. This completes one cashmere rectangle.
- To start the next unit, bring the needle up in the hole immediately below stitch 5 and go diagonally up to the right over one intersection, so that stitches 10 and 7 share the same hole.
- Repeat as many times as necessary.

Tips for a Perfect Cashmere Stitch
- Keep the order: short, long, long, short. Every rectangle should follow the same sequence, so the rows line up into a neat woven texture.
- Watch the direction. All the stitches slant the same way. Working them consistently keeps the pattern even across large areas.
- Expect some canvas pull. The long diagonals can slightly distort the canvas on big areas. Keep your tension relaxed, and block your canvas when you finish.
- Use it to suggest knitted fabric. Cashmere is perfect for jumpers, scarves and cosy textures in your designs.
Cashmere Stitch Variations
Cashmere Checker
The Cashmere Checker stitch alternates cashmere rectangles with blocks of tent stitch, creating a checkerboard pattern.

Framed Cashmere
The Framed Cashmere stitch surrounds each cashmere unit with a frame of tent stitches, for a more structured, tiled look.
Cashmere vs Mosaic vs Scotch
These three stitches are built the same way, from short and long diagonals, but the shape is different:
- Mosaic: a small square of three stitches.
- Cashmere (this page): a rectangle of four stitches.
- Scotch: a bigger square of graduated stitches.
Cashmere Stitch FAQ
Is the cashmere stitch easy to learn?
Yes. If you can do the mosaic stitch, the cashmere stitch is just one extra long stitch per unit.
What is the cashmere stitch used for?
It's great for backgrounds, clothing and any area where you want a dense, knitted-looking texture.
Does the cashmere stitch distort the canvas?
A little, because of its diagonal stitches. Relaxed tension and blocking your finished piece solve this easily.
Stitch Guides where Cashmere Stitch is used
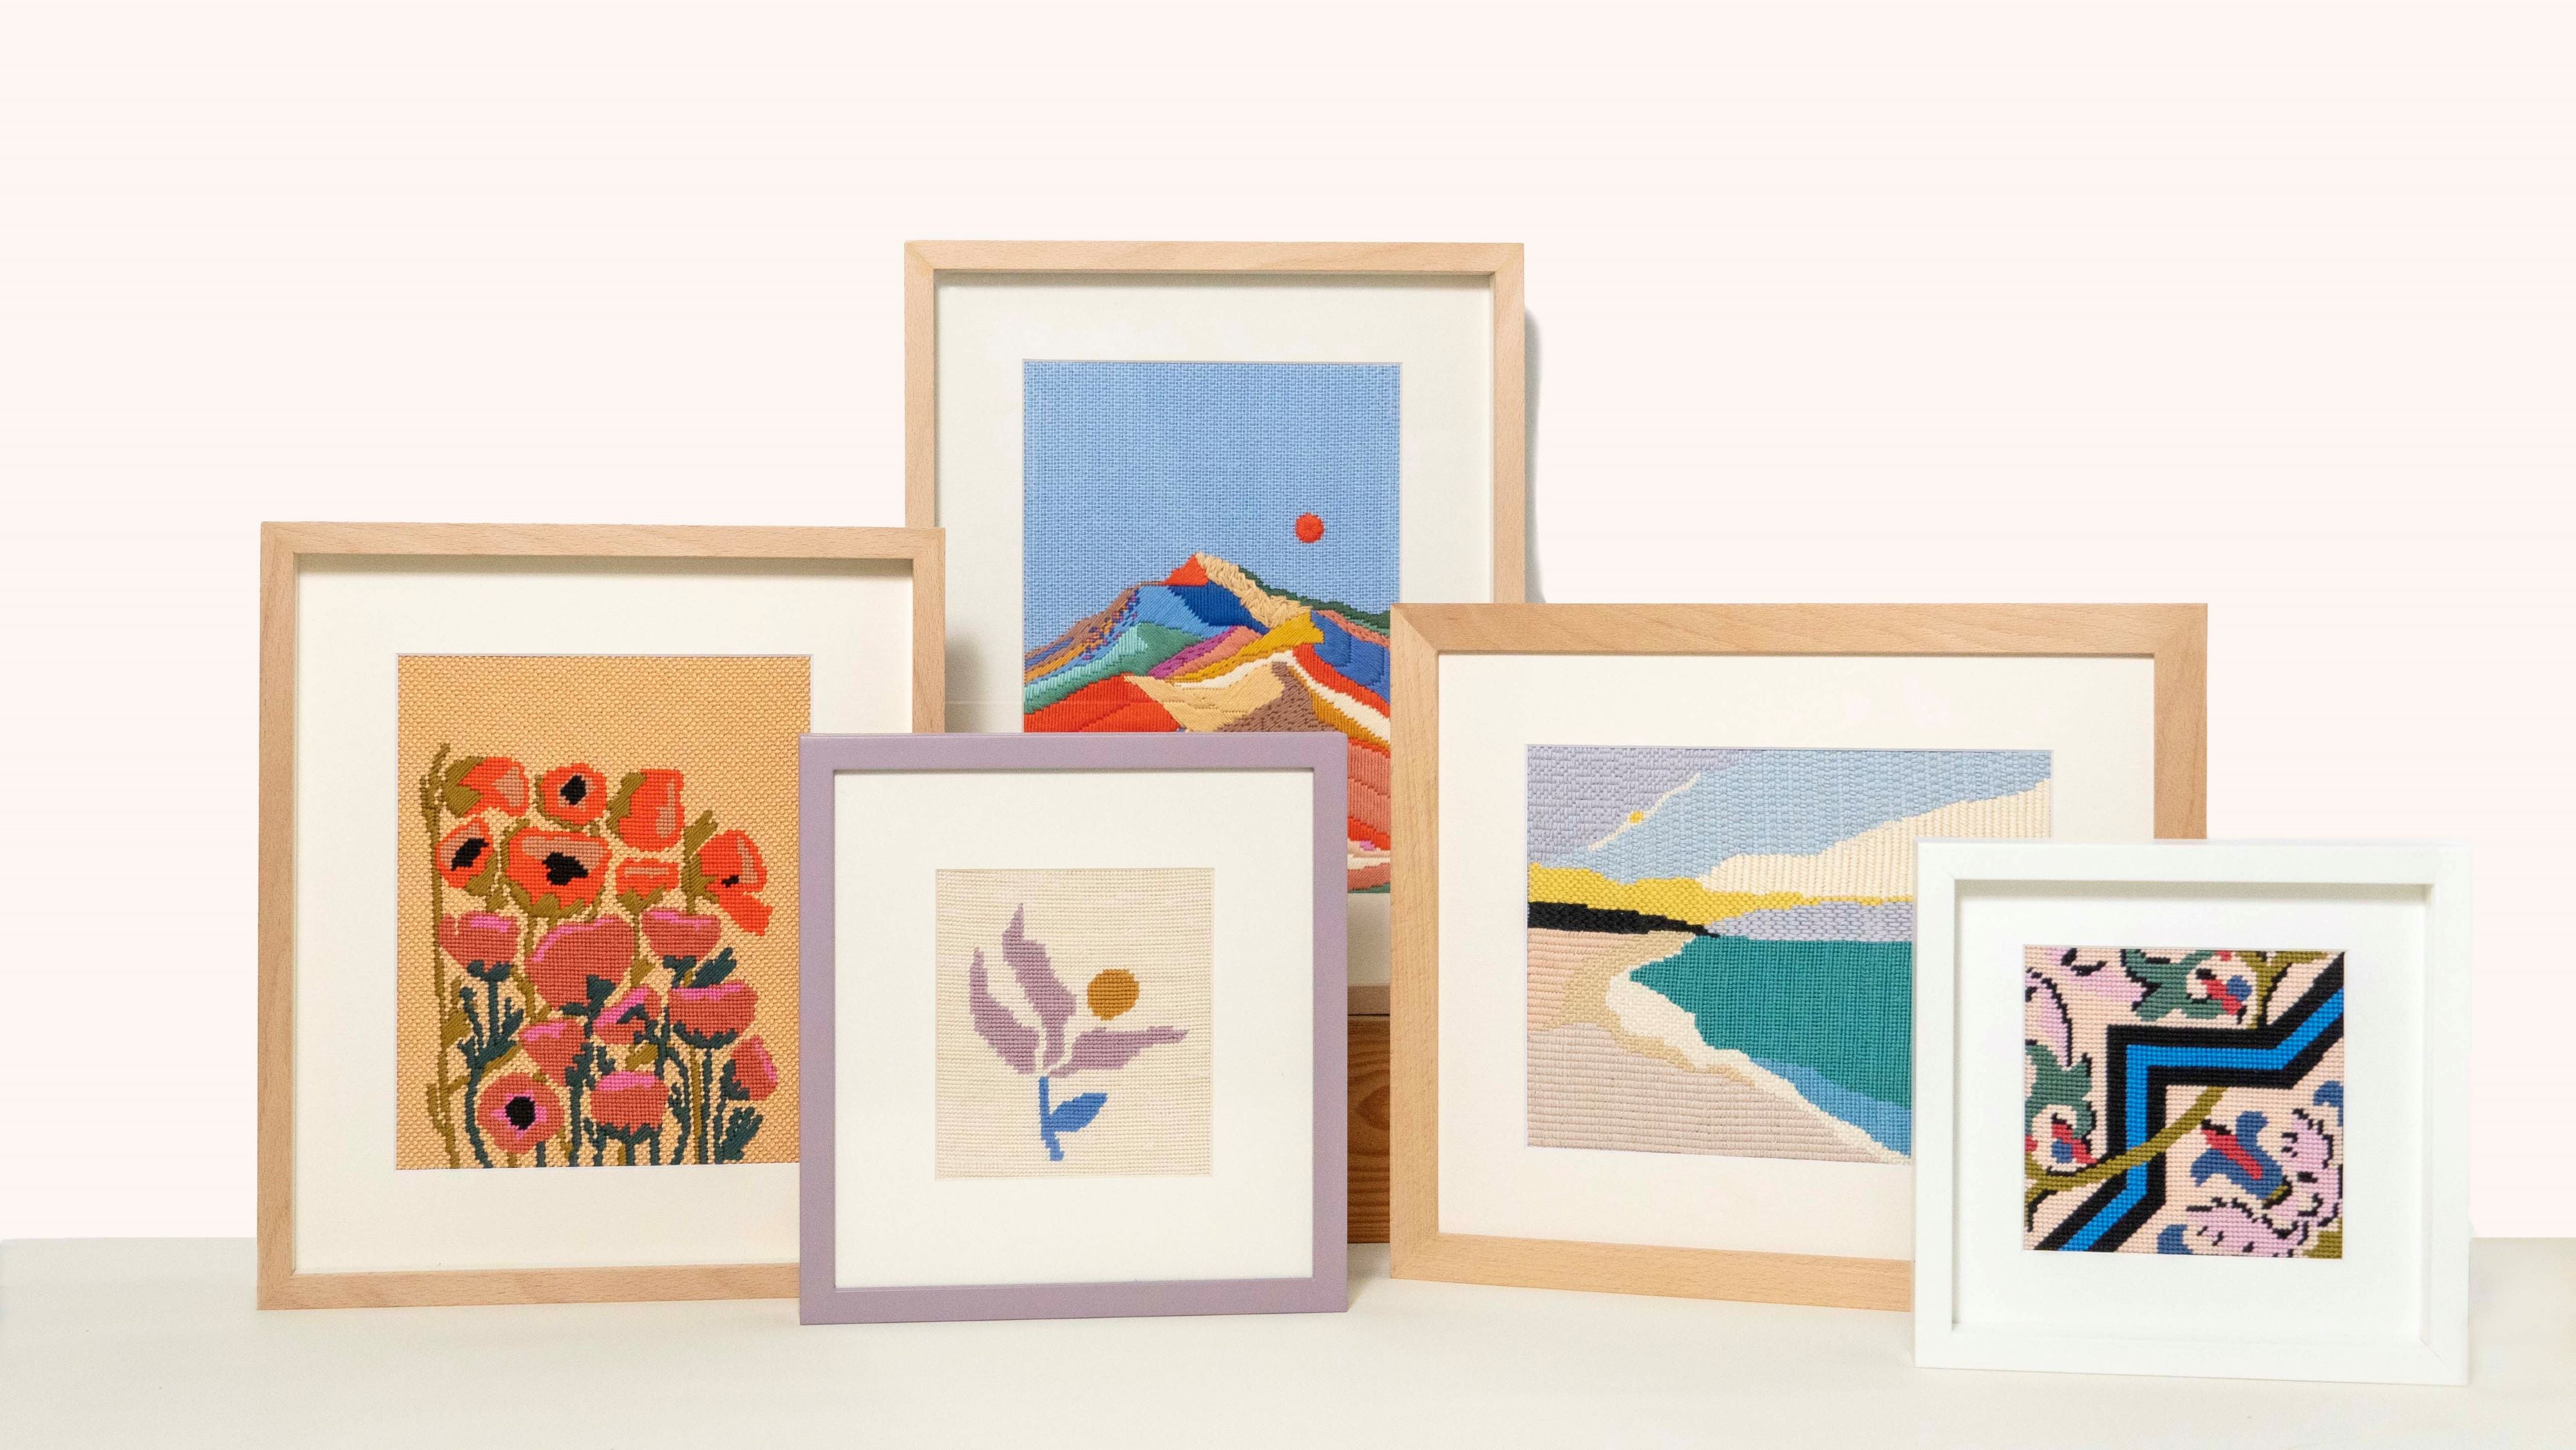
See it in action in these needlepoint kit stitch guides:
- September Scape Needlepoint Kit - Stitch Guide · Shop the kit
- Floral Study 1 Needlepoint Kit - Stitch Guide: 2 Versions · Shop the kit
- Poppy Pot Needlepoint Kit Stitch Guide: 4 Versions · Shop the kit
- Pink Ice Protea Needlepoint Kit - Stitch Guide: 2 versions · Shop the kit
- Breath Needlepoint Kit- Stitch Guide · Shop the kit
- Garden of Joy Needlepoint Kit- Stitch Guide · Shop the kit
Browse all our needlepoint kit stitch guides for more ideas.
Happy stitching :)