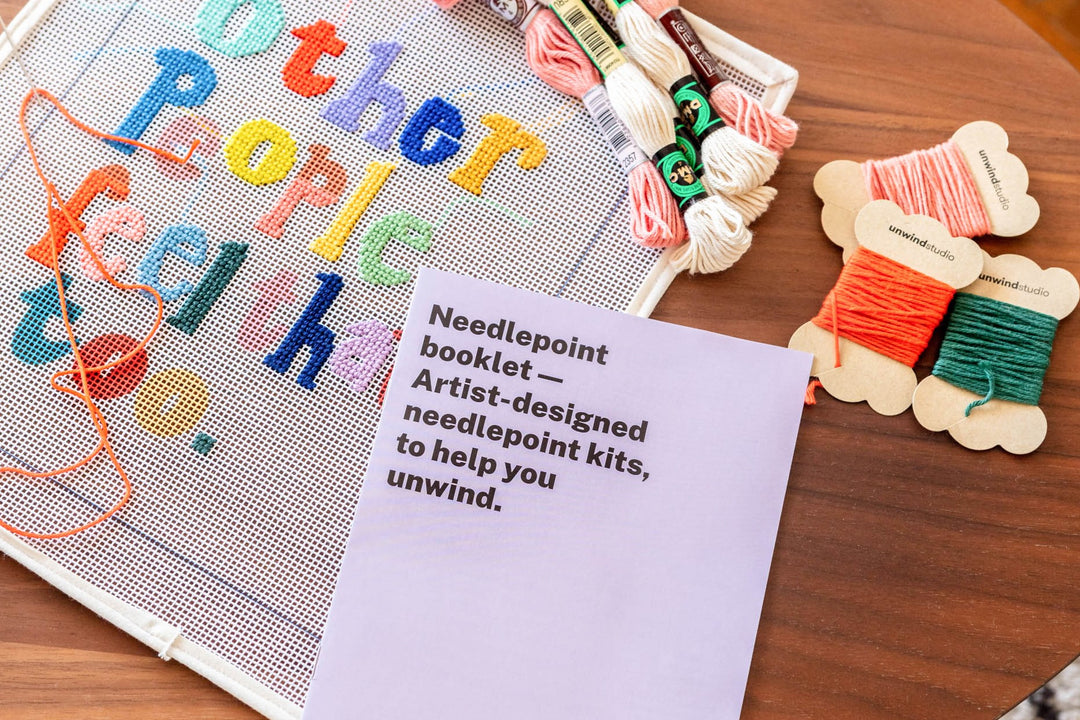
This is the first part of our Needlepoint Finishing series.
With these blog posts, we want to help you broaden your needlepoint knowledge, make you feel more comfortable about this craft, and show you the multiple ways you can transform and elevate your needlepoint canvas!
These are the topics covered in this post:
- Why blocking a finished needlepoint piece
- Tools you will need to block your canvas
- Blocking needlepoint:
- Video tutorial
- Detailed instructions
- Blocking needlepoint using the wet method
- Finishing Needlepoint ideas:
Why Blocking Needlepoint?
Blocking a needlepoint piece is a very important step when finishing your creation. Some stitches, such as the continental tent stitch, tend to create more distortion and tension in the canvas, and the design starts to lose its original shape. The blocking process is necessary to make the piece straight again, so it can be finished in various different applications, like cushion, frames, clutches, etc.
Although there are many services and needlepoint shops that provide professional needlepoint blocking services, they can be expensive, or you might not have one near you. So if you’re looking for a cheaper and DIY way to block your needlepoint canvases at home, follow these steps for great affordable results.
Tools you'll need:
- Finished needlepoint canvas;
- Steam Iron;
- Foam board (an alternative for bigger and more stubborn pieces is using a wood board, but for that you have to use nails instead of pins. there is also a big variety of needlepoint blocking boards you can use, made from different materials);
- Pins (T-Pins or Push Pins);
- Rulers or a square.
Blocking a Needlepoint project - Video Tutorial
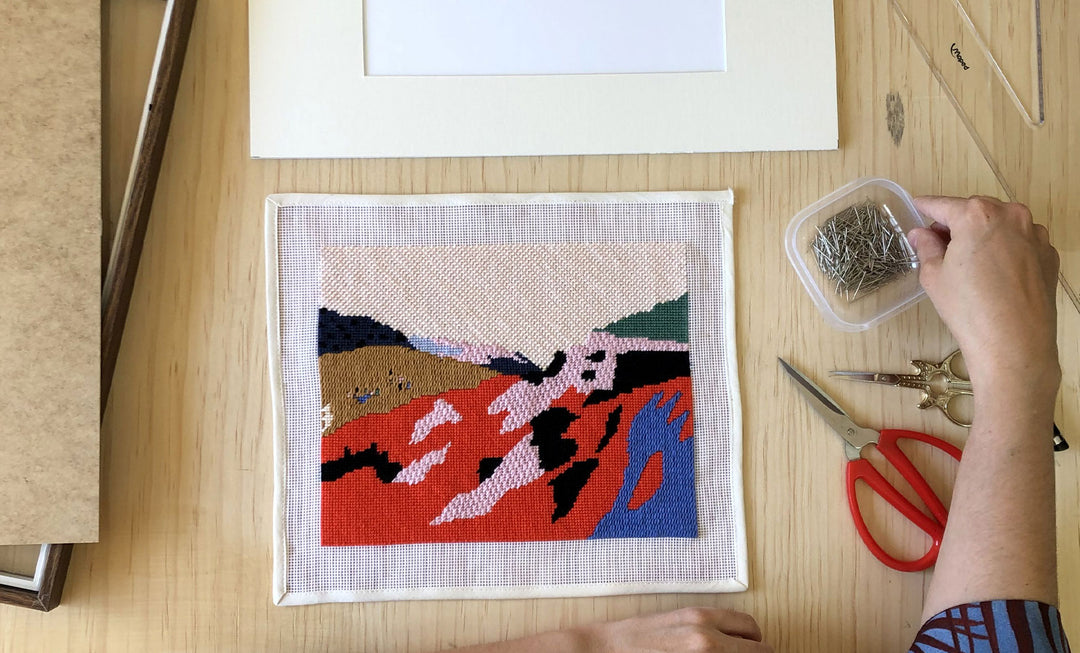
We demonstrated the blocking process of one of our needlepoint canvas “Ethiopian Ravine” in a video tutorial, so you can follow along at home.
Detailed Blocking Instructions:
1. Steam the canvas
- Gently steam the back of the needlepoint canvas, using the iron.
- The iron can’t be touching the actual canvas, it has to be slightly over it.
- The steam is necessary to soften and relax the threads.
2. Stretch the canvas
- After dampening the needlepoint canvas, stretch it using your hands, so it can lose some of the tension.
- This will help bring back the original shape.
3. Repeat if needed
- Repeat the steaming and stretching method, if you feel like the needlepoint piece isn't malleable enough and you weren’t able to remove the distortion.
4. Check the alignment
- Check to see if the needlepoint is straighter, using some rulers, or a square
- The measurements should be aligned on all sides, and the corners should mark a 90º angle.
- If needed, do some final stretching, and you’re ready to start the pinning method.
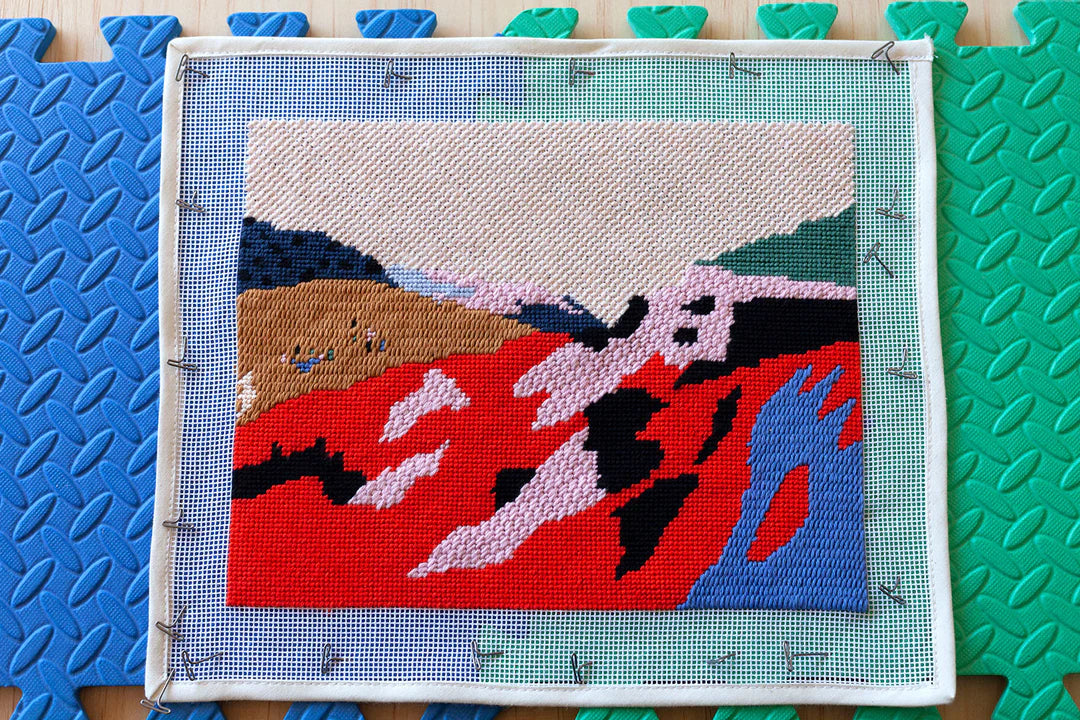
5. Pin the needlepoint canvas
- Use T shaped pins or push pins, and start pinning along one of the sides of the canvas.
- This will make sure it stays still when placing the other pins.
- Use the ruler to check if the edges are perpendicular, and fixate the adjacent side with more pins
- Make sure to keep the lines straight, and the corners at 90º.
- Do this for all 4 sides
6. Let it rest for 24h
- When the canvas is nice and tight, and all the lines are aligned, let it rest for 24 hours, before removing the pins.
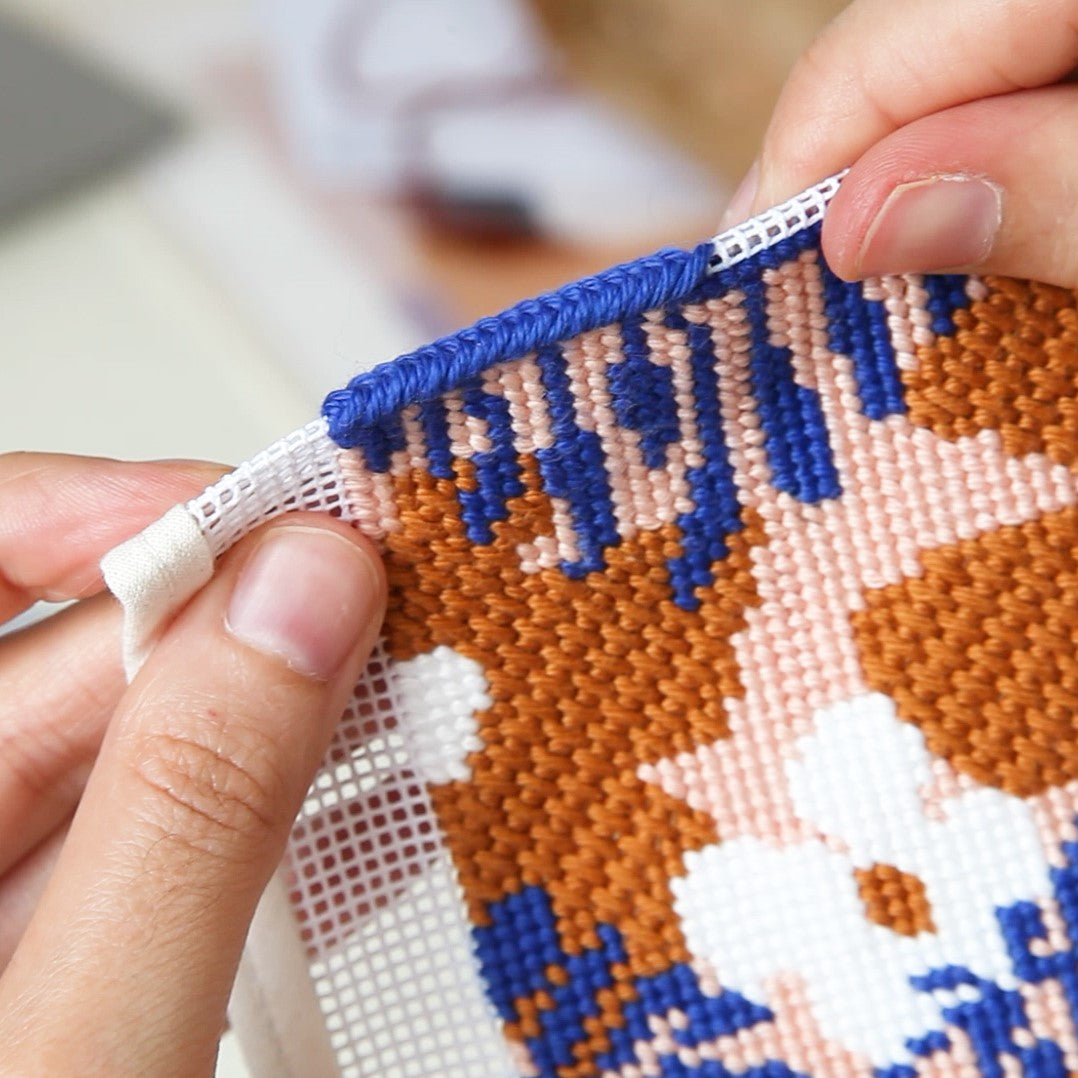
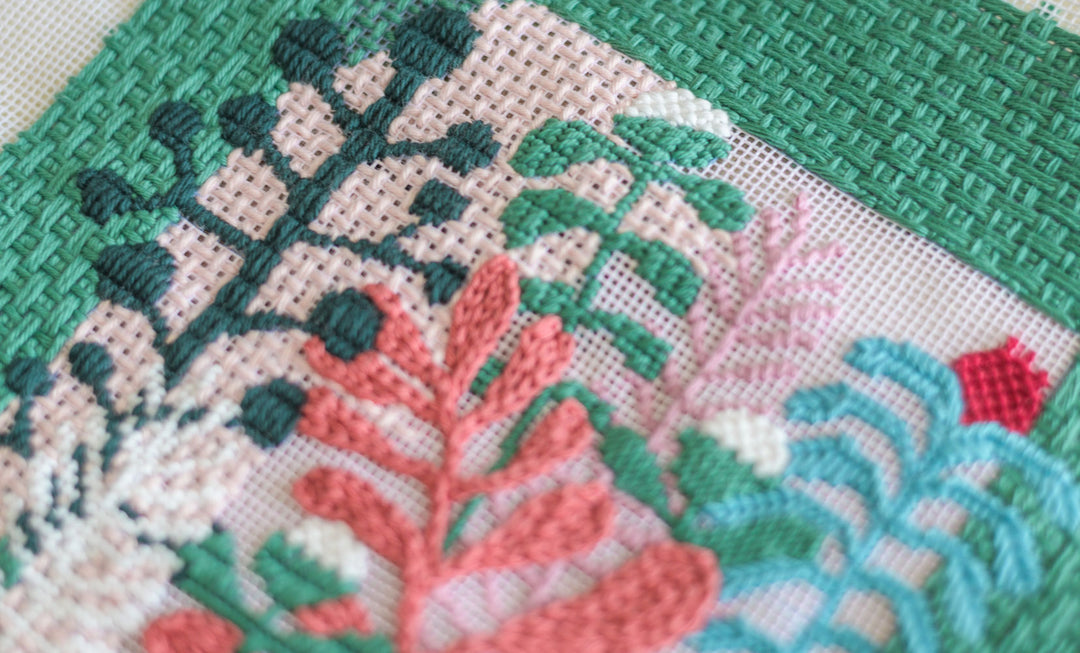
After this process, you now have a perfect canvas, ready to be turned into a decorative object, or framed for some beautiful home decor!
Blocking needlepoint using the wet method:
For more stubborn and crooked pieces, you can also choose to lightly wet it, either using a spray bottle, or straight from the tap. If you wet it directly, make sure you dry it a bit, rolling it up with a towel, to remove the excess water.
What's next?
As we already mentioned, a blocked needlepoint piece is ready for a variety of finishing possibilities. In our Inspiration & Tutorials page, you can access other blog posts with complete instructions on how to:
Happy Stitching!