


If you're in your Reading Era, then this tutorial is for you!
As readers, we understand the value of a good bookmark – it's not just a placeholder, but a companion on our literary adventures. The cooler, more unique and more reflective of our personality, the better!
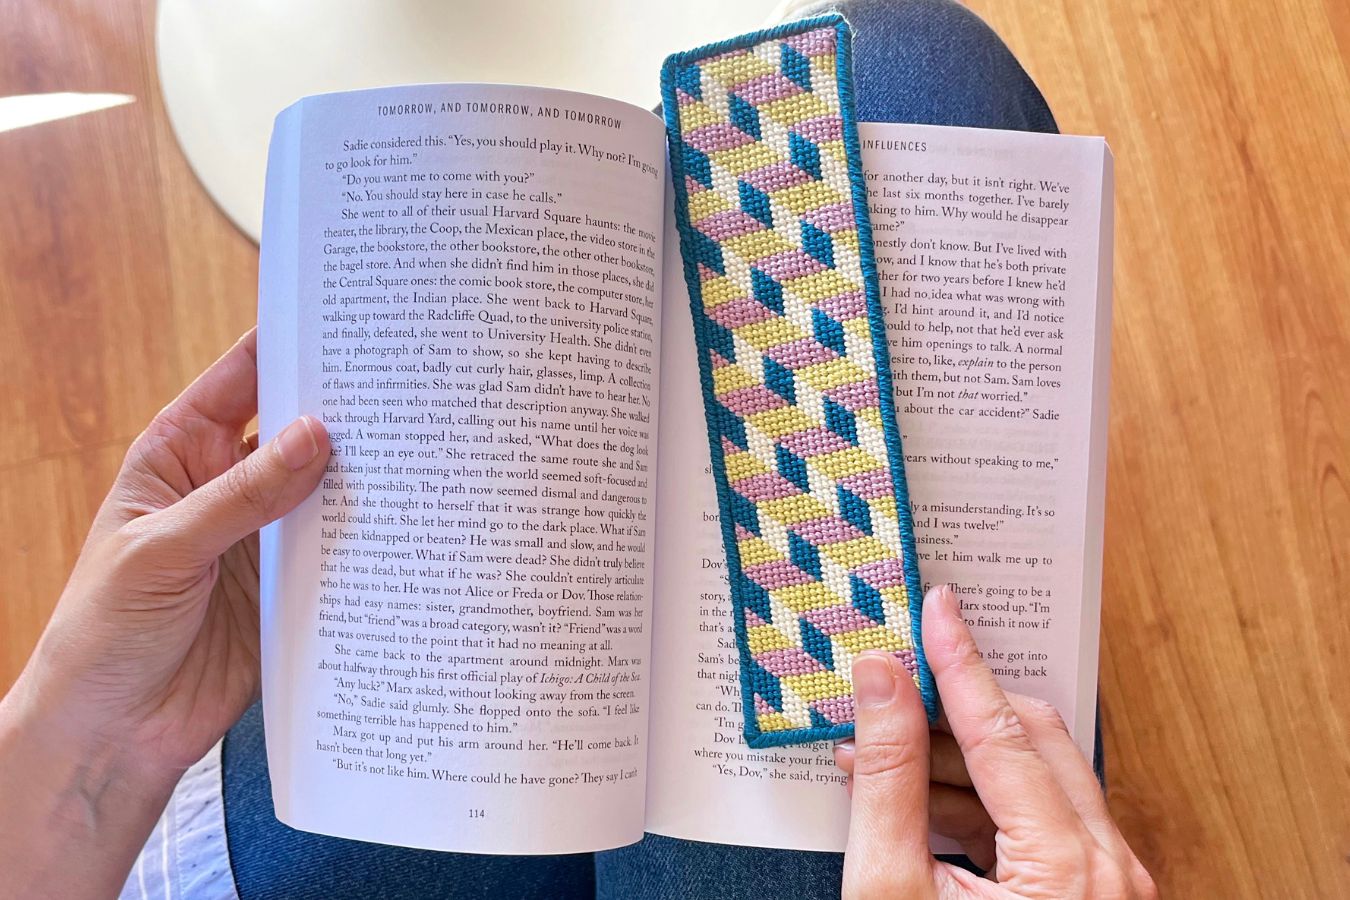
Paper bookmarks are cool, and illustrated ones as well...but stitching your own is on another level of originality! We know the book girlies are often also craft lovers, so why not give a chance to this SUPER easy project and enjoy yourself while crafting something fun?

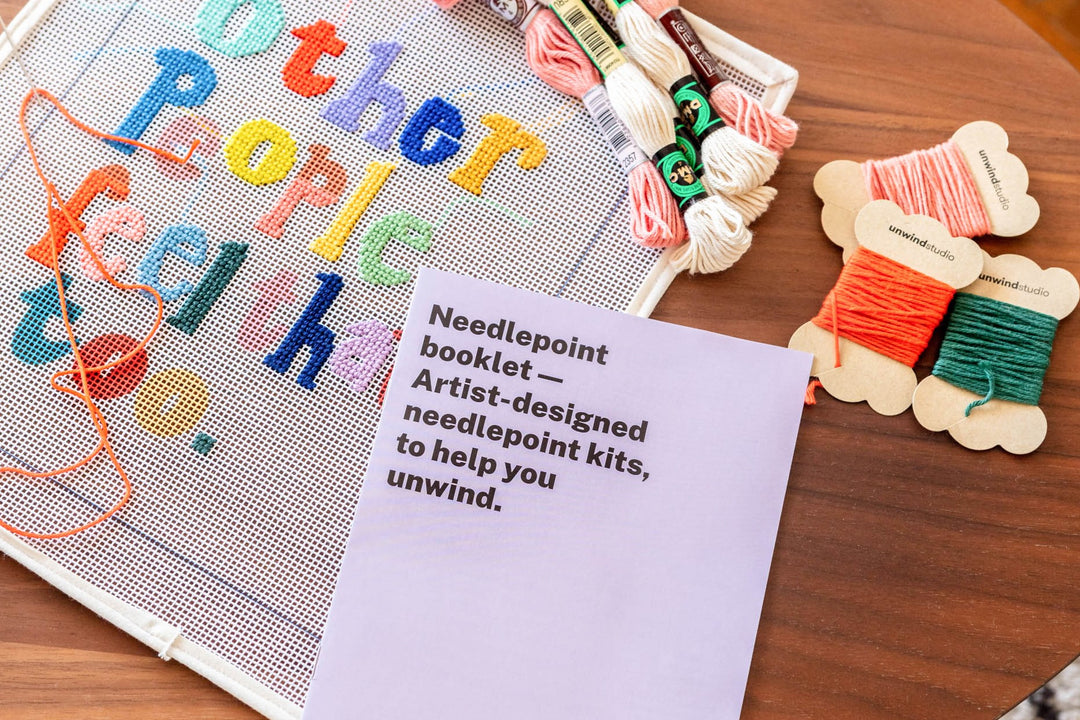
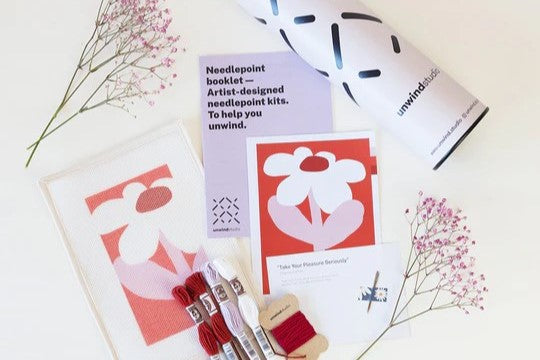
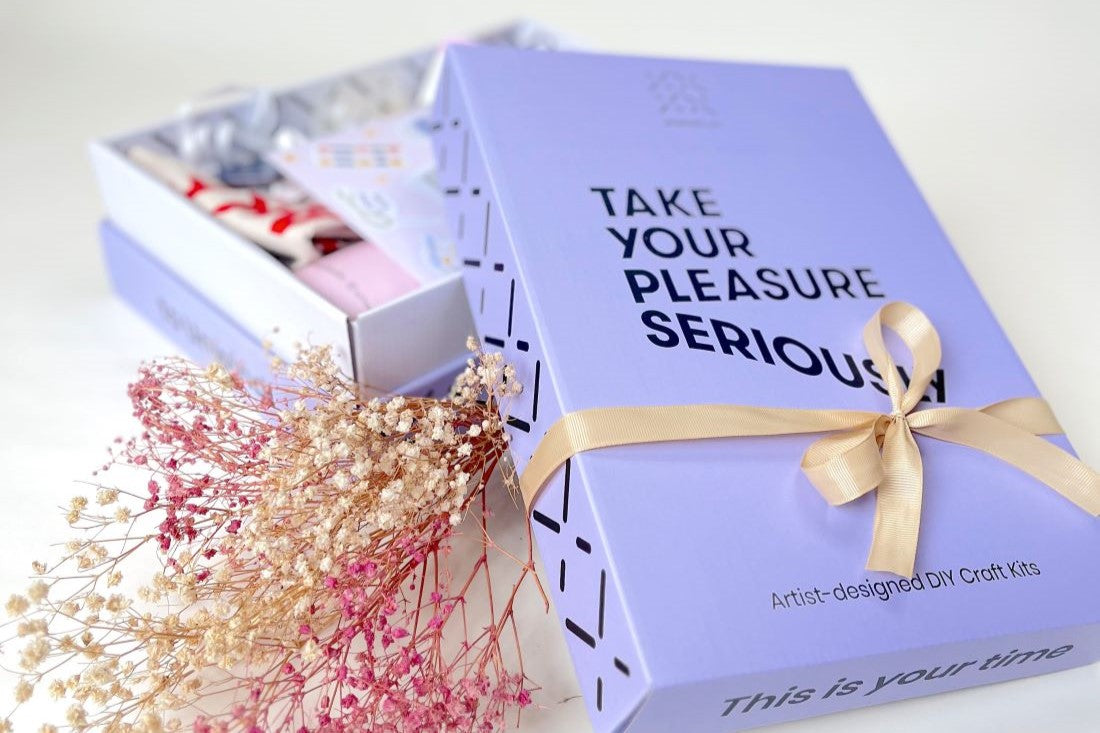
Materials You'll need:
-
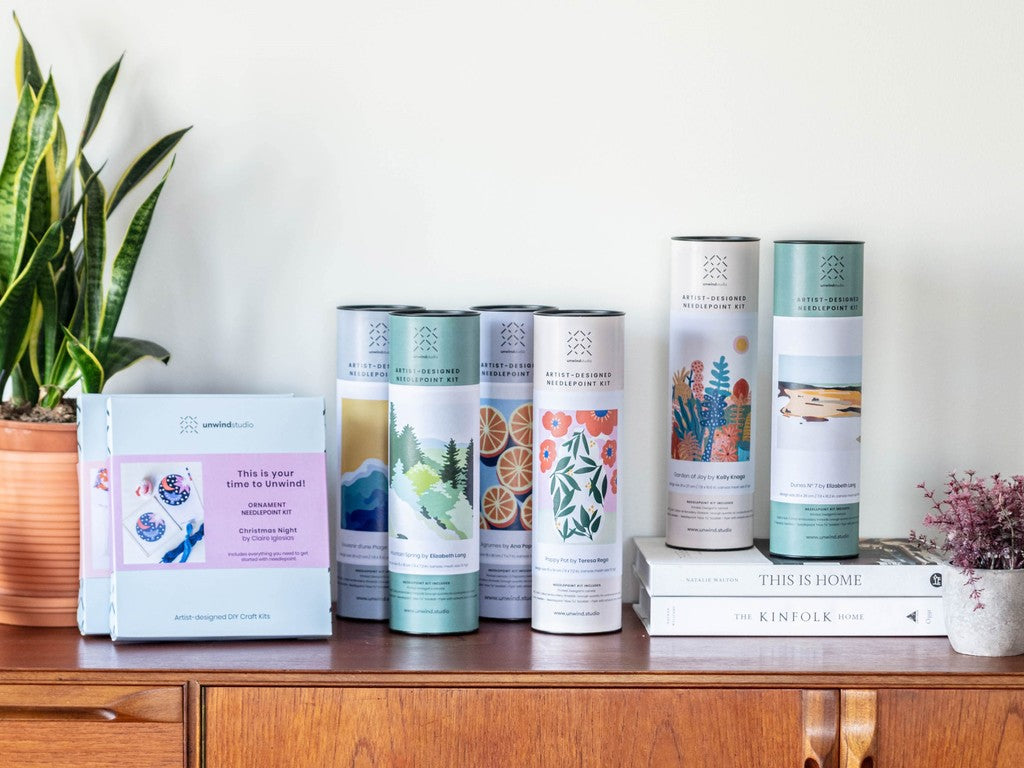
Needlepoint canvas with the design of your choice (check out our new collection of needlepoint bookmarks and find your favorite design!)
-
Thread for the Binding Stitch
-
Fabric for the backing (we used self-adhesive velvet, which makes it even easier)
-
Sewing machine (optional!)
How to Make a Needlepoint Bookmark - Video Tutorial
We've created a little video tutorial on how to this project yourself. It's quite simple & doesn't require lots of tools or skills to be able to do it, plus it's fast to stitch and also to finish! Win-win :)
Step by Step Instructions:
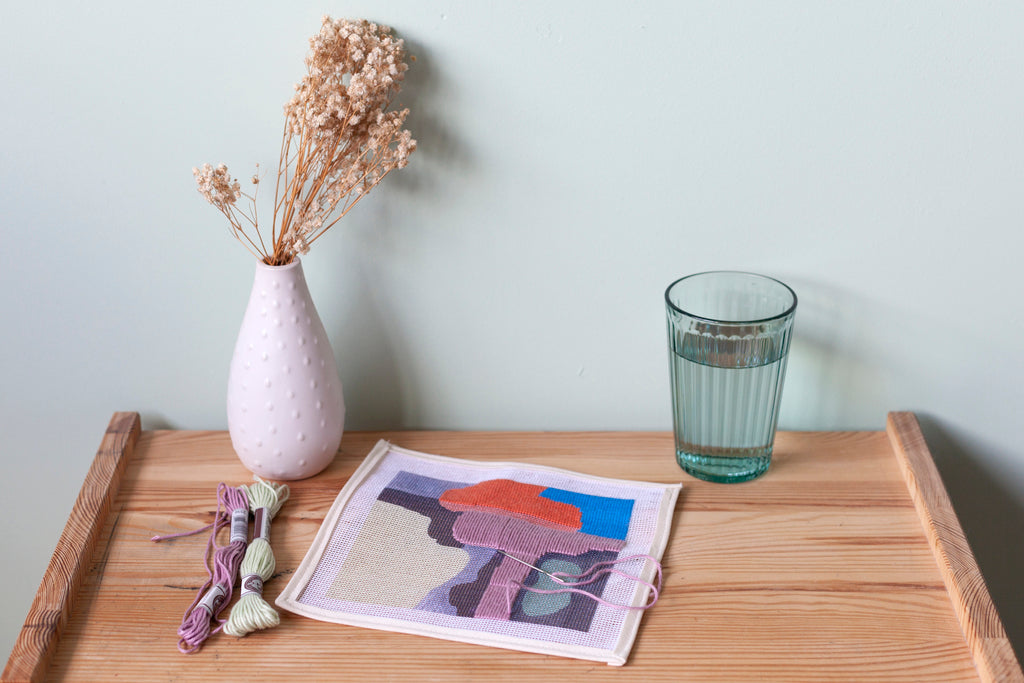
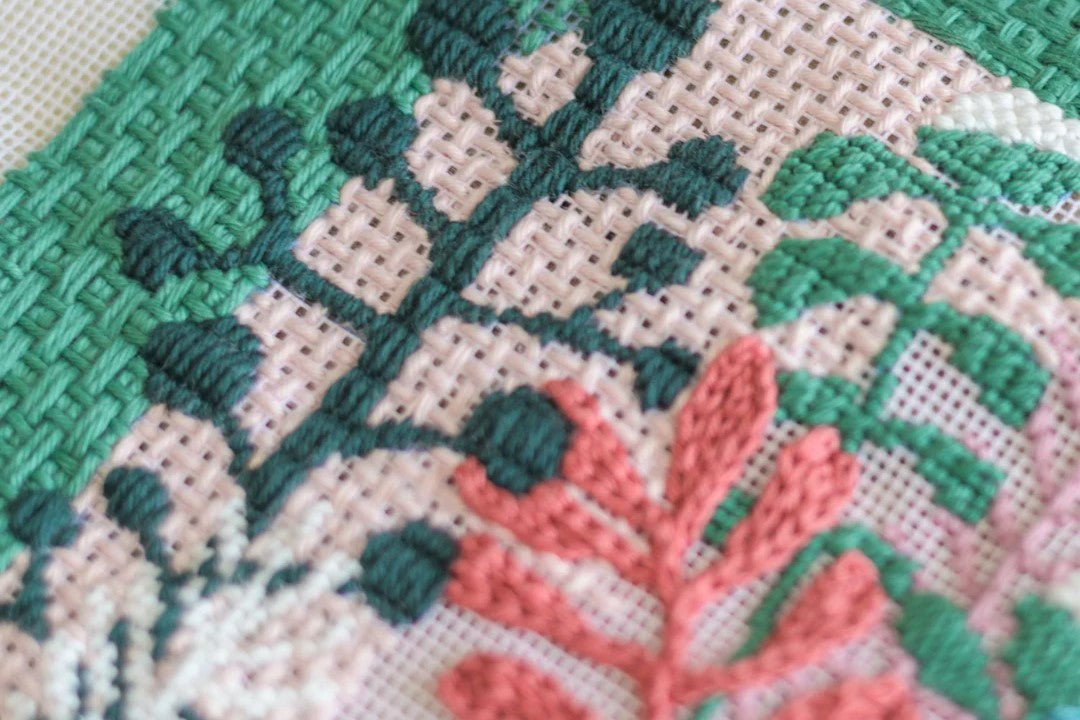
1. Stitching the Canvas:
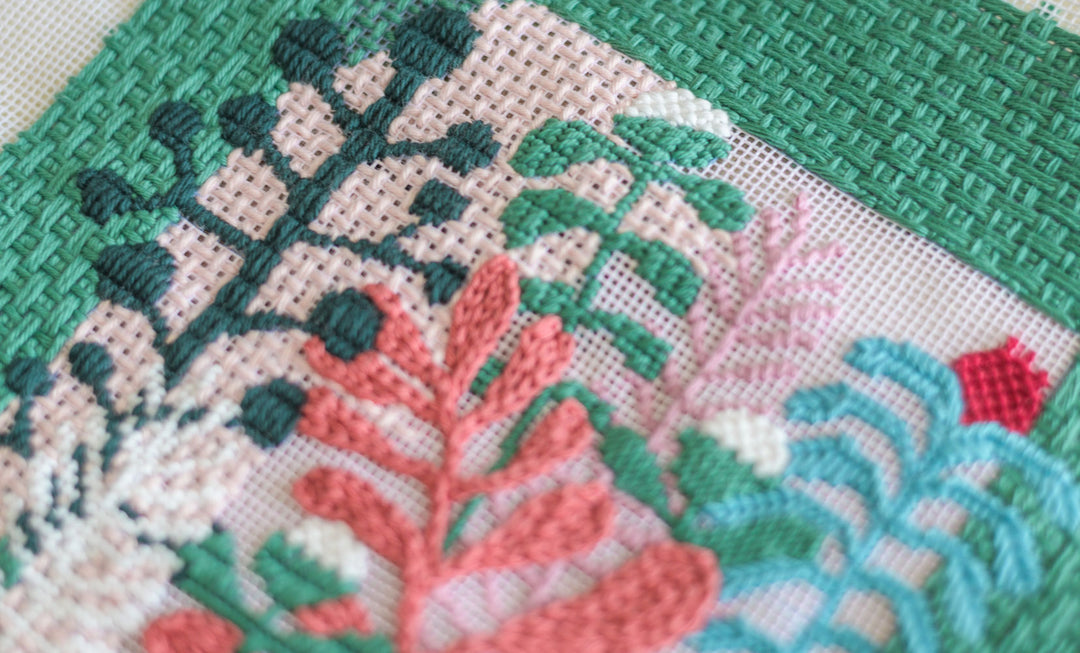
This one is simple, you just have to choose your favorite needlepoint bookmark canvas and stitch it to your liking. If this will be your first needlepoint project and you came just for the bookmark part, we have lots of free learning materials for you to start your journey, but we recommend you to learn & use the Needlepoint Tent Stitch first - it's the most common stitch used in needlepoint, easy & effective!
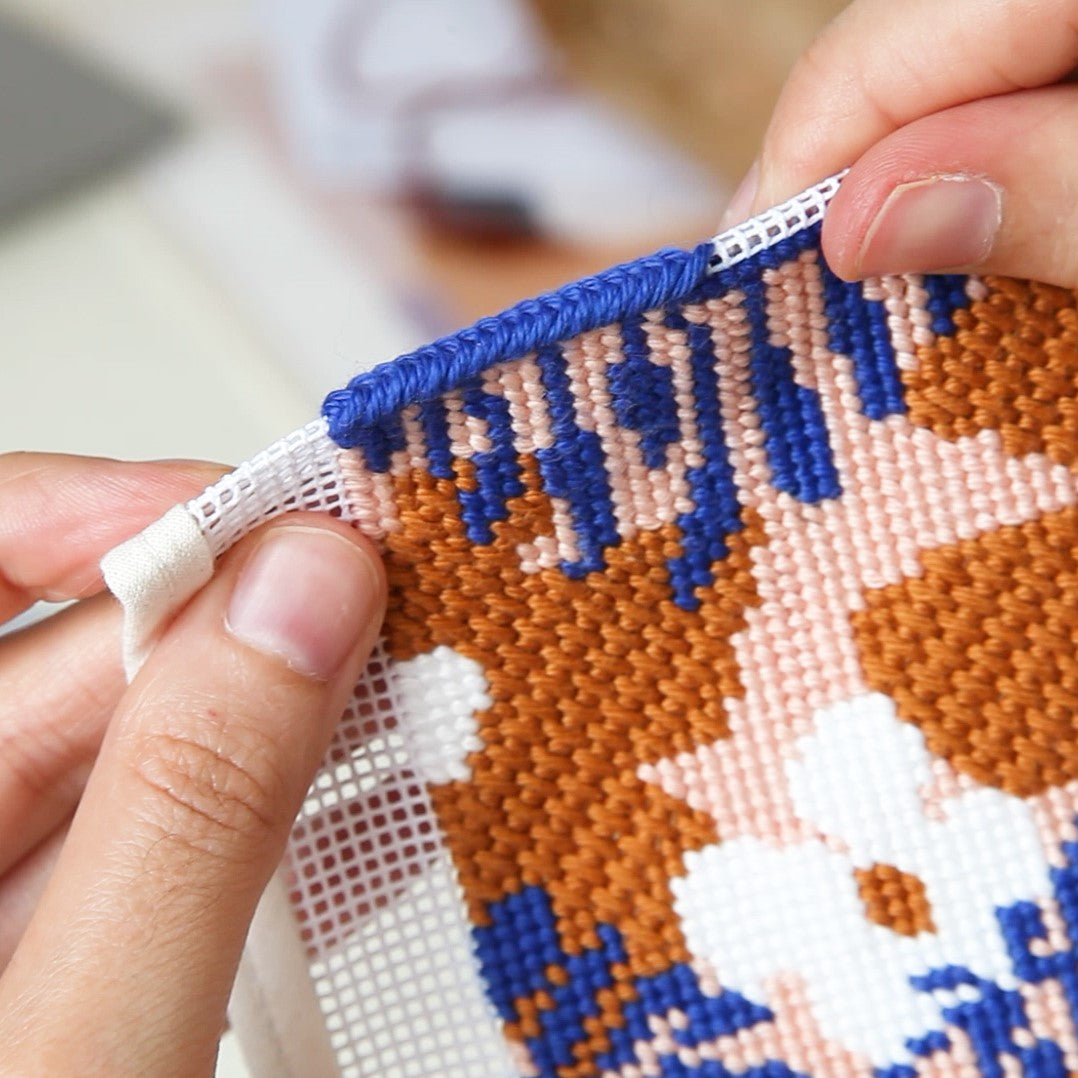
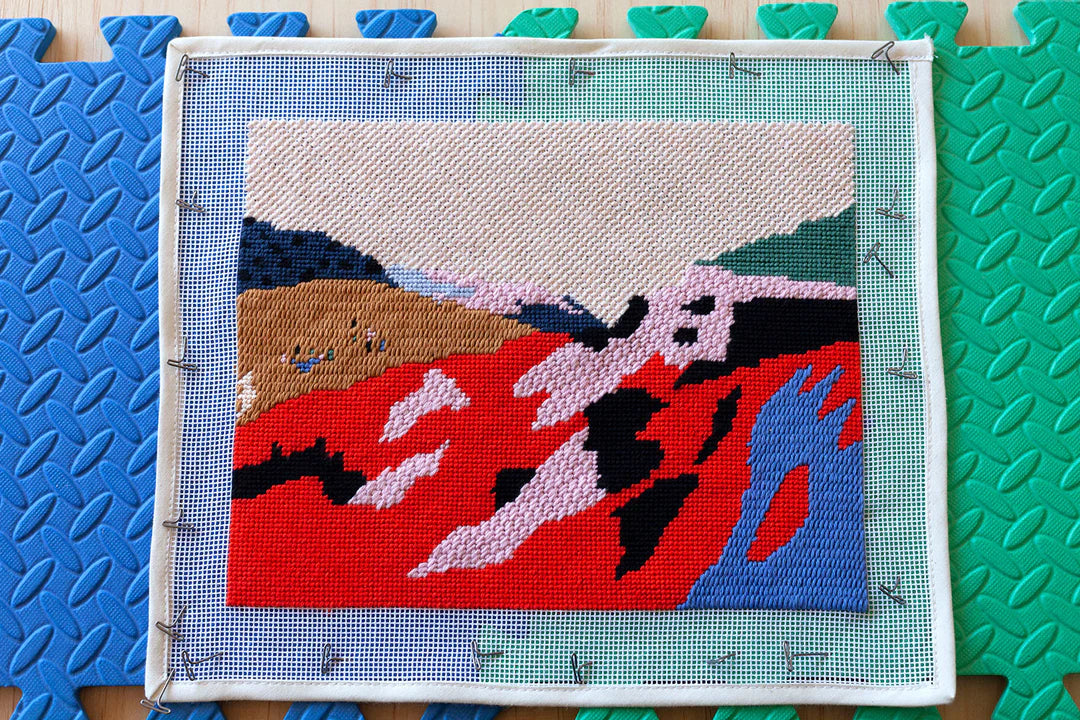
2. Doing the Binding Stitch:Once you've completed stitching your design, it's time to add a binding stitch around the edges to secure the threads and prevent fraying. This will create a neat border that enhances the overall look of your bookmark and gives it a more polished finish.
To learn how to do the Binding Stitch, check out our dedicated tutorial here!
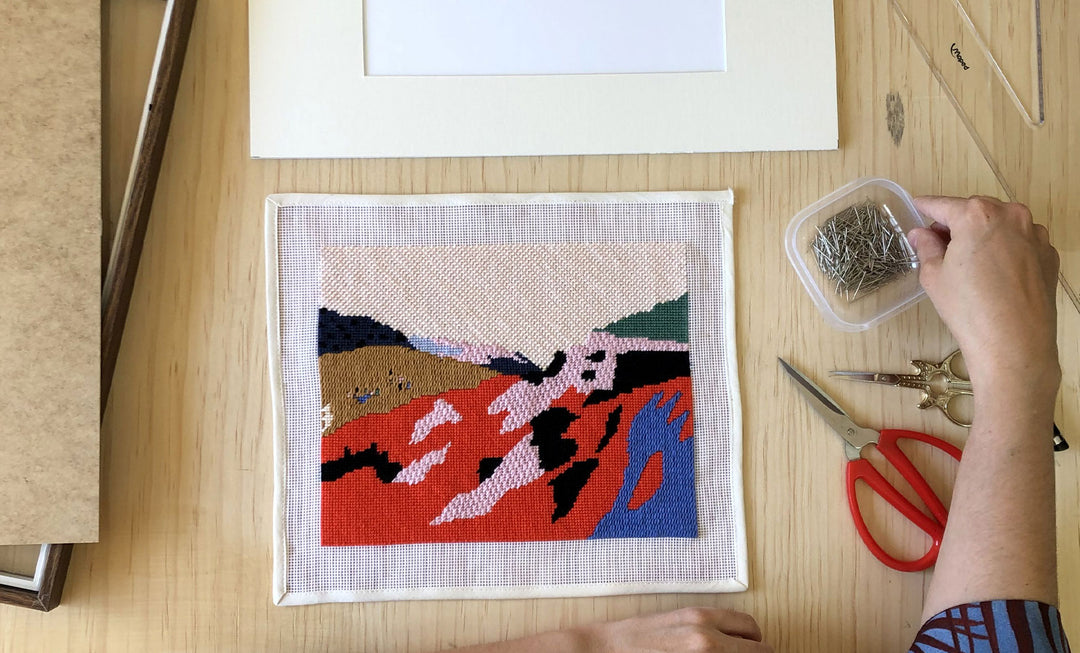
3. Cutting the Excess Canvas & Trimming the Corners
With the binding stitch complete, carefully trim away any excess canvas around the edges of your bookmark using the scissors. Take care not to cut too close to your stitches to avoid unraveling. Next, trim the corners of the bookmark at a diagonal angle and fold them to the back of the canvas to reduce bulk and create a clean, professional finish.
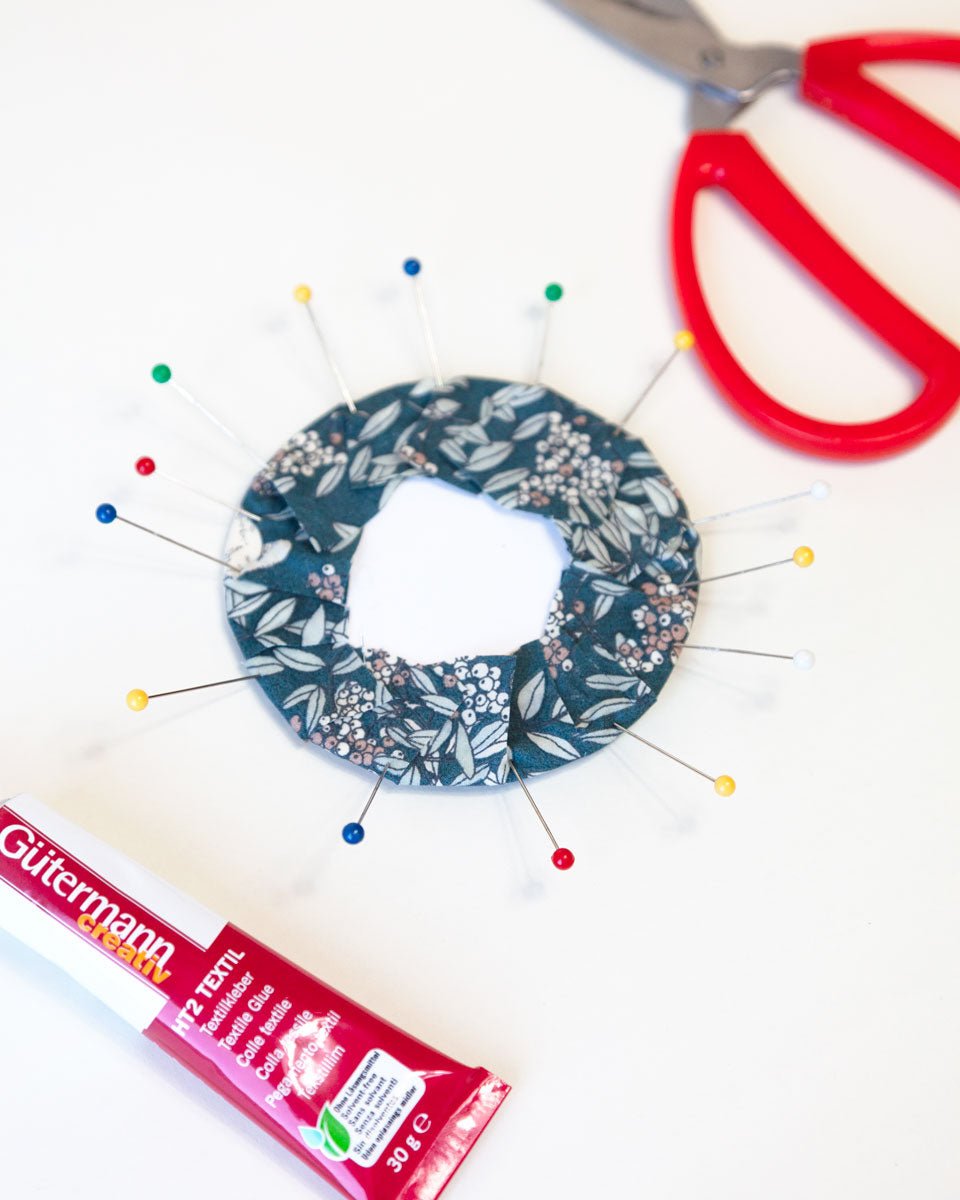
4. Stick the Self-Adhesive Velvet to the Back:
To hide the excess canvas while also ensuring the durability of your bookmark, cut a piece of your fabric/self-adhesive velvet the same size as your bookmark. Peel off the backing and carefully stick the velvet to the back of your needlepoint canvas, smoothing out any wrinkles as you go and tucking in the corners of the excess canvas to avoid them from sticking out and showing. This will not only protect the back of your stitching but also add a soft, tactile feel to your finished bookmark.
5. Sewing with a Sewing Machine Along the Edges (This step is optional):
For some extra reinforcement, you can use a sewing machine to stitch around the edges of your bookmark. Select a coordinating thread color and set your sewing machine to a straight stitch. Sew around the perimeter of the bookmark, approximately 1/8 inch from the edge, reinforcing the binding stitch and securing the layers together.
...And that's it! Congratulations, you've created your needlepoint bookmark! Whether you're keeping it for yourself or gifting it to a fellow book lover, you should be proud of your creation. You can now experiment with different designs, colors, and techniques to make each bookmark uniquely yours. And remember, the beauty of needlepoint lies not only in the finished product but also in the meditative and rewarding process of crafting something by hand.
Don't forget to share your creations with us, we love to see them! Tag us on IG @unwind.studio or send us directly to hello@unwind.studio :)
Happy stitching!!