Point de surjet
Le point de surjet en tapisserie est utilisé pour créer un bord net sur une toile de tapisserie au Canevas cousue, et il est principalement utilisé dans le processus de finition d'un projet de canevas.
Dans cet article de blog, vous apprendrez à réaliser le point de surjet :
- en ligne horizontale ou dans une toile cousue avec des bords droits
- dans une toile cousue au format irrégulier ou courbé
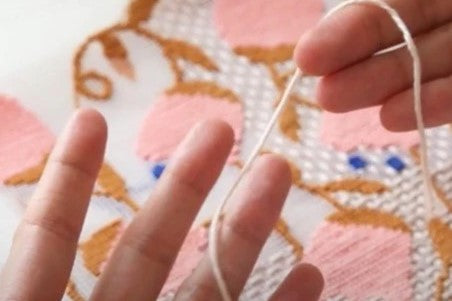
- comment démarrer un nouveau morceau de fil au milieu du processus de surjet
Détails des points
- Structure du point : finition
Tutoriel vidéo sur les points de surjet au Kit Canevas: bords droits
Comment faire le point de surjet au Kit Canevas: Format courbe ou irrégulier - Tutoriel vidéo:
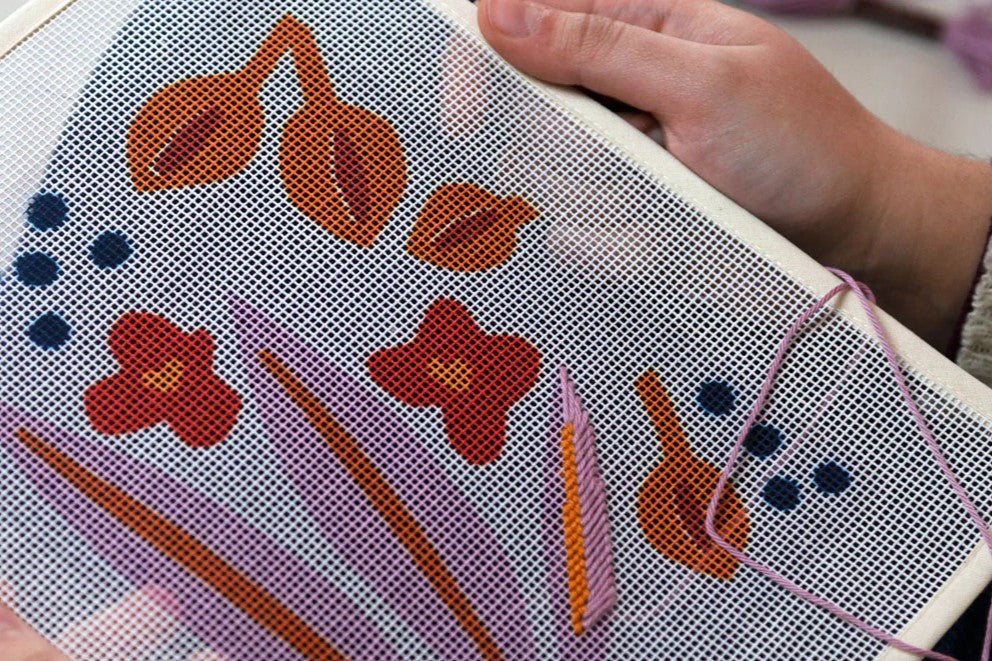
- Commencez par ancrer le fil à l'arrière de la toile, dans une zone piquée. Ensuite, amenez l'aiguille à l'avant de la toile et faites un point diagonal vers le bas.
- Entrez dans le trou à côté de celui où vous avez commencé, à gauche, et répétez la même étape.
- Après avoir terminé les deux premiers points parallèles, revenez deux trous en arrière et faites un point dans la direction opposée.
- Continuez à faire ces points alternés jusqu'à ce que vous atteigniez la fin de votre bordure.
- Pour faire les coins, placez quelques points entre les deux côtés de la toile, jusqu'à ce qu'il n'y ait plus de toile vierge visible. Vous pouvez couper les morceaux en excès à l'aide de petits ciseaux à broder.
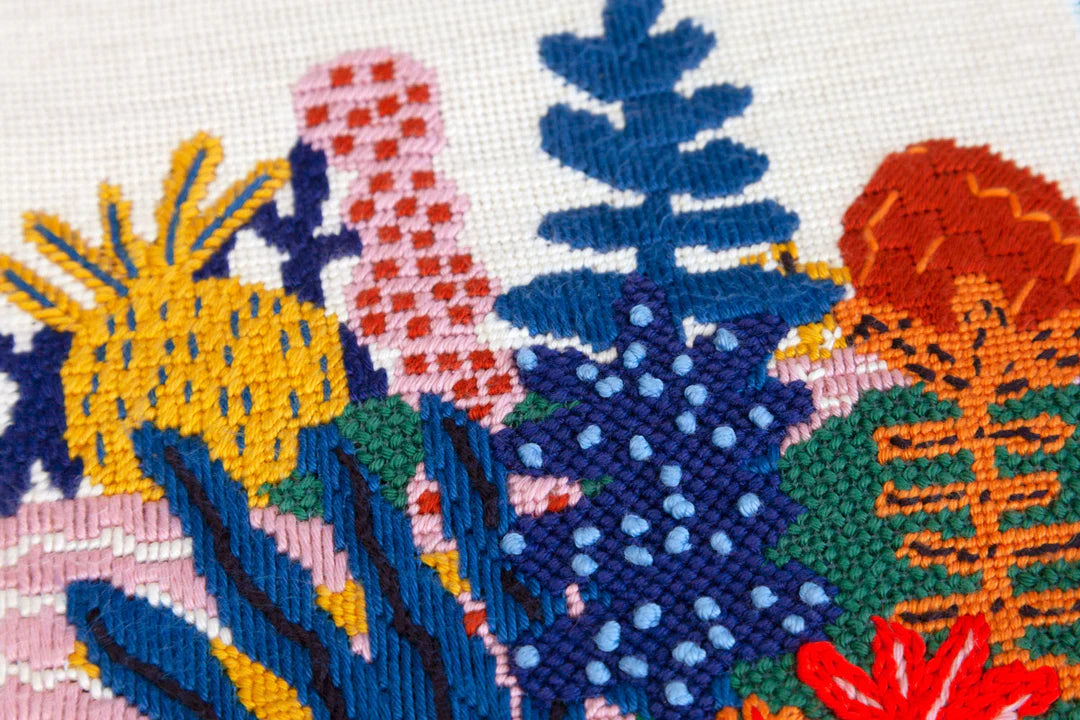
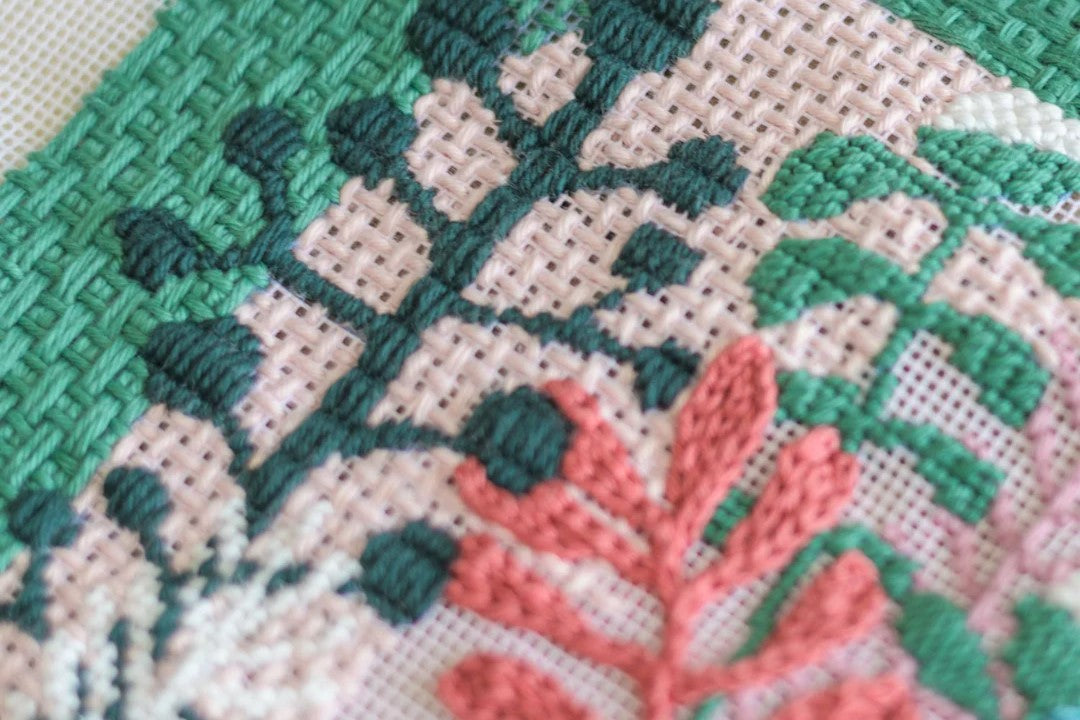
- Au final, le point de surjet devrait ressembler à l’image de ce post !
Comment faire un point de surjet au Kit Canevas: format courbe ou irrégulier - Tutoriel vidéo
Astuce : Pour le rendre plus facile et plus malléable, vous pouvez couper l'excédent de toile pour coudre plus confortablement
- Lorsque vous arrivez à la partie délicate de votre conception, où le bord prend un format irrégulier ou courbe, il vous suffit d'imaginer un escalier et faites le point uniformément sur tout le bord.
- En gardant exactement la même technique de comptage de deux trous vers la droite, vous devez insérer le point suivant dans le trou diagonal suivant (celui le plus proche du motif).
- Continuez avec le point de surjet normal dans les zones droites et le point de surjet « en escalier » dans les parties courbes des bords jusqu'à ce que vous ayez fait tout le tour.
- Terminez normalement en ancrant le fil à l'arrière de la toile, dans une zone piquée et en coupant l'excédent.
Comment redémarrer le point de surjet lorsque le fil se termine - Court didacticiel vidéo ici !
- Lorsque votre fil se termine, vous devez mémoriser votre dernier mouvement du point : faire un mouvement vers le bas, vers l'arrière de la toile.
- Ancrez le fil à l'arrière de la toile, dans une zone cousue, comme d'habitude, et commencez le nouveau morceau de fil de la même manière.
- Vous savez maintenant que vous devez faire un mouvement vers le haut vers l'avant de la toile pour continuer l'effet « queue de poisson » du point.
Comment réaliser un point de surjet parfait - Tutoriel vidéo
Bien qu'il existe différentes façons d'exécuter ce point, nous sommes ici pour partager une méthode qui crée un magnifique motif à chevrons sur le devant de votre ouvrage, lui donnant un aspect propre et professionnel. Après avoir essayé les deux méthodes, nous pensons que cette technique crée le meilleur résultat final !
Dans ce tutoriel, nous vous montrons comment réaliser ce point de surjet parfait .
Si vous avez des doutes sur les points à choisir pour votre projet, consultez nos Conseils pour choisir des points de canevas ou Nos points de canevas décoratifs préférés . Vous pouvez également vous inspirer de nos Guides de points !
Bonne canevas :)