


DIY How to Make Cording - Video Tutorial & How To
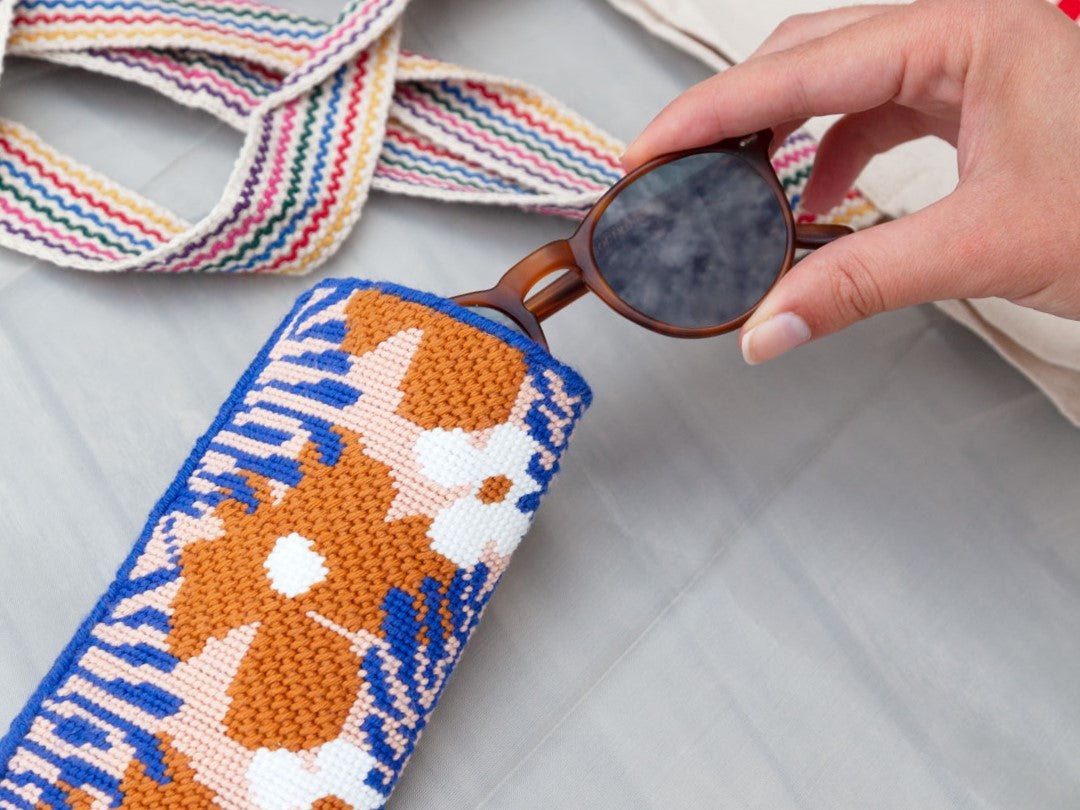
Sometimes the finishing touches matter the most and when it comes to finishing needlepoint ornaments this is definitely the case!
Making your own cording is an easy and super fun way to elevate your finished needlepoint projects: it makes them more sophisticated and useful!
You can use these projects as Christmas ornaments, of course, but not exclusively. The sky is the limit when it comes to the way you decide to use your needlepoint art ;)
This blog post is part of our DIY Needlepoint Finishing learning tutorials, we will teach you a simple way to make and attach your cording to your finished needlepoint canvas.
If you prefer to use a tool to create your cording, then we recommend these two that we have linked in our Amazon store:
DIY How to Make Cording - Video Tutorial
Materials you'll need
For the Cording:
- Finished needlepoint canvas
- Thread(s) of matching color(s) (you can mix more than one color)
- Scissors
- Adhesive tape

For attaching the Cording to the ornament:
Making your own Cording - Step by Step
- Firstly, open your thread and prepare it. Then, measure how much thread you'll need to cover the outline of the canvas and to also make a hanger (if you want one!);
- Mark the length of the thread you just measured and make that same length four times as long;
- Now you have one strand of thread, four times as long as the piece plus the hanger, and you'll need to make four of those - Cut the full length of that first thread four more times;
- Four thread pieces should be enough, but if you want to make the cording bulkier, you can add more threads! We added two more to our project, for example!
- Tie a knot at one end to join all four threads and make sure it's really secure;
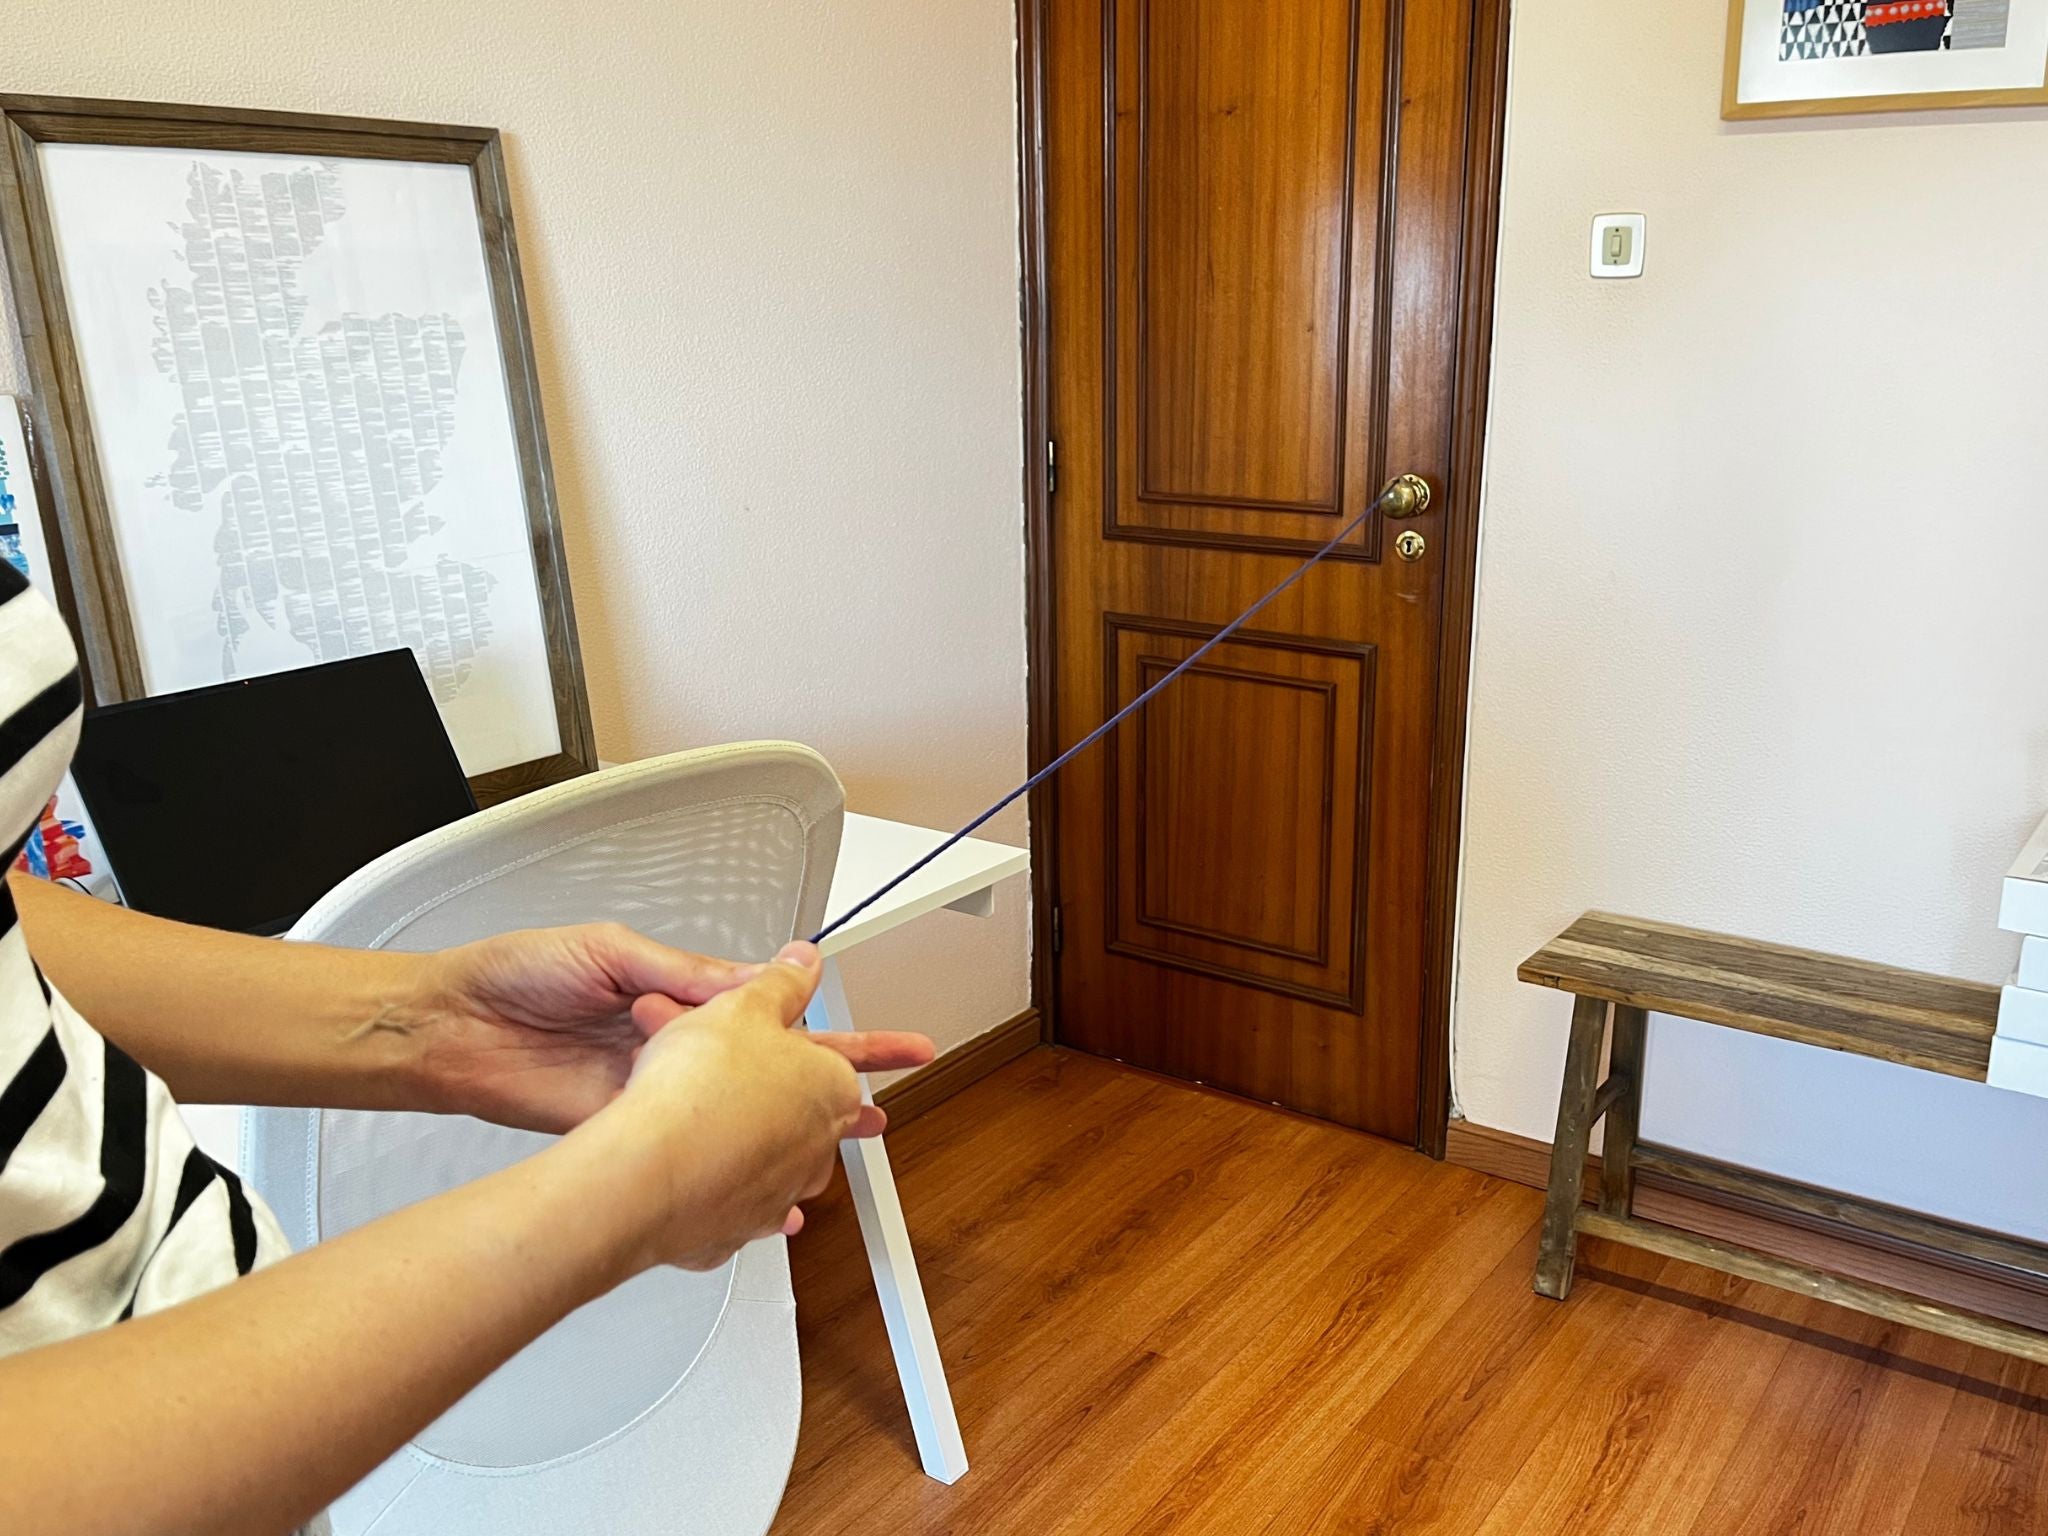
- The next step is to attach that end with the knot to a doorknob (you can use this cord maker, to make the process easier; or anywhere else you find fitting for this) - if you have someone to help you, you can skip this step and each one of you holds one of the thread's ends;
- Then, walk back with the thread to a point where it is straight, but not pulling it too hard, like so:
- To find out if the cording is done, bring it closer to the starting point. If it doesn't curl up on itself, it's not ready! When this happens, it is ready!
- Fold the thread in the middle and bring one end to the other;
- Then detach it from the doorknob, let go of one of the ends, and let it naturally twist on itself again
Attaching your cording to the Ornament

-
Tie a knot on the other end of the thread and check the length of your cording - if it is too long, you can cut the excess;
-
Now it's time to use the ball pins to secure the cording in place;
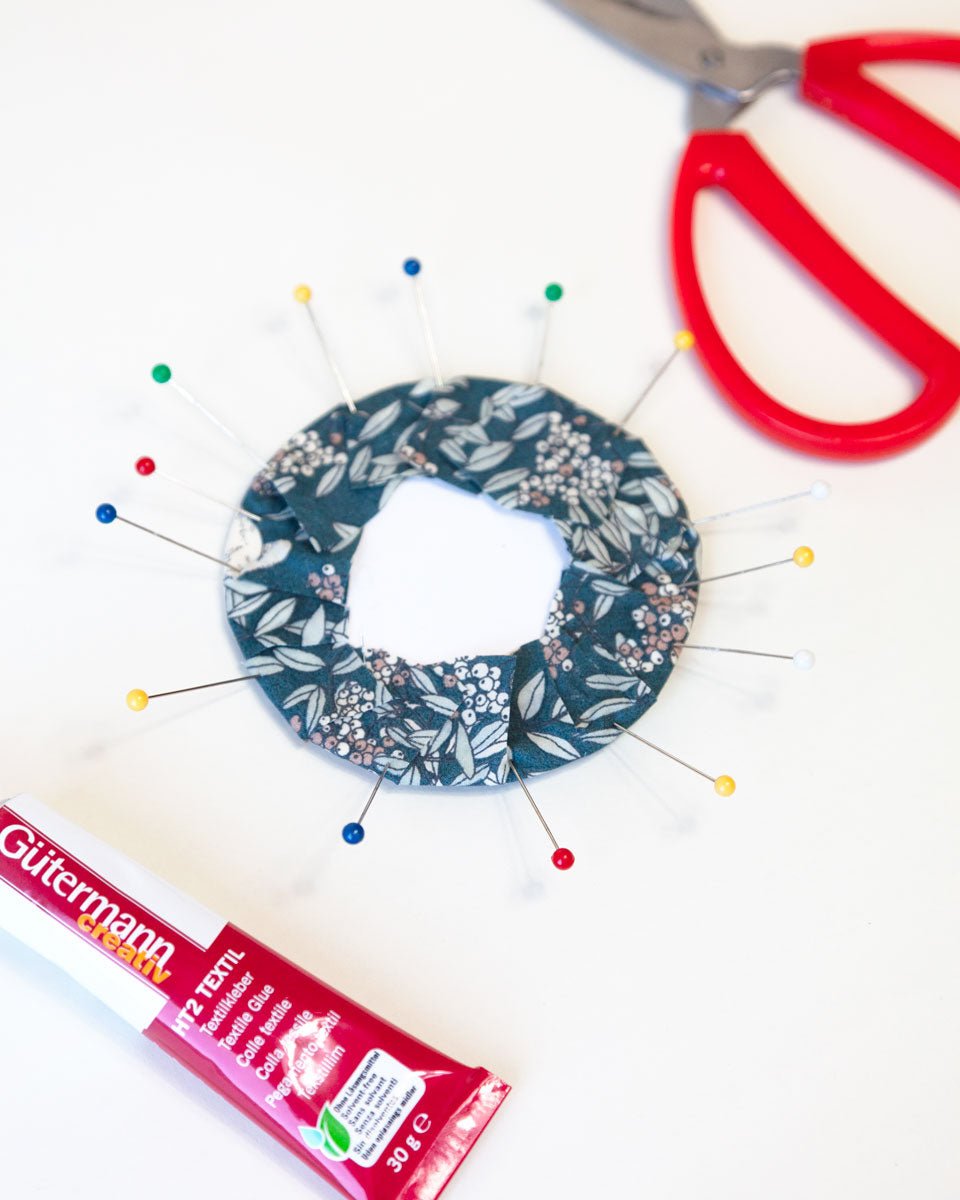
- Open up a little bit of the ornament to fit the excess thread of the cording (You can use the scissors to help you here);
- Then it's time for the glue! (or for sewing, if you opt for that - we recommend invisible thread);
- Carefully put the glue on the edge of the ornament and lightly press the cording against it - finish it with a ball pin to secure it while it dries;
- Keep doing this until you reach the end;
- When it's time for the hanger, you have to give it a twist before gluing it - Since it is the part of the cording that weights more on the piece,
make sure to take your time and secure it really well for drying - When it's dry, take all of the ball pins carefully
- In the end, you have your finished piece!

We hope this tutorial was useful for you to learn how to make your own cording with simple supplies! If you have any questions, we're always available to help you out :)
Happy Stitching***