In this blog post you will find detailed step by step instructions for self-finishing a needlepoint ornament, with a video tutorial.
It is a super fun project that you can accomplish in less than 1 to 2 hours! The perfect creative activity for a weekend afternoon!
This was our first ever needlepoint ornament finishing, and we feel very happy about it. If you don't have much crafty or sewing experience, don't worry, you can absolutely do this!
- Check out our other blog post to learn how to finish an Irregular-Shaped Needlepoint Ornament!
Below are the topics covered in this blog post:
- Video Tutorial
- Supplies & Tools to finish a needlepoint Ornament
- Blocking your needlepoint canvas
- Creating your own needlepoint ornament:
- Preparing the supplies
- Putting all together
- Applying the cording
How to Finish a Needlepoint Ornament: Video Tutorial
Supplies & Tools
You will need:
- a stitched needlepoint canvas
- cotton or wool batting for the filling
- k-line foam card (3mm thick maximum or acid free 4 ply mat board - whichever you prefer
- backing fabric in the color and texture you prefer
- 1 skein of floss (we recommend DMC stranded cotton as a cheap option) to make the cording, or you can buy the cording
- lots of pins
- fabric glue (for an easier finishing the glue should be transparent, and not white)
- scissors
Blocking the needlepoint canvas
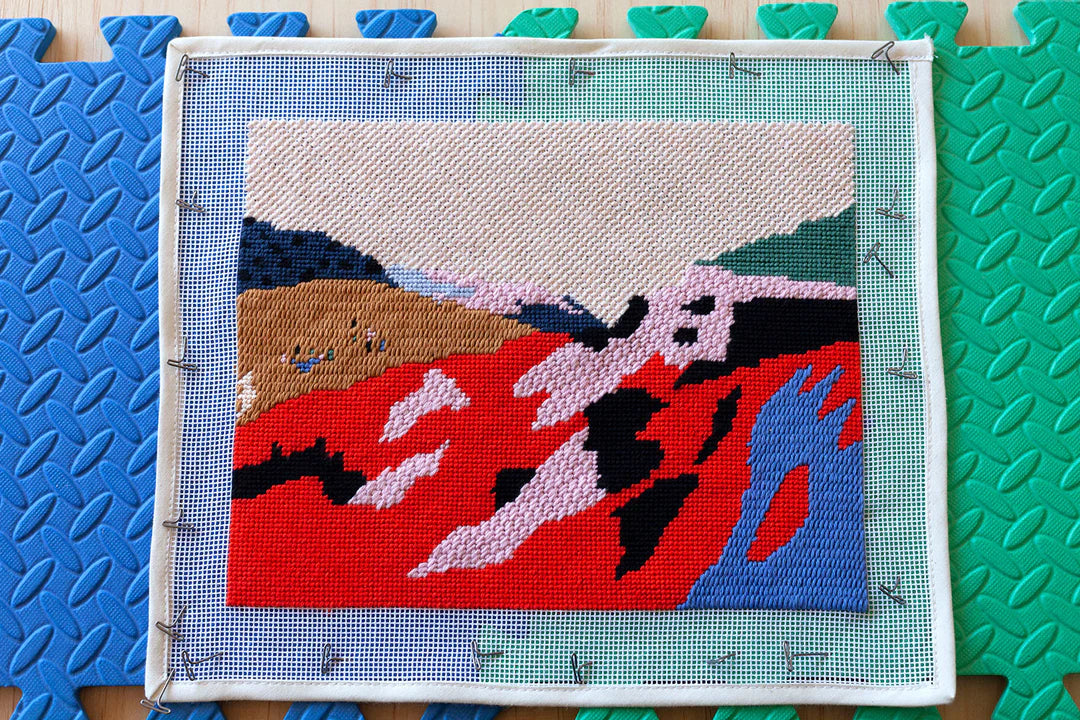
Blocking a needlepoint piece is a very important step when finishing your creation.
In case your canvas is a bit distort by the stitching, we recommend that you block your canvas as the first step. A quick and easy way to do it, is to use the steam from your iron:
- Apply the steam on the back side of the canvas and iron it.
- With your hands, reshape the canvas into its original shape.
- Repeat the process a couple of times, until you are happy with the result.
If you do not find the necessary materials for blocking in our store you can visit our Amazon store.
You can read our complete blog post on how to block your needlepoint canvas in this link.

Preparing the supplies
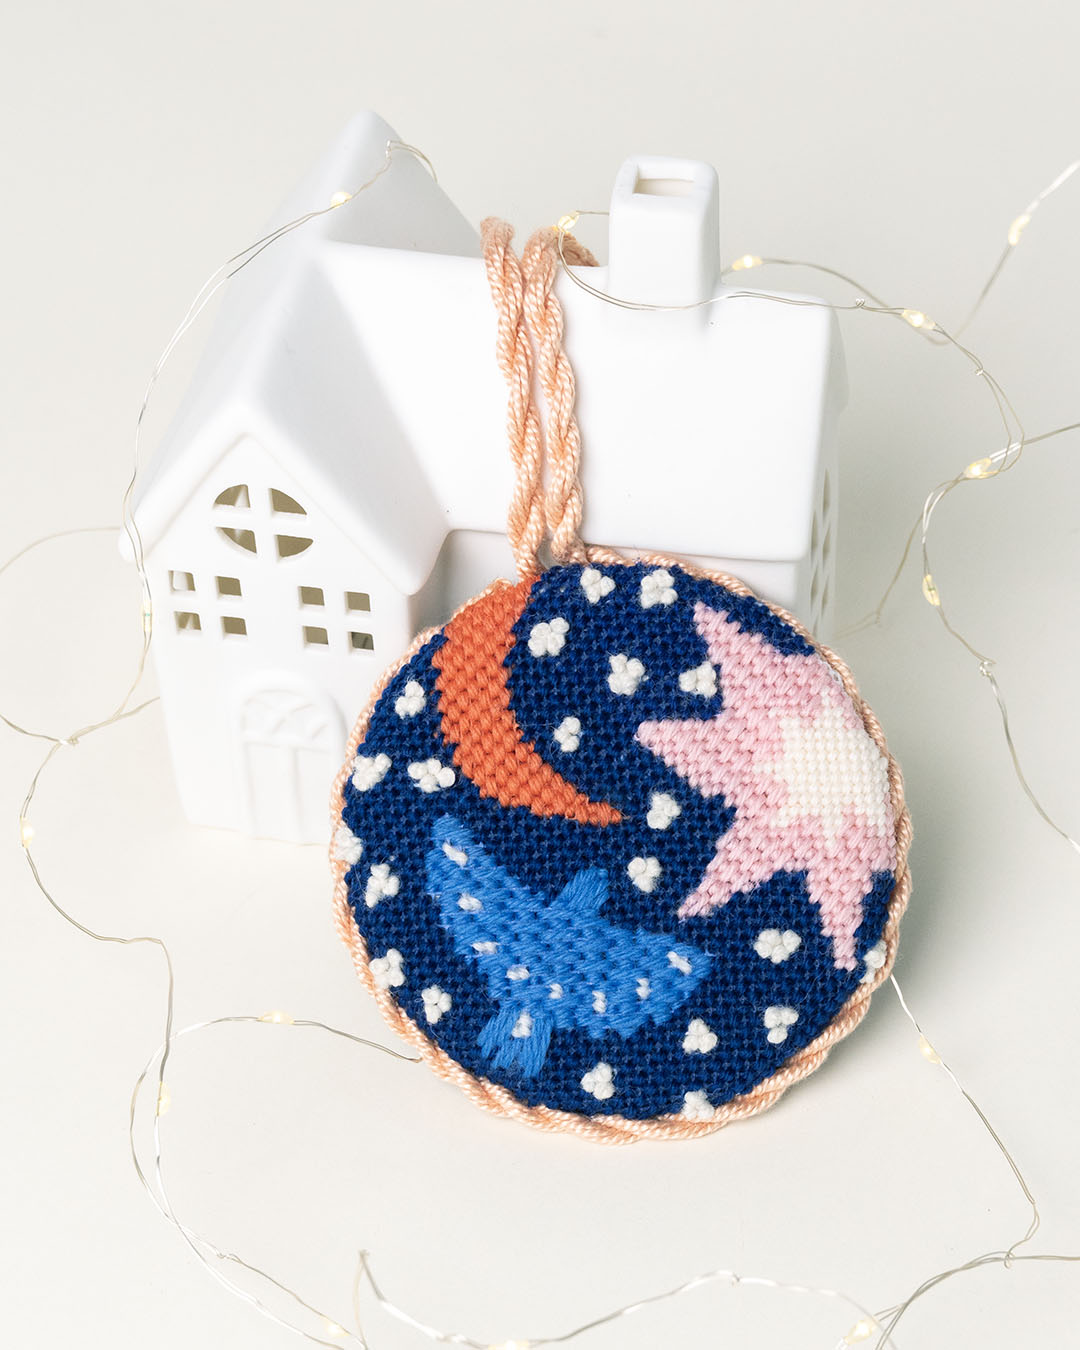
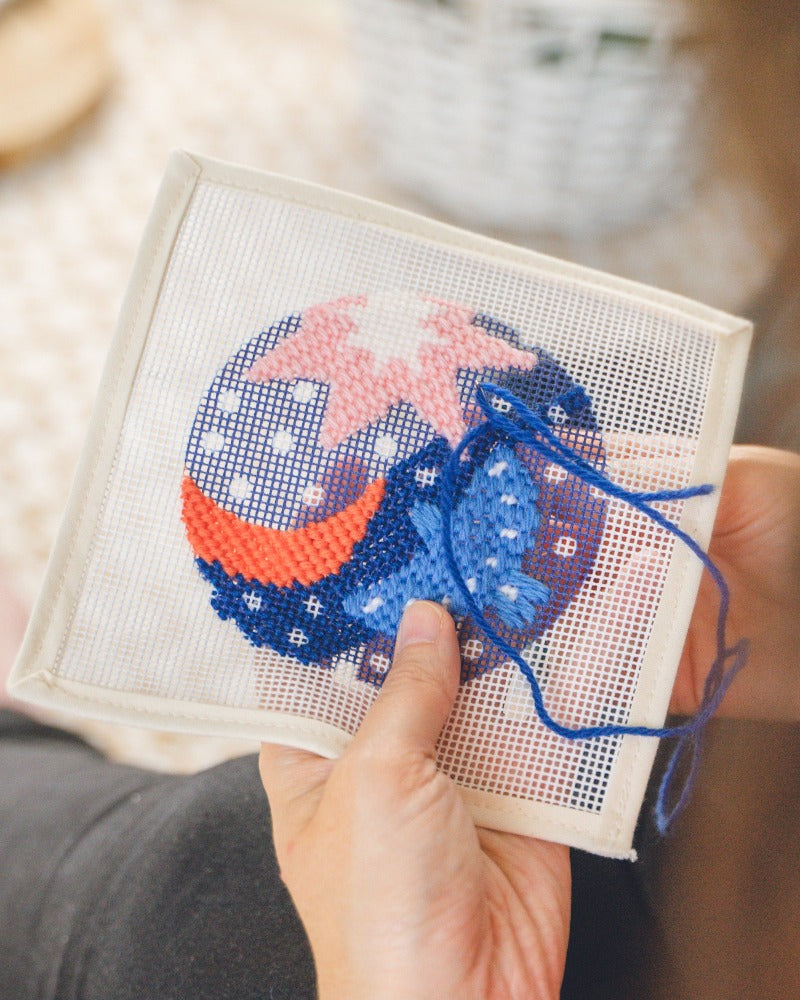
Now it's time to cut the supplies in the size and shape you want. The design we are using to explain this process is a round design, but all of the steps are applicable to other shapes too.
- Cut the canvas in the format you want, a couple of inches from the limits of the stitching area.
- Apply small cuts around the canvas to create small "teeth". This will facilitate the process of folding these pieces into the back of the canvas.
- Cut 2 pieces of the wool bathing and the card box pieces into the same size of the stitched area.
- Apply one piece of wool batting on the back side of the canvas, and another piece of card box on top of the wool batting.
 |

|
 |
If you want to avoid having tiny areas of the blank canvas visible when the ornament is finished, you have two options:
- Cut the wool bathing and card box pieces with a slightly small size than the stitched area
- Or, stitch a few rows extra with the same thread color as the background.
Putting all together
- Use the pins to secure the three layers together, before you start applying the fabric glue. Apply the pins at the limit border of the canvas.
- Apply the glue in the border of the card box as pictured below.
- Fold the small cuts of canvases and secure them with the help of the pins, by moving them from the limit border, to the top of the card box.
- While the glue is drying, repeat the entire process a second time, but now to create the "sandwich" with the backing fabric.
 |
 |
 |
 |
 |
- After both pieces are secured with the dried glue, remove the pins
- Apply glue in the back side of each "sandwich" and stick them together and let it dry once again.
Applying the cording
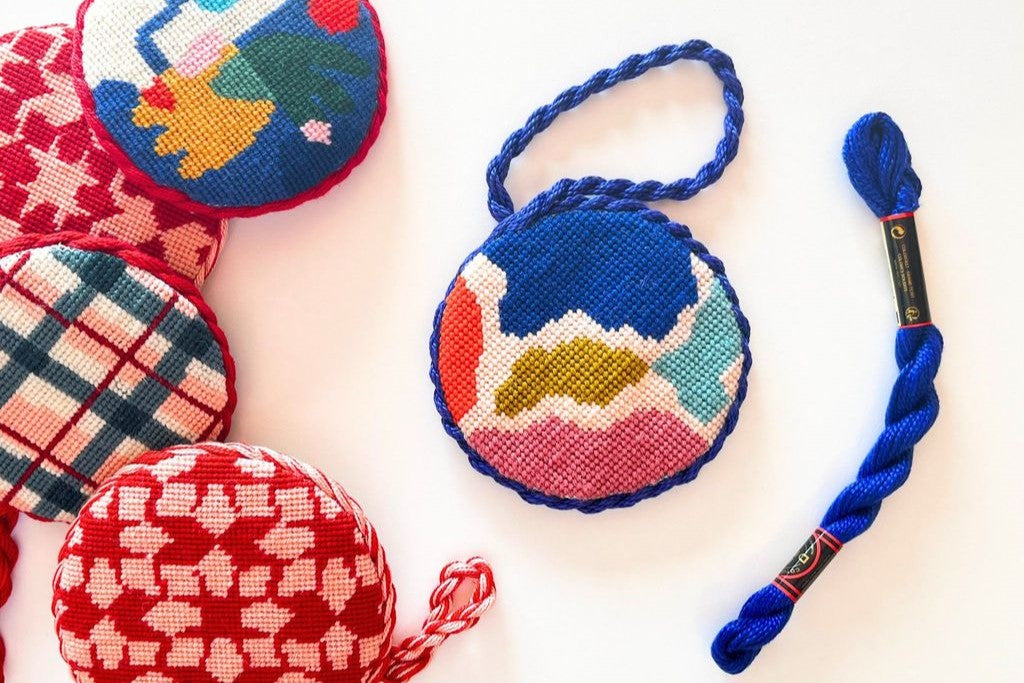
You can make your own cording, or you can buy cording at local haberdasheries/craft stores. For this particular ornament, we ended up using pre-made cording.
- As pictured below, apply the fabric glue to secure the cording.
- Be careful and avoid putting glue on the stitched or backing area.
- It is also recommended that once the glue is dry, to stitch by hand the end piece of the cording back into the "sandwich".
 |
 |
 |
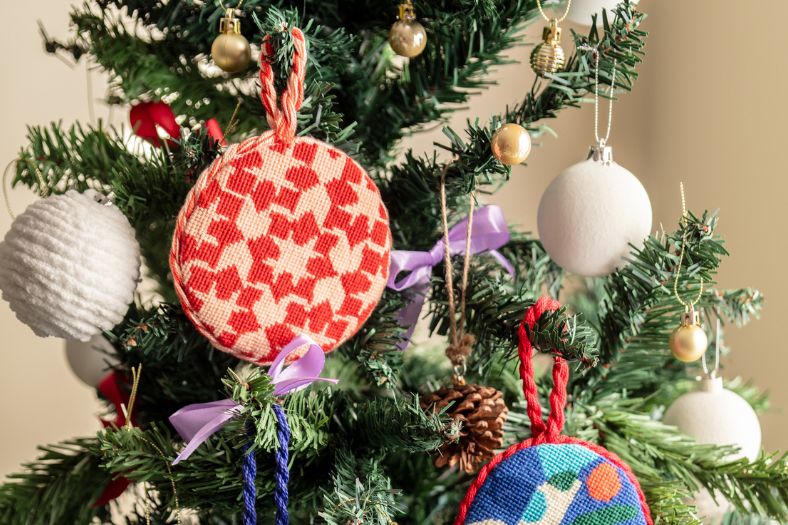
Yes, You've made it!
When finishing this process, you will feel a sense of accomplishment that is so so good. You will be amazed by how much you can achieve, once you decide to give the first step.
We loved doing our first ornament so much, that we gave it a try to other two more!

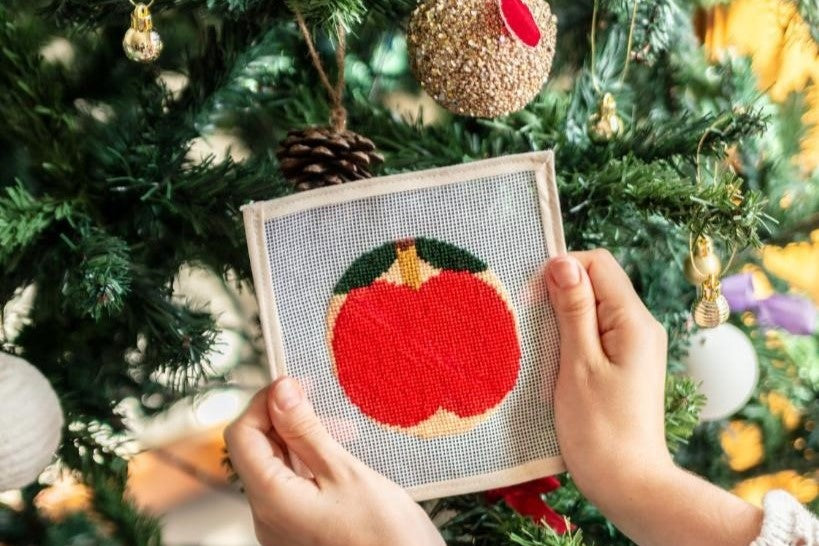
These handmade pieces are the perfect item to decorate your Christmas tree. Each ornament can be personalized too: adding a name, a date, etc.. Truly special heirlooms that you will cherish forever!