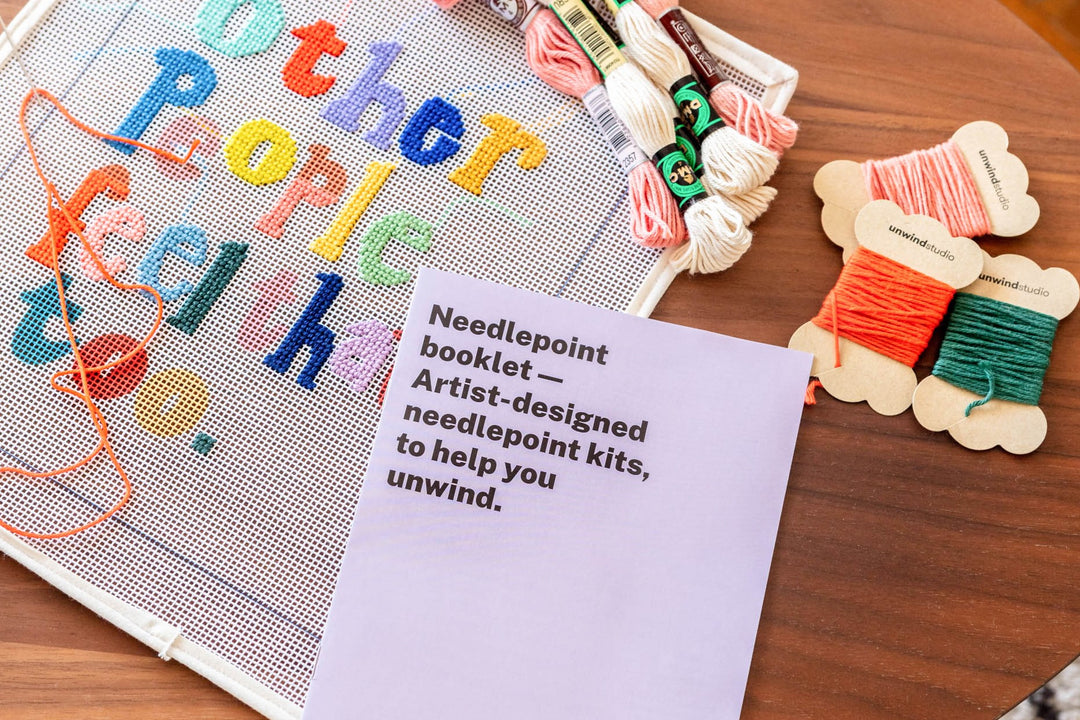
In this issue of the DIY finishing tutorials we want to show you how easy it can be to attach a needlepoint piece into a tote bag. This needlepoint finishing idea can actually be implemented in any textile with similar texture/rigidity like denim jackets, purses, etc.
We analyzed 3 methods to embellish a tote bag with needlepoint each one with its complexity and different results. In this post we explain the pros and cons of each one of them!
These are the finishing methods we are explaining in detail:
- Embroidering directly in the tote bag, using a waste canvas
- Trips & Tricks on how to use a waste canvas
- Embroidering directly in the tote bag, using a water soluble canvas
- with DMC Water Soluble Cross-Stitch canvas (14 mesh count)
- with Self-adhesive stabilizers sheets
- Sewing the finished needlepoint into a tote bag
1. Embroidering directly in the tote bag, using a waste canvas


According to Zweigart's definition: waste canvas can be used to embroider non-countable fabrics such as clothing, bags, etc. with cross stitch patterns. The term "waste canvas" is used because the individual threads of the canvas are given a special finish which dissolves in water. So if the canvas is dampened with water, then the individual threads of the canvas will separate from one another.
Using waste canvas might sound difficult, and it sure has its tricks, but it's a good method if you want to attach/embroider an object of focus without having to fill in a canvas background.
Embroidering directly on this tote bag that you can see in the pictures above was a bit tricky, due to the lack of a good reach to the back of the "canvas". This was also our first project with waste canvas, and we certainly learn a few lessons, described below.
Tips & Tricks on how to use a waste canvas
Use an embroidery hoop:
If your textile is not completely rigid, you need to use an embroidery hoop to fix and hold the area that is going to be embroidered. This will prevent an uneven layout of the fabric when you are stitching.
Removing the waste canvas:
You need to be very careful when cutting out the margins of waste canvas around the embroidery. To prevent cutting out any threads of the stitches, you should follow the instructions on how to remove the waste canvas.
Also when removing the canvas, don't use too much water. A slightly moist will be enough as too much water may make it more difficult to remove.
Check out this very good blog post bt Nordic Needle on how to use waste canvas, and the must follow tips they recommend:
- Use a crewel needle instead of a tapestry needle.
- Don't stitch through the canvas or you will have trouble pulling out the threads.
- Take your time and place your stitches in the center of the holes in the grid making sure that your stitches touch each other. I found it was easy to have a little gap between the stitches because I am used to stitching into the hole created by the fabric weave. There isn't a "hole" in regular fabric.
- Depending on your fabric, you may want to put a stabilizer on the back of the fabric.
2. Embroidering directly in the tote bag, using a water soluble canvas
To avoid the complex step of removing the waste canvas from the final embroidery, you can use instead a water soluble product, which disappears with hot water. We have found two distinct products:
DMC Water Soluble Cross-Stitch canvas (14 mesh count)
How you work with it is pretty much the same way as the waste canvas described earlier. The only difference is that you don't need much work to remove the canvas, as it is easily dissolved with hot water.
Self-adhesive stabilizers sheets
The advantage of this product is that it can be easily fixed to the textile due to its self-adhesive property. The downside is that it is a blank sheet, without any reference to "holes" where you need to put your needle on.
Because we are looking for a 10 mesh count product, we tested the self adhesive stabilizer instead. As you can see from the pictures below, we applied a blue grid to our design, and printed the end result into the blank self-adhesive sheet. This should give us the references for the "holes" we need to embroider properly.
After a few stitches, what we found out was that it was super hard to get the stitches all even and uniform. This was due to the lack of an actual grid that would support a proper embroidery.


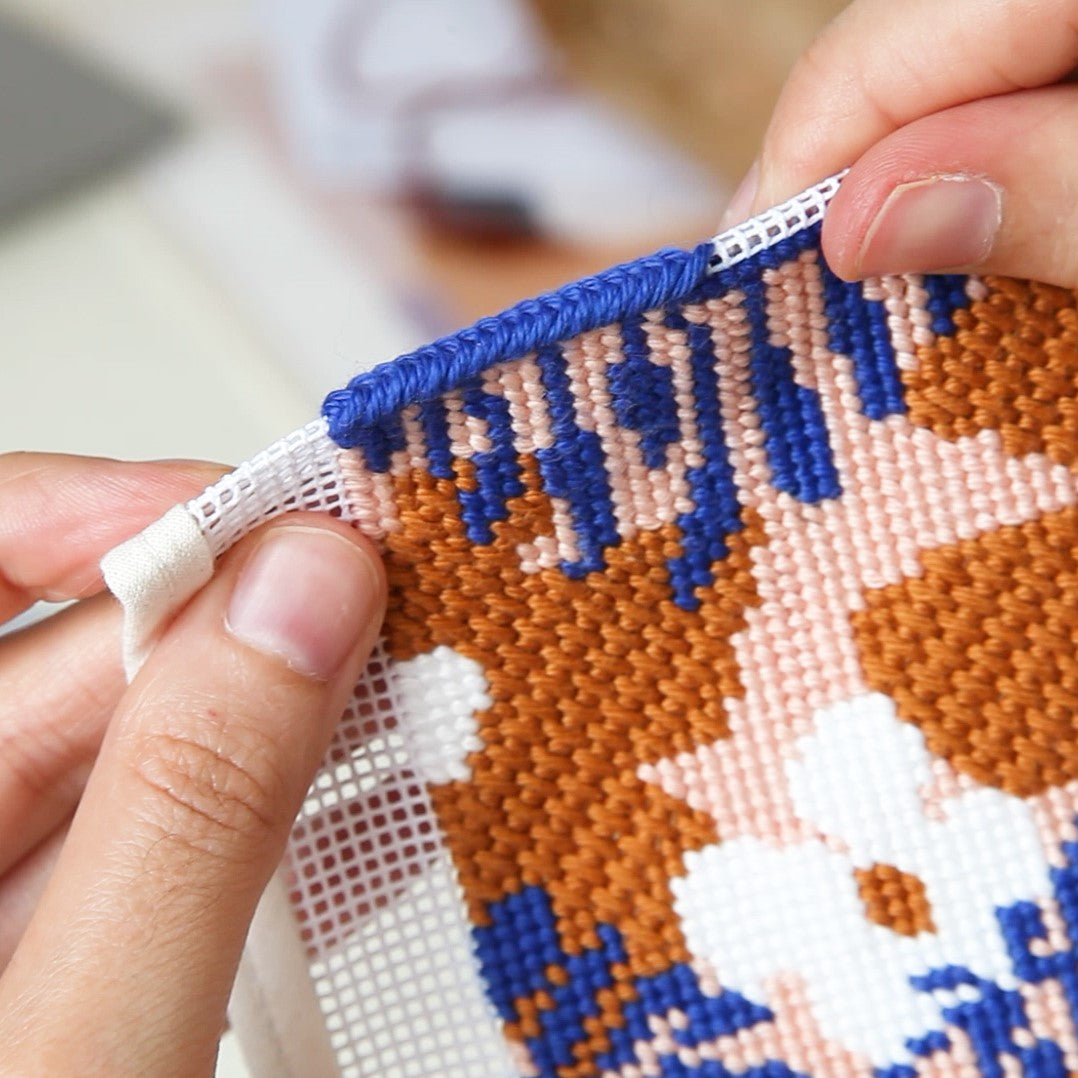
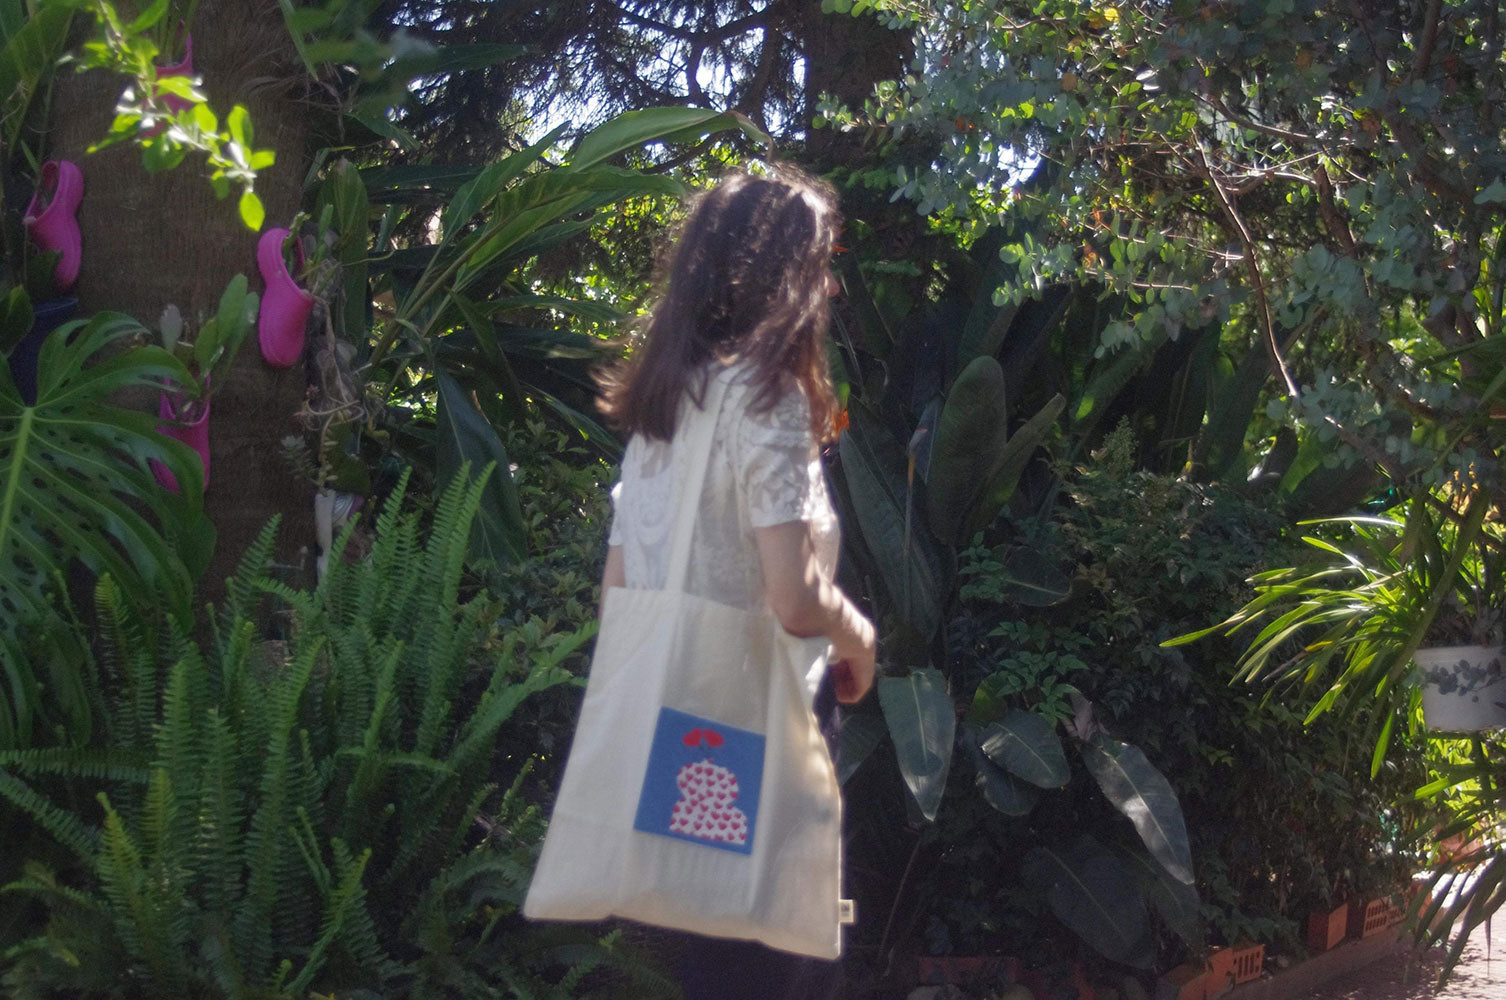
3. Sewing a piece of finished needlepoint into a tote bag


This option, despite requiring that a background of the canvas must be filled in, was the one we found out being the most straightforward to implement.
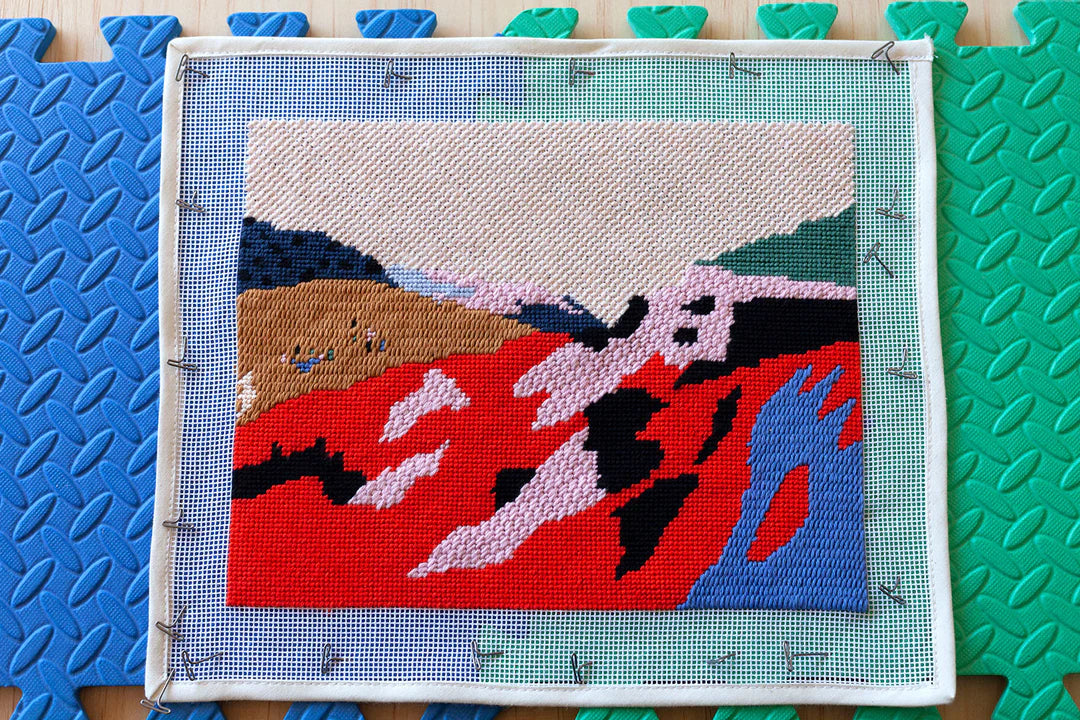
After finishing the embroidery, and doing the blocking process (read more about this step on our blogpost), you just need to sew a bit of the margin of the canvas on its back, and then, with the support of a sewing machine (or manually), apply the canvas into the tote bag.
In this article you can check another version with a needlepoint patch, applying the binding stitch before sewing it into the tote bag.
Conclusion
We will definitely give another try to a water soluble waste canvas product! But, in order to ensure a uniform and even stitching, we believe that option 1 and 3 are the best.
- If you want an end result without a background filled also with needlepoint, then you should use option 1: using a waste canvas;
- If you don't mind applying a stitching with a background (large, or just surrounding the main object in a few inches/cm), then the third option is the simplest: sewing the embroidered canvas into the tote bag.
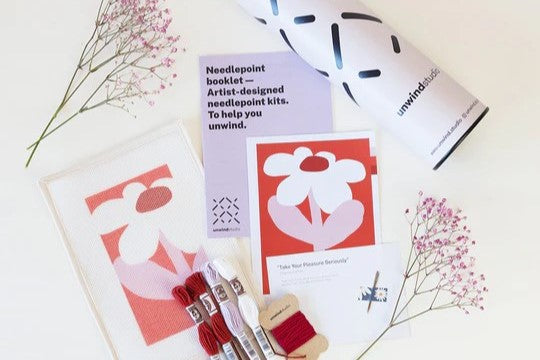
Small Needlepoint Kits
For the method 3 described above, we used the Flower-Love (discontinued) needlepoint kit.
Get inspired with other beautiful small designs, browsing through our Small Needlepoint Kits & Canvases collection!
I hope that this article will help you and inspire you to create new and unique products with needlepoint. :)
If you have any suggestions or feedback, or just want to share your experience, we would appreciate your comments so so much!
Happy Stitching!