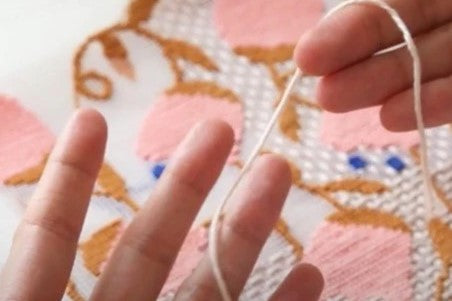
Have you ever had this problem when stitching: you are doing a needlepoint decorative stitch and you don't have enough space to finish the structure of your stitch?
If you have ever encountered this obstacle, and you don't know what to do, let us introduce you to needlepoint compensation stitches! In this blogpost we will tell you all about compensation stitches, what they are, and how to do it, along with some tips and tricks.
What are Needlepoint Compensation Stitches?
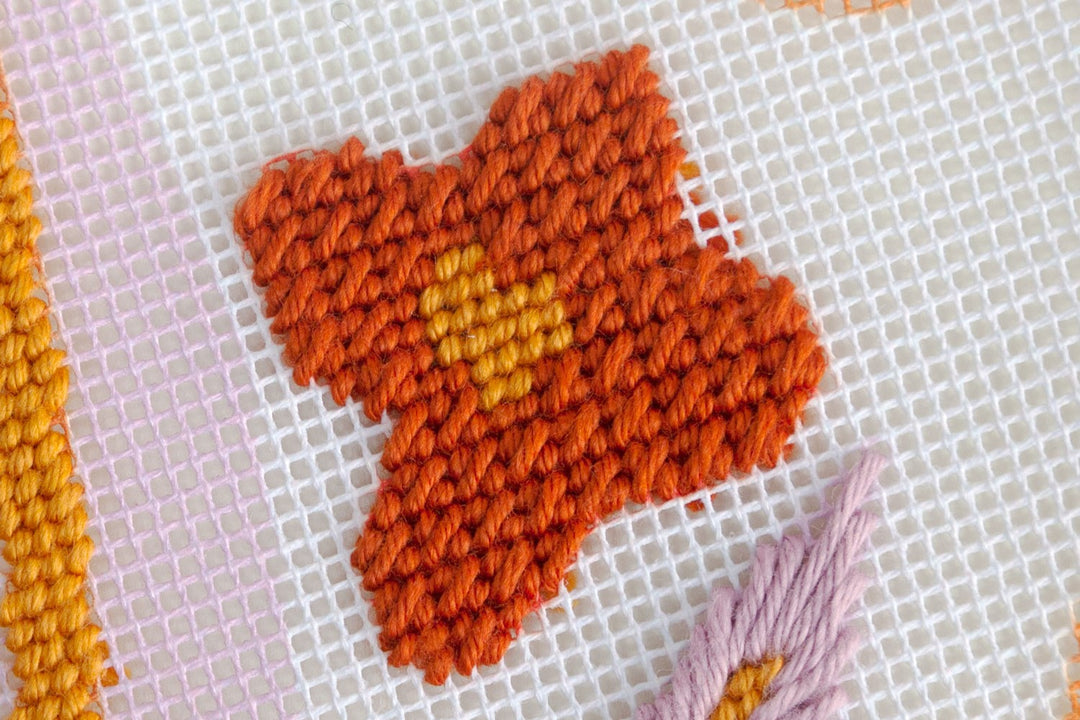
When there aren’t enough canvas holes left in the row for you to complete a specific (non-tent) stitch, you need to use compensation stitches.
Compensation stitches are used for most needlepoint decorative stitches, when there is no space to complete the full structure of the stitch pattern. Usually it is possible to work part of the main stitch and then fill the rest of the space with smaller stitches running in the same direction.
The most important thing to consider when compensating is that you want to retain the overall look of the needlepoint stitch.
How to do compensation stitches
When you are doing compensation stitches it’s important to consider the overall structure of the needlepoint stitch. So keeping in mind the length and direction of each stitch, you have to shorten them according to either the shape you are filling, or a nearby group of stitches.
Here are some tips to make needlepoint compensation stitches easier to understand and work:
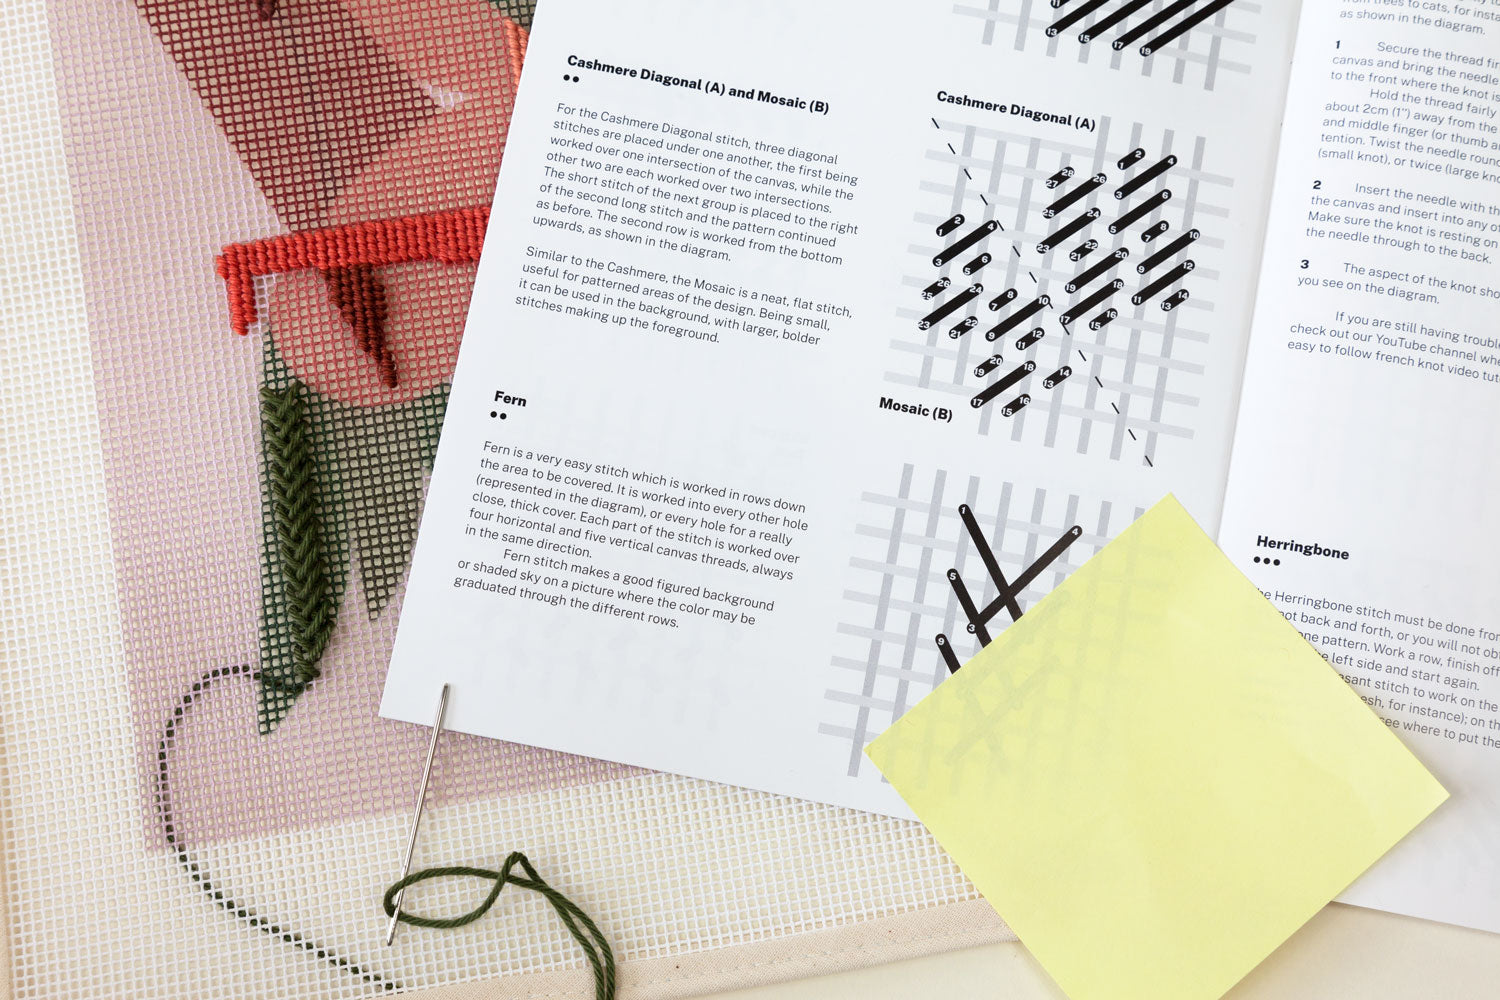
- Post-it trick: We have seen this trick going around in the needlepoint community and we find it genius! If you have a printed diagram of your stitch, you can use a post-it or other piece of paper to cover where the stitch will have to be “cut”, so you can visualize the length of the compensation stitches more clearly. Here is an example:

- Simulate the stitches without actually stitching: if you can't access a printed diagram of your stitch, you can:
- simulate your next stitch by placing the needle where it should go if you weren't compensating
- if it intersects with a different printed/design area, move the needle to the edge of the area you are stitching, but keeping the angle of the stitch to make the compensation.
Most needlepoint compensations stitches end up being tent stitches, because it’s the easiest way to fill a hard spot, since it only goes over one intersection of the canvas.
Watch our video tutorial on how to do needlepoint compensation stitches for more examples:
Compensation stitches might seem hard to understand at first, but once you get the hang of it, you will be mastering them in no time! We hope our blog post helped, but if you still have any doubts or questions, don’t hesitate to contact us via email or Instagram.
Happy Stitching!