Unique Needlepoint Framing Ideas to elevate your Decor
Needlepoint is a beautiful way to add a personal touch and pop of color to your decor, and framing it creatively can make all the difference. With some unique needlepoint framing ideas, you can turn your handmade pieces into interesting and unique pieces of art.
In this blog post we are showing you some unique framing ideas to inspire you to get those canvases out of the drawers, and give them the spotlight they deserve!
How to Frame your Needlepoint Canvas: video tutorial
If you want more information on how to frame your own needlepoint, visit our complete blog post. We cover detailed instructions and have a video tutorial for you to learn how to professionally frame your needlepoint piece with our Unwind Studio Frames.
Different Framing Solutions you can apply to your Needlepoint Project
There are plenty of creative options for you to frame your needlepoint, depending on the size of your piece, and the final result you're looking for. Here are some amazing solutions if you're looking for a beautiful way to finish your most recent project!
- Check out our Framing Collection for good-quality, gallery-looking framing options for your needlepoint projects.
Floating frame with border
 |
 |
These are examples of a professionally framed needlepoint, resulting in a floating frame effect, with a border between the frame and the needlepoint. Designs used in pictures above: Inverso and Breath.
Floating frame without border
 |
 |
This is another example of a professionally framed needlepoint, that uses the floating frame method, but this time without a border. This technique creates a decorative piece that showcases the details of the needlepoint piece. This is an handmade piece by Tapeto Atelier.
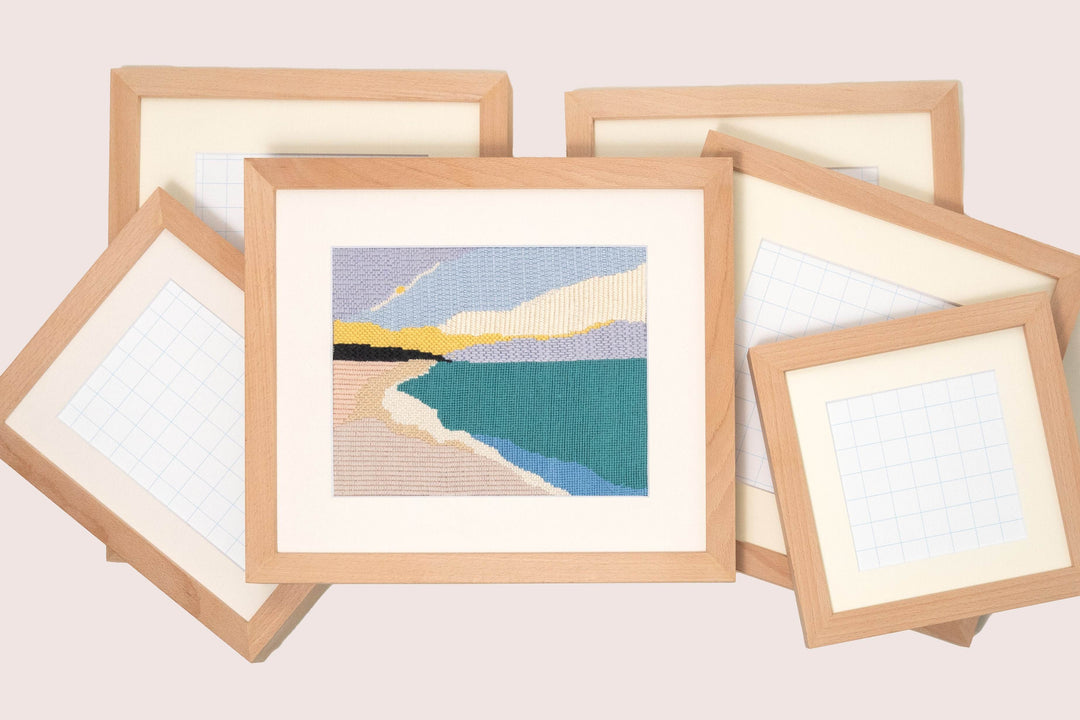
Floating frame with mat
 |
 |
Below you can see another example of a floating needlepoint frame, but this one was made at home, using affordable materials and techniques, and with the inclusion of a mat. We used the LOMVIKEN 32x32 cm/ 12.5/12.5 in frame from IKEA. Check out our blog post with framing video tutorials for guided instructions on this technique. Design used: Biarritz 5
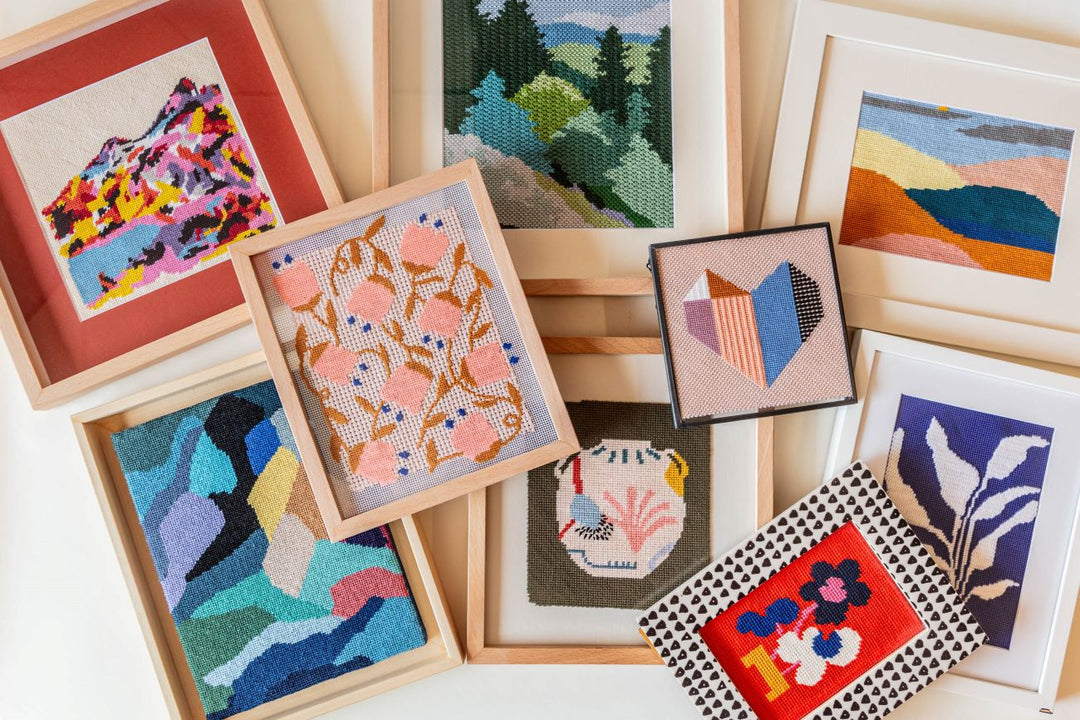
Gallery frame with Mat Board
 |
 |
 |
 |
These are a few examples of framed needlepoint using a Gallery frame. This is the most common type of frame, and is widely available in most hardware stores. However, for a professional gallery-like look, as well as durability, we advise you to opt for better quality frames, like our Framing Gallery options that you can see in the second image. These are perfect for DIY framing projects, maintaining the polished look you would get with framing services.
In this case, you secure the needlepoint to a foam board, and then place a mat on top. For more tips and tricks on this framing technique, check out our more in depth blog post about needlepoint framing.
Designs used: From the Other Side Rainbow, The Beach, Portuguese Tile: Oliveira Monteiro
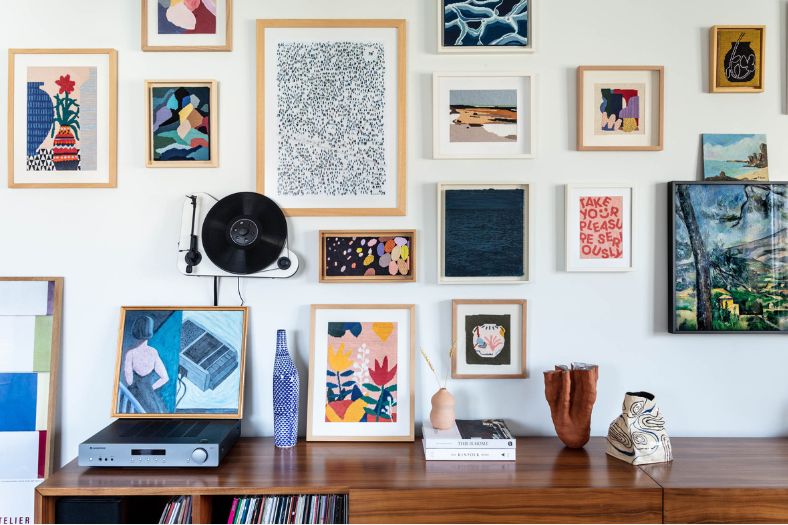
Gallery frame without mat
 |
 |
This is a very simple way to quickly frame your piece, that allows you to easily remove it, if you want to re-frame it. In this technique you simply wrap the canvas around the backing of the frame, and secure the edges with tape. The trick for this method is to stretch the canvas tightly, and to use a strong tape. Design used: Escher Tumbling Blocks
 |
 |
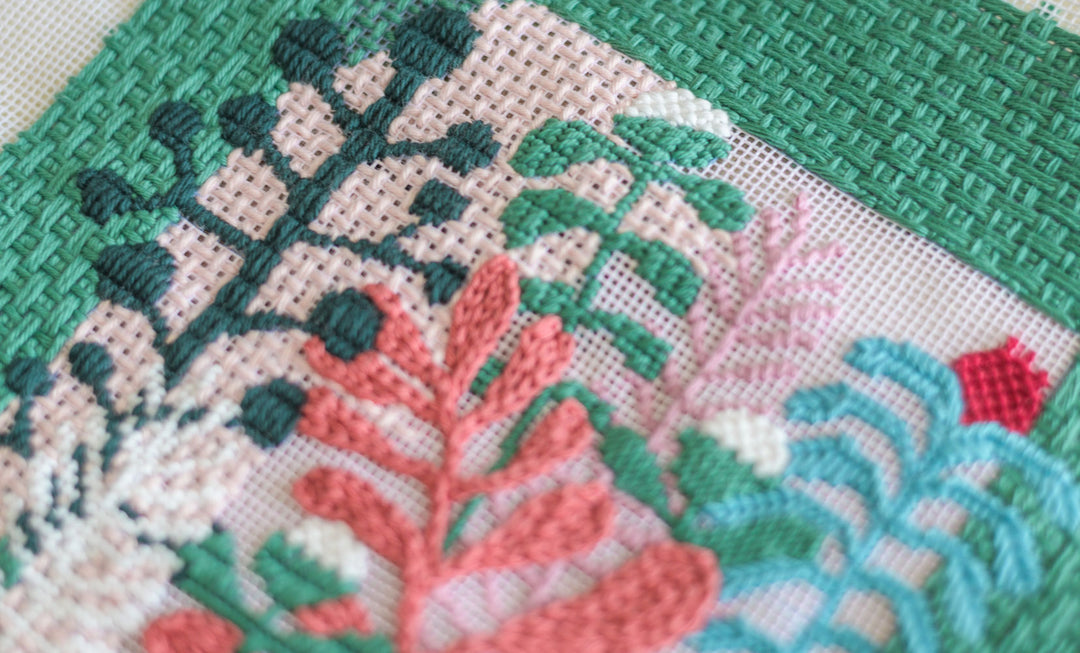
These are examples of a deep-set gallery frame. Deep-set frames can be especially good for framing needlepoint because they create space between the stitched piece and the glass. This is perfect for when the needlepoint has some texture and raised stitches, like the French knot stitch, for example.
We also offer a variety of sizes of Deep-Set frames for you to easily mount yourself, with the help of our video tutorial. You can see two examples of our frames on the second image.
Designs used: Poppy Blobs, Portuguese Tile: Fontainhas
 |
 |
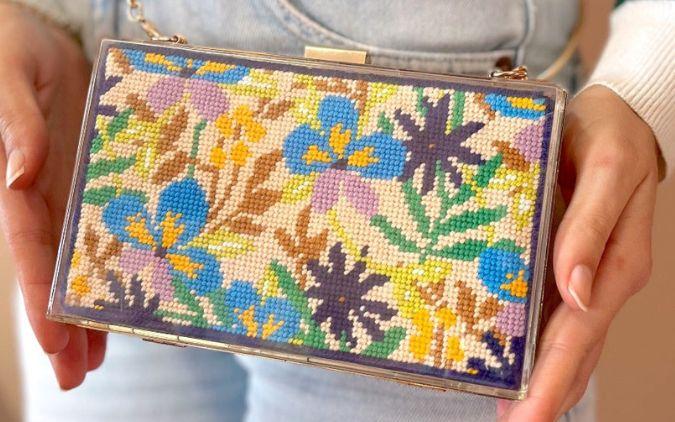
This is a straightforward way to frame your small canvas, using the LERBODA IKEA metal frame. For this technique you need a design that fits a 16x16 cm / 6.2x6.2 in frame (check out our small needlepoint kits for inspiration). Simply place the trimmed needlepoint canvas between the two acrylic glasses. In case the needlepoint is too thick to fit, replace the back glass with a thinner cardboard board. Design used: Origami Heart

Design used: Bellflower
Other Unique Ideas to Elevate your Needlepoint Frame Project
Bold Mat-Board Colors

Designs used: Agrumes, Ain't No Mountain High Enough
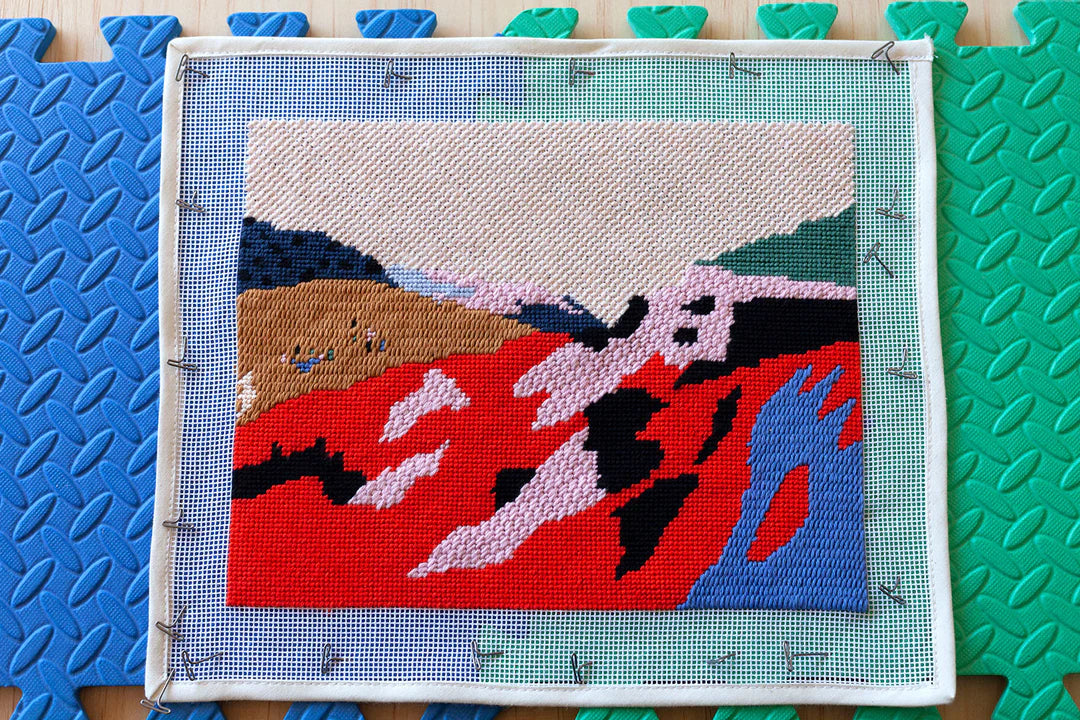
Organic Shapes of Stitched Area

Design Used: Clay Belly
Without Stitching the Background

Design Used: Slow Down
Conclusion
There are many more framing and finishing possibilities that you can explore, but we hope these ones have inspired you to enhance your needlepoint pieces into lovely decorations.
Happy stitching!