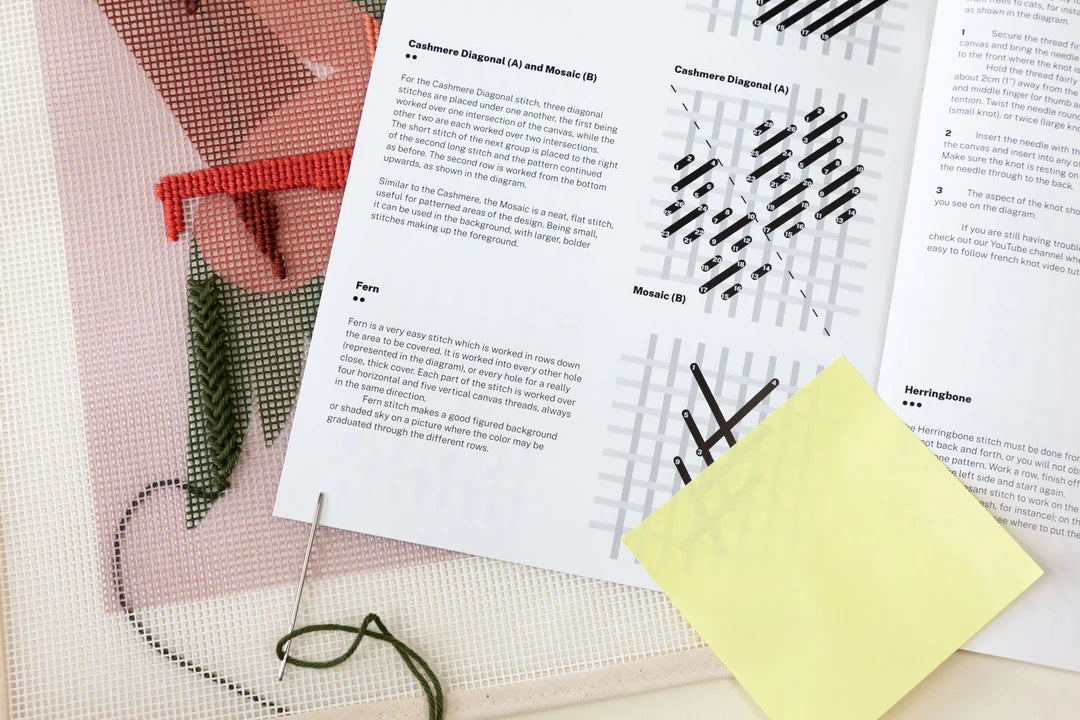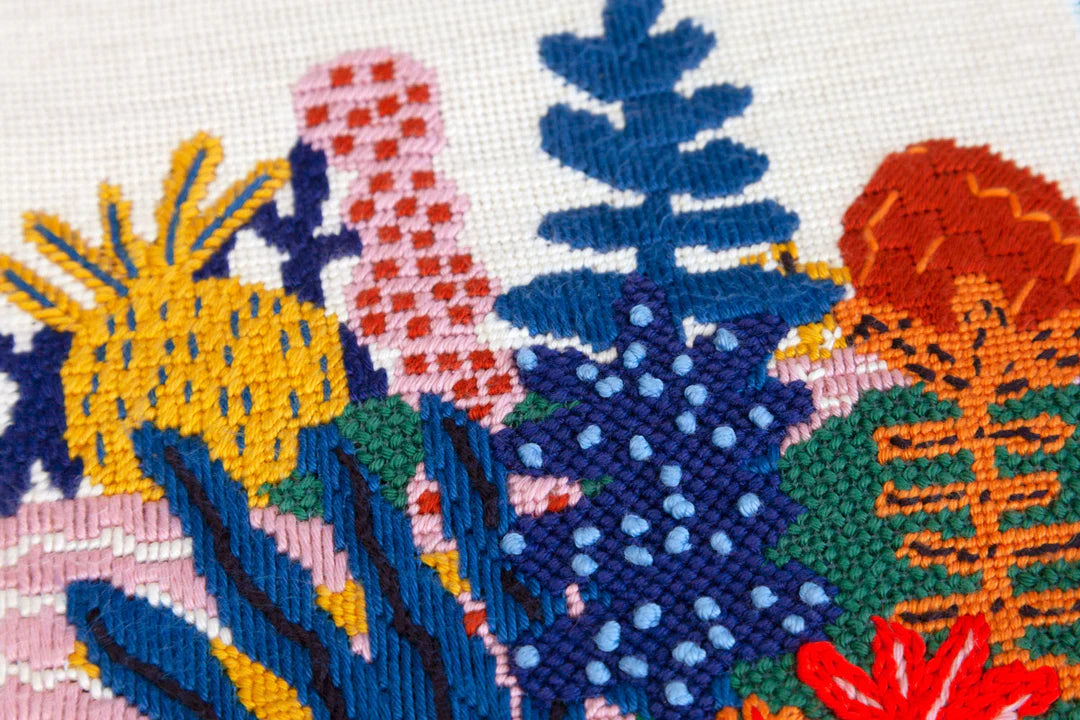


Long Stitch / Satin Stitch
The Needlepoint Long Stitch is a straightforward and versatile needlepoint stitch commonly used for filling large areas, creating smoothness or unique patterns in a needlepoint design.
This blog post is part of a series of tutorials dedicated to the Long Stitch. Here's everything you need to know about this amazing needlepoint stitch:
- How to stitch with Long Stitch (you are here!)
- Complete guide to obtain incredible Textures & Patterns with Long Stitch
- Tips & Tricks for the perfect Long Stitch / Satin Stitch
- Project Gallery of Long Stitch works (coming soon)
- Why we love Long Stitch (coming soon)
Stitch Details
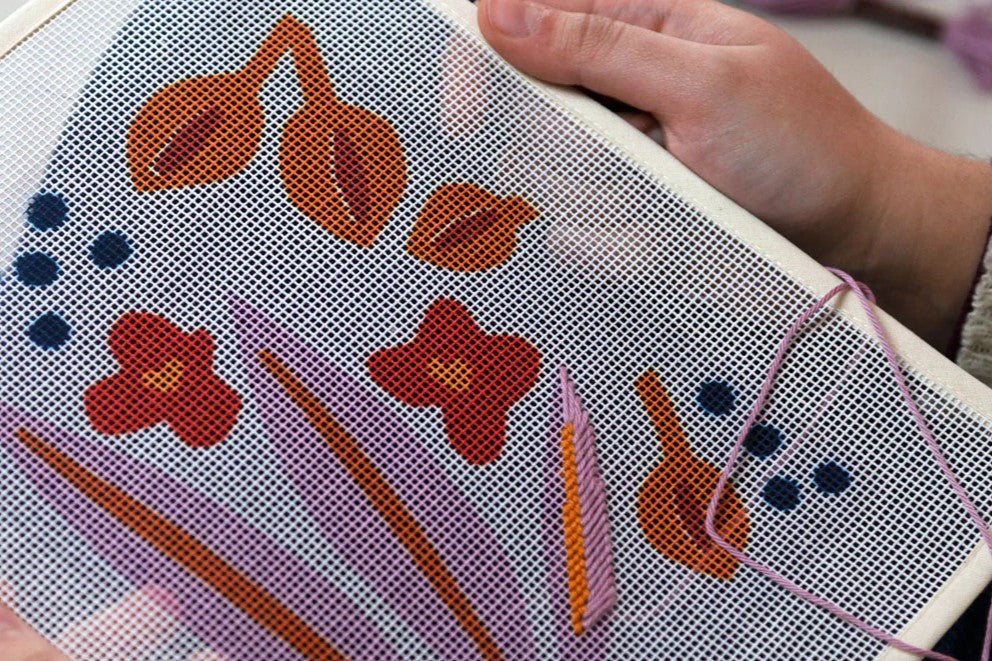
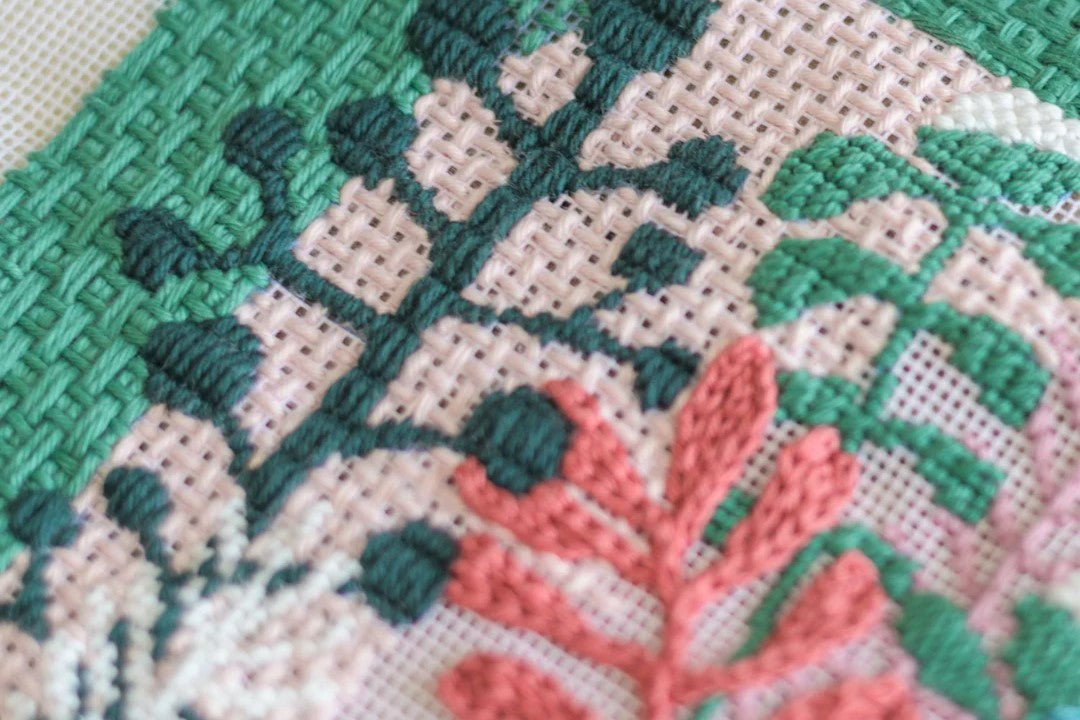
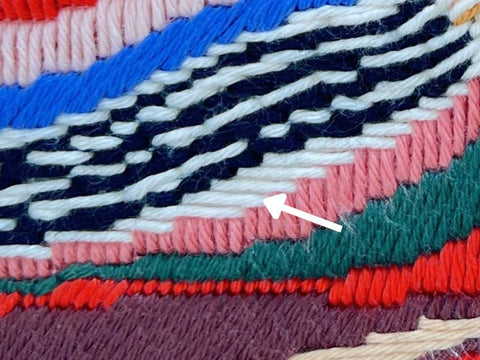
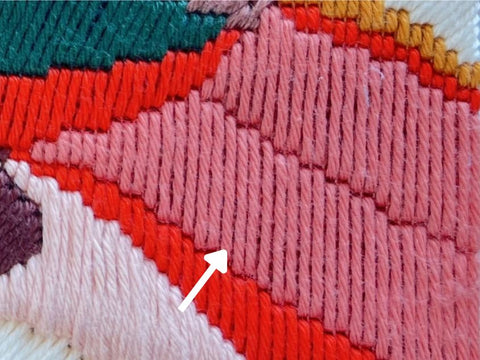
The definition of a long stitch is one straight stitch worked to any length in one direction: whether horizontally, vertically or diagonally. These stitches can be easily adjusted in size to fit any space, no matter the shape.
However, the longer the stitch the more vulnerable it will become, so for large open areas where the stitch length will be greater than 20 canvas holes, it is usually better to work several groups of stitches.
See the complete blog post of Long Stitch Tips & Tricks for a detailed clarification of this rule of thumb and many more insights, like:
- Thread length
- Starting and Ending a piece of thread
- Stitching Tension
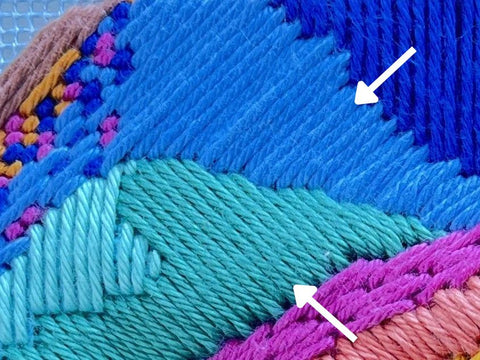
- How to soften the edges of different color areas
- Canvas coverage
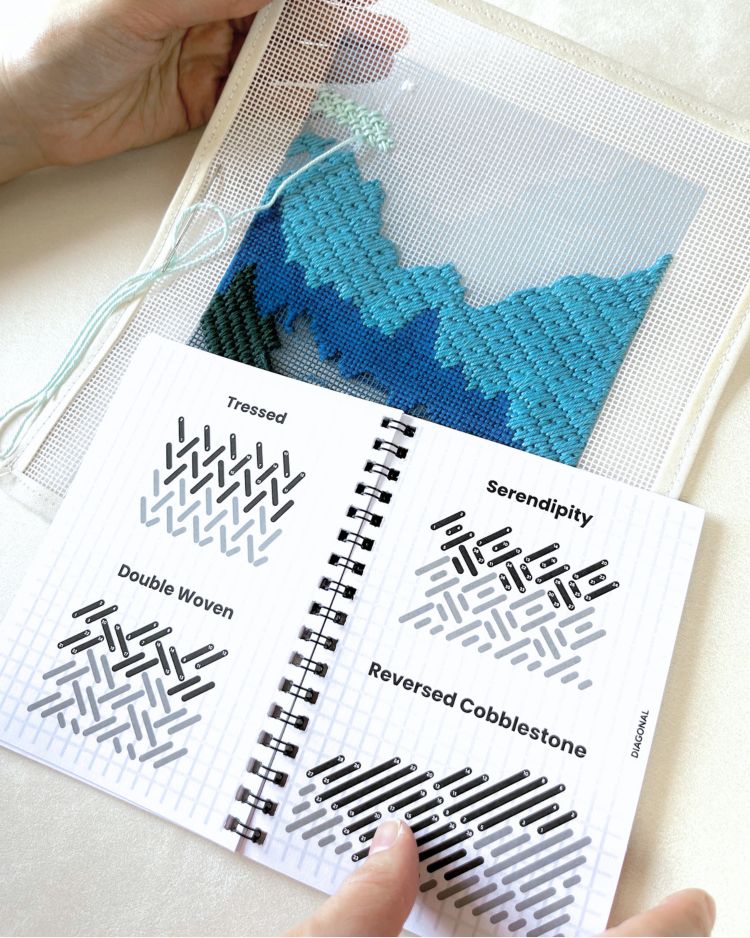
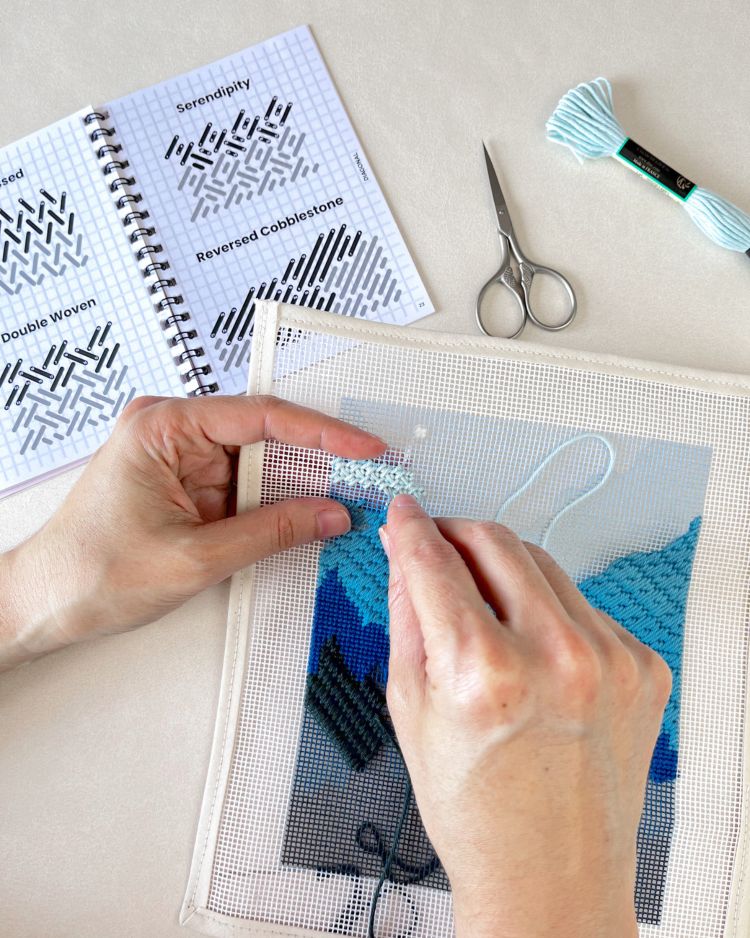
Long Stitch Diagram, Video Tutorial & Instructions
See below the long stitch diagram and the overall stitching instructions for each different direction: Horizontal, Vertical and Diagonal.

-
Horizontal Long Stitch: Worked from left to right (or right to left) across the canvas, creating rows of stitches that run parallel to each other.
-
Vertical Long Stitch: Executed from top to bottom (or vice versa), forming vertical columns of stitches.
- Diagonal Long Stitch: Stitches are slanted diagonally across the canvas, offering flexibility in design and pattern creation.
Long Stitch Video Tutorial: Vertical, Horizontal & Diagonal
Detailed instructions on how to use the Long Stitch:
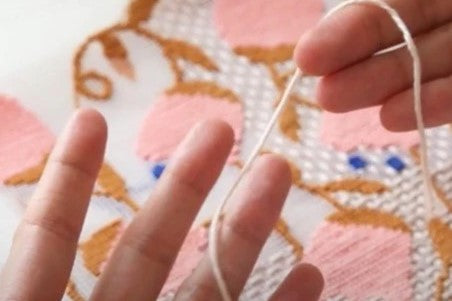
- Secure your thread on the backside of the canvas by making a small knot.
- Insert the needle from the back of the canvas to the front at the starting point.
- Decide on the length of the long stitch. Move the needle across the canvas to the desired length and insert it back into the canvas at the opposite end of the stitch.
- Repeat the process, creating long stitches across the canvas. You can work row by row, column by column, or in any pattern that suits your design.
- Secure the thread at the end with another knot in the back of the canvas. This way you will make sure that the stitch is 100% secured.