Needlepoint is a great hobby for those who like to work with their hands. It's also a great way to unwind and get creative — but it can also be frustrating! If you're new to needlepoint, or if you want to learn more about the process, in this post we are describing the best tips and tricks to help you obtain a perfect needlepoint stitching experience!
Below you'll find:
- Best tips to achieve smoother needlepoint stitches
- What do you wish you knew when you first began with needlepoint
- Something you wish you had in your needlepoint kit early on
-
Tips to avoid back pain and sore hands while stitching
Let us know if you have any other tips we should include here :)
Best tips for achieving smoother stitches in Needlepoint
1. Make sure your tension is even across the canvas
While stitching, you should pull the entire piece of thread through to the back or front of the canvas, until you feel a bit of resistance. The stitches should be worked firmly, snug but not too tight! Once you find the right tension for you, apply it evenly across all stitches.
2. Avoid threads from frailing / Untwist your thread
Remove the thread from the needle and relieve the twisting every 20 stitches (or so) so that it can unwind. The needle and thread will naturally twist as you stitch and if you don’t untwist it, the thread will wear gradually until it is much thinner than it was originally.
To help further, you should also use short thread lengths: 50cm / 19'' long.
3. Avoid piercing threads
Make sure you don't pierce an already stitched thread, when placing a stitch in a hole that is already occupied. You can avoid this by opening the hole (wiggling out a space) using the needle in the front of the canvas, before you go through.
4. Snip thread tails off close to the canvas
When finishing a piece of thread, snip thread tails off close to the canvas, otherwise you might find that when you stitch next to the tail the needle picks up the scraggly end and brings it through to the front of your canvas.
5. Stitch the details first
Begin by stitching the intricate or detailed areas of your needlepoint project before moving on to larger, more open sections. This approach ensures that the detailed stitches are neatly placed and not crowded by surrounding stitches, allowing you to complete the main elements by choosing the best stitches available.
6. Stitch the white areas first
If you start stitching the darker colors first around a white/cream area, it is likely that you'll accidentally pull bits of dark thread to the front of the canvas when you are stitching the lighter area. By doing the white areas early on, you reduce this risk, preserving the crisp appearance of your needlepoint project. Also, wash your hands before stitching to prevent your project from getting dirty!
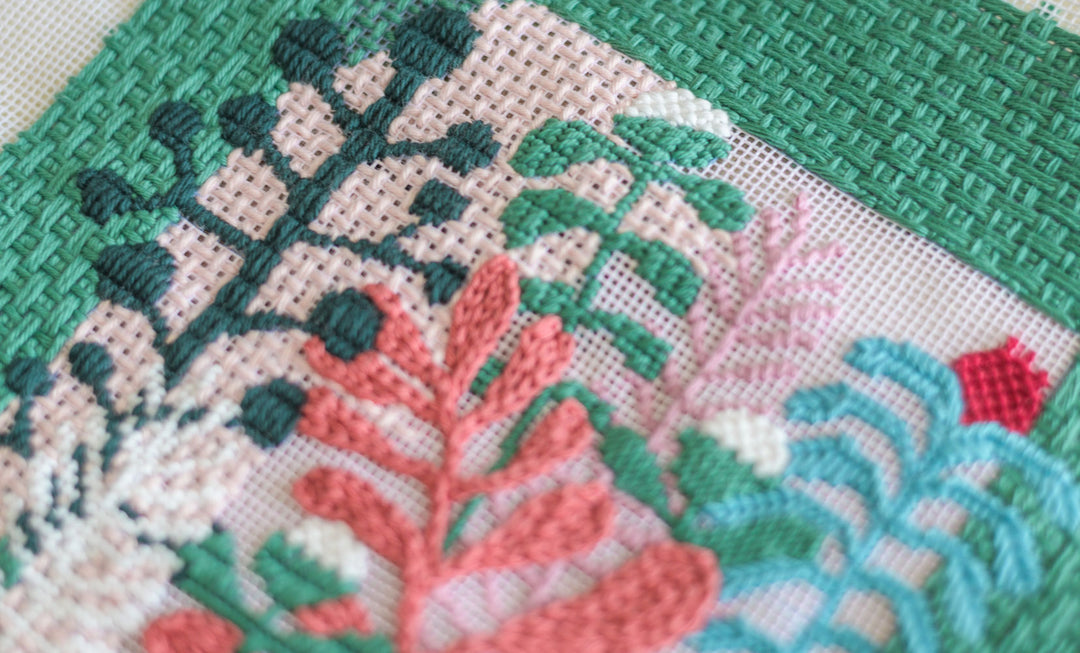
7. Learn how to do a perfect Basketweave or Longstitch
The Basketweave and Longstitch are two must-know stitches for any needlepoint enthusiast! Both of these stitches are very useful, for different reasons:
7.1 Basketweave
The basketweave stitch is a popular needlepoint stitch known for its classic, woven appearance that closely resembles a basket pattern. This stitch is highly favored because it creates a robust and visually appealing texture while causing minimal distortion to the canvas. We have a dedicated blog post here to learn how to achieve the perfect basketweave stitch.
7.2 Longstitch
The Needlepoint Long Stitch is a straightforward and versatile needlepoint stitch commonly used for filling large areas and creating smoothness or unique patterns in a needlepoint design. It's a fast and super easy stitch to use, and the possibilities with this one are endless! Here are some tips & tricks to achieve a perfect long stitch!
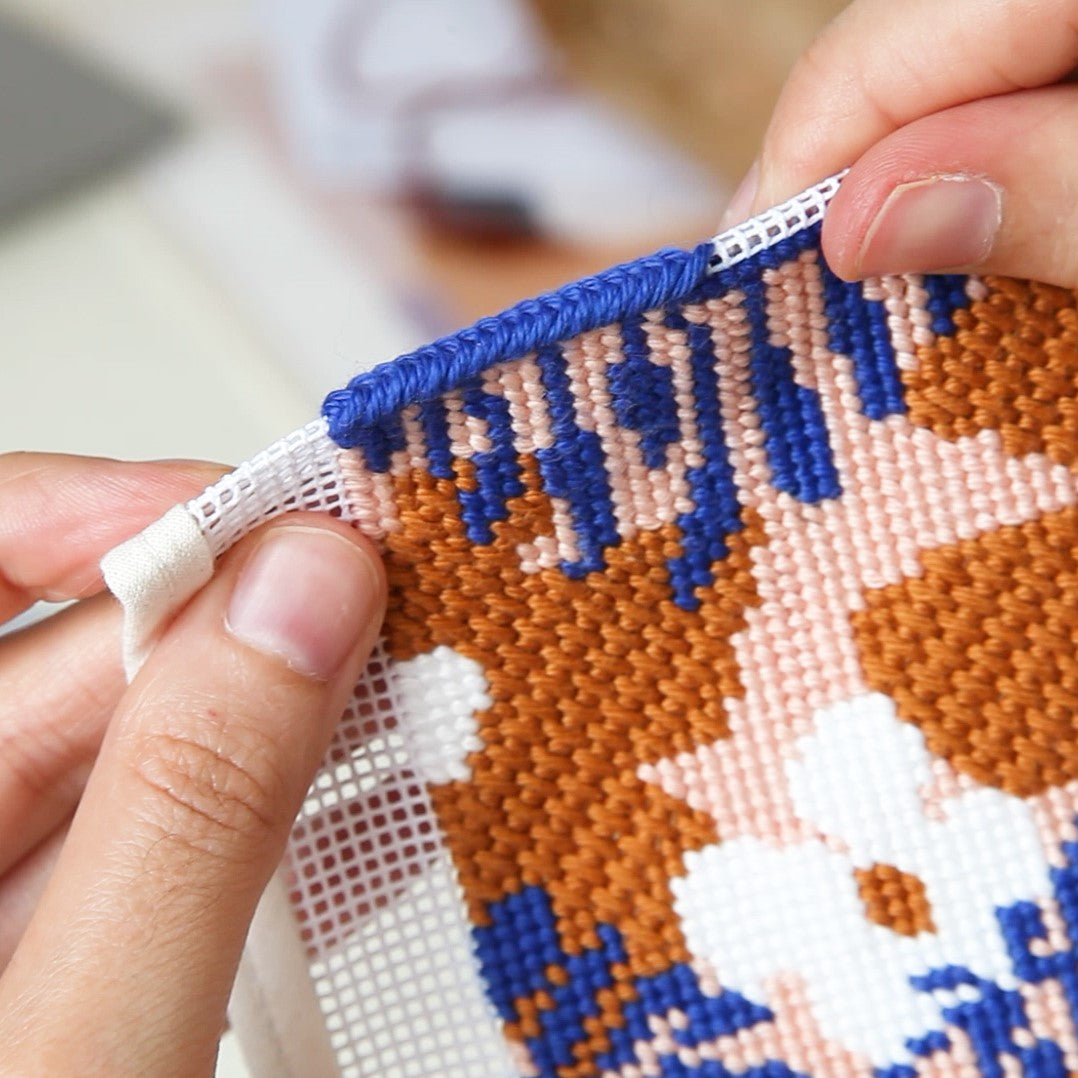
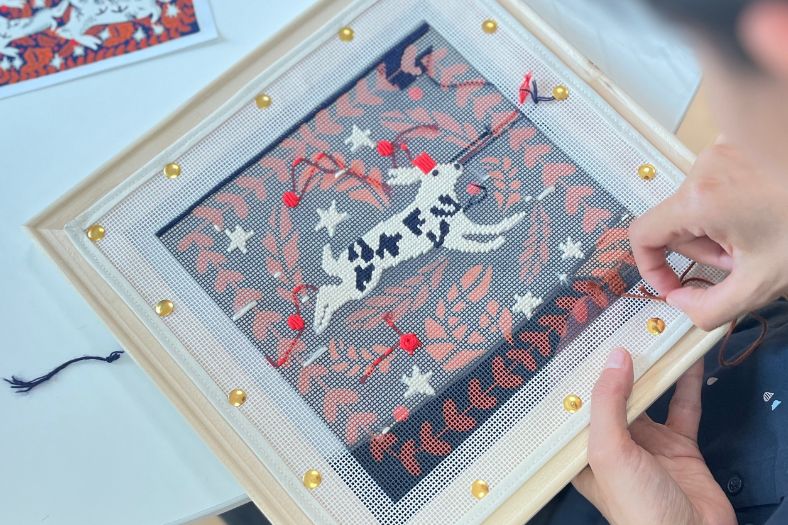
8. Learn how to do a perfect Binding Stitch, with Perfect Corners
The binding stitch is an essential technique for giving your needlepoint projects a polished and professional look. This stitch is used to secure and finish the edges of your canvas, preventing fraying while adding a clean, decorative touch.
- Learn everything you need to know about the binding stitch here, including two video tutorials on how to make it in straight or curve-edged projects.
- Master how to make the perfect herringbone effect on the binding stitch with a video tutorial and step-by-step instructions - check it out here.
- Make the perfect corners for a super neat finish.
- Find out which projects benefit from the needlepoint binding stitch and when you should just skip it!
What do you wish you knew when you first began with needlepoint
9. Explore Online Video Tutorials & Educational Content
Take advantage of the vast selection of needlepoint tutorials available online for free. Websites like YouTube and platforms dedicated to learning needlepoint, such as our Learning & Inspiration Hub, are the perfect place to find anything you're looking for about the craft. Watching these video tutorials and following the articles can provide visual guidance and introduce you to new techniques, stitches and ideas you might not find anywhere else.
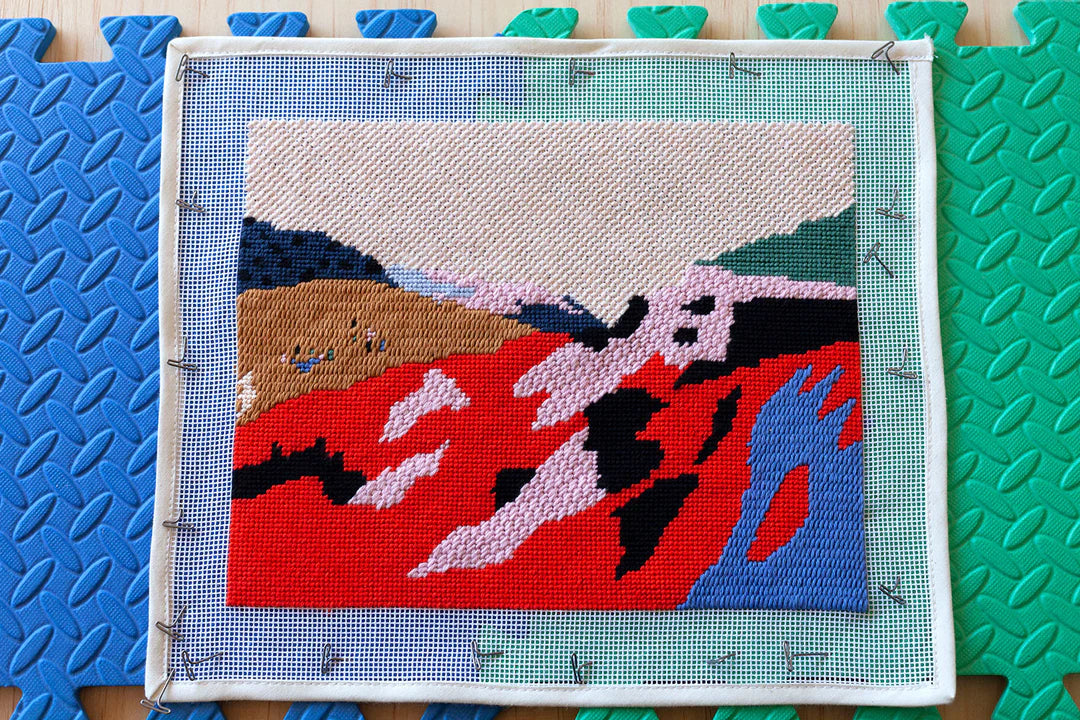
10. Tape or bind the canvas edges
Our canvases are bound with cotton bias tape, but in case you are working with one without the binding, tape the edges of your canvas using masking or artist tape, as this will prevent the threads from catching on the rough canvas edges.
11. Change your needles every project or so
Flossing your needles or changing your needles altogether can help you find smoother stitching. If you are using a needle that is tarnished, it will affect the smoothness of your thread. Change to a new one, and you'll feel the difference right away!
You should also try different sizes of needles if you don't feel comfortable with the one you are using. Larger sizes correspond to larger needle eyes, which are more comfortable for threading the needle.
Something you wish you had in your needlepoint kit early on
12. Get yourself a good light source for stitching
This is particularly important if the only time of the day that you have for stitching is the night... Also, some complex canvases requires a lot of detail work or have too many dark colors, so it's important to be able to see the details clearly and avoid straining your eyes.
Avoid using incandescent light bulbs because they can cause eye strain. Instead, use a good light source like our neck light & lamp for embroidery and needlepoint that provides enough light without harsh glare.
- You can use our neck light for multiple purposes and in different ways, see some ideas in our video here: 3 Ways to Use our Neck Light

13. Secure the needle in the blank canvas or a needleminder.
When you have finished stitching for the day, secure the needle into an area of the canvas outside the design so that you don’t stretch or warp any of the canvas area to be stitched. You can also use a cute needle minder to secure the needle!
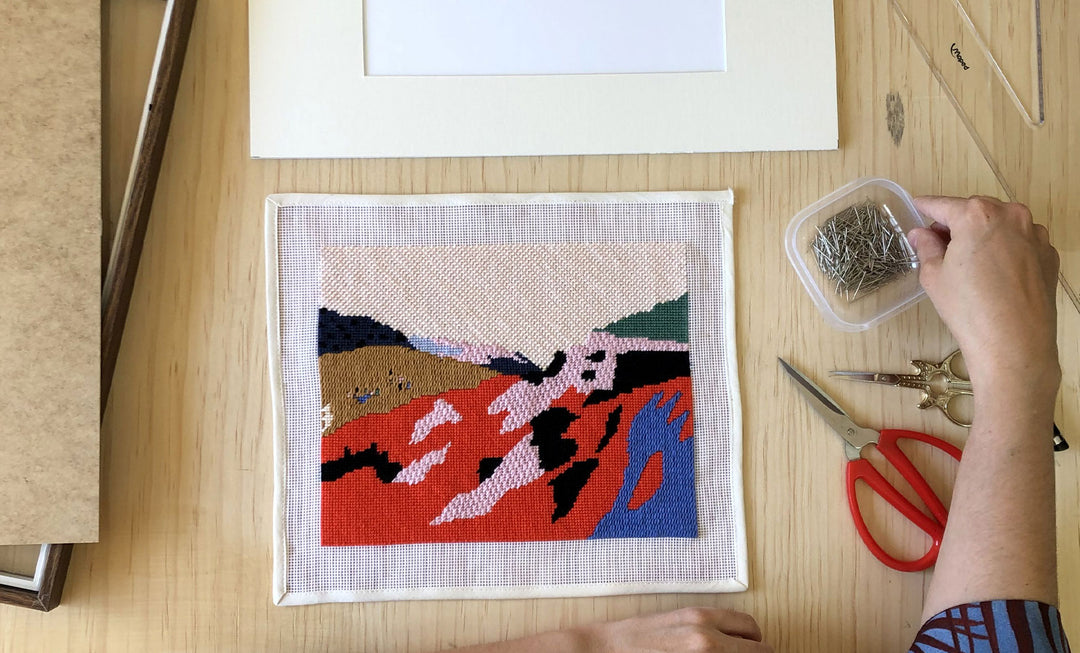
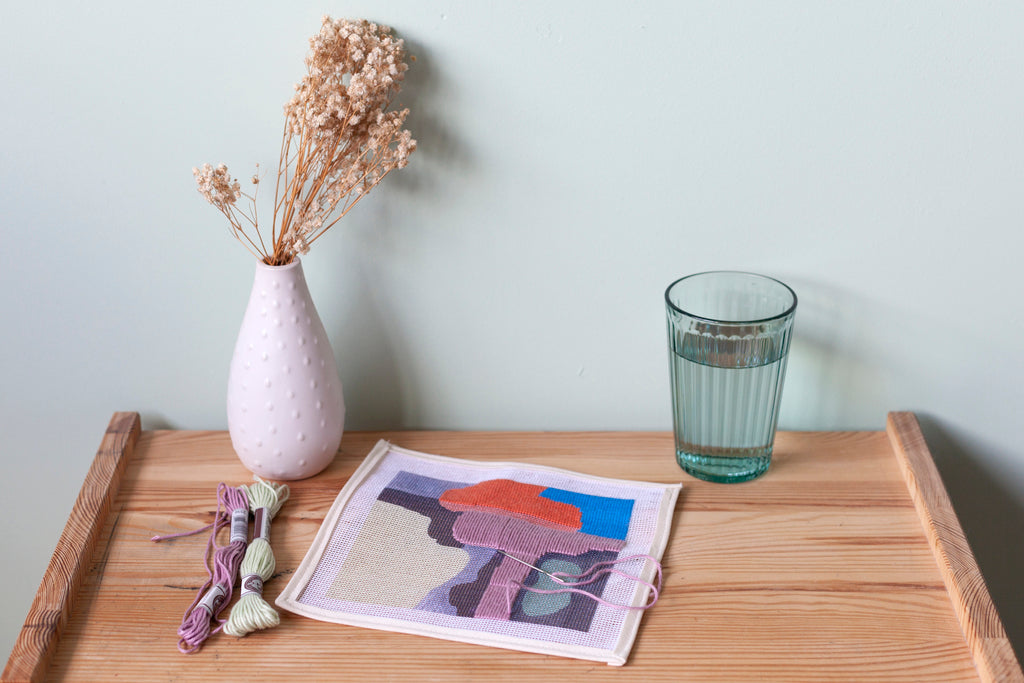
14. Use a Stretcher Frame, or your own hands!
Using a needlepoint stretcher frame is optional, and if you decide not to use one (many people prefer this), you can easily roll the canvas and create enough tension to stitch comfortably. Read all about needlepoint frames and how to do needlepoint with or without a frame in our blog post.
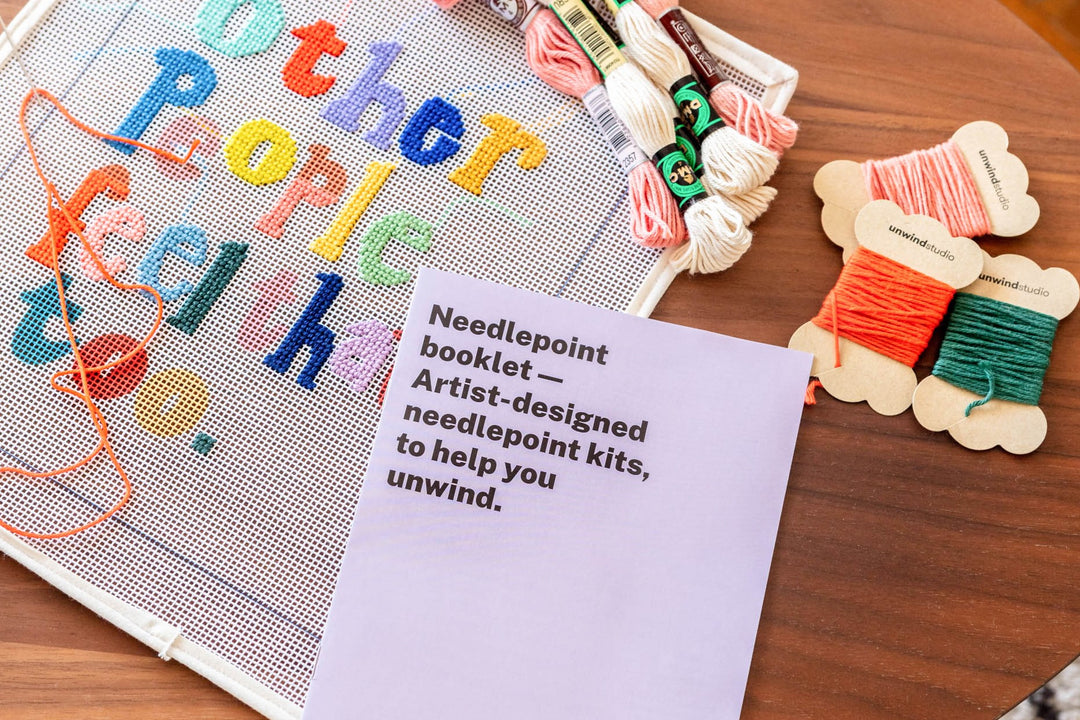
15. Invest in good & practical stitching books for inspiration
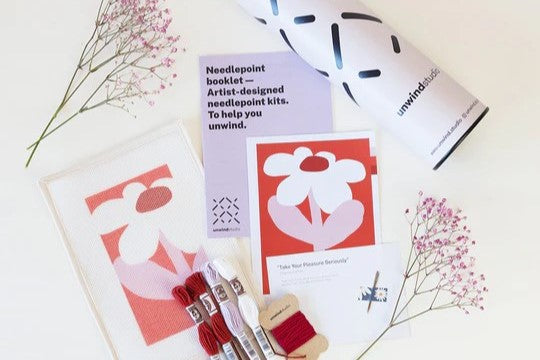
High-quality learning materials can make a significant difference in your needlepoint journey. Invest in a good portable stitches book, such as our Decorative Stitches Booklet, and take it everywhere with you. It will help you find and learn lots of new stitches and make your needlepoint projects more enjoyable and successful.
Tips to avoid back pain and sore hands while stitching
- Keep your hands and wrists relaxed when stitching. You don't want to hold them tense, but you also don't want them to be so relaxed that they are falling asleep as you stitch; this can cause cramps later in the session.
- Stretch beforehand. This will help prevent cramping while working on your needlepoint piece.
- Don't hold your arms out too high or too low, as this can cause pain in the shoulder area and make it difficult to stitch smoothly.
- Avoid holding your breath while working, as this will tire out the body faster than normal breathing patterns would do.
- If you're feeling your fingers too sensitive or sore, you can use these needle grabbers to give you need extra comfort while stitching.
Needlepoint requires a bit of trial and error to get right but hopefully these tips will help smooth out the process!
Needlepoint is a craft that requires practice to get right. It’s also a relaxing hobby, one that allows you to express yourself while de-stressing. But don’t worry if it doesn’t work out on the first try or two—the process will feel much smoother with these tips in hand.
Best Needlepoint Tips Video Tutorial
Below you can watch a video tutorial of some of the favorite tips and tricks we've just went through on the blog post to further help you!
We hope you’ve found these tips helpful in improving your needlepoint experience.
Happy stitching!