Tips & Tricks to obtain the perfect Long Stitch / Satin Stitch
This blog post is part of a series of tutorials dedicated to the Long Stitch. Here's everything you need to know about this amazing versatile needlepoint stitch:
- How to stitch with Long Stitch
- Complete guide to obtain incredible Textures & Patterns with Long Stitch
- Tips & Tricks for the perfect Long Stitch / Satin Stitch (you are here!)
- Project Gallery of Long Stitch works (coming soon)
- Why we love Long Stitch (coming soon)
In this blog post we will describe you the best tips & tricks to become a pro at stitching with one of our favorite needlepoint stitches: Long Stitch.
BEST TIPS & TRICKS FOR LONG STITCH
Video Tutorial:
In the video below, we show you how to apply some of the key tips to obtain a perfect long stitch.
10 Tips & Tricks to Stitch with Long Stitch / Satin Stitch:
- Starting and Ending a piece of Thread:
Always tie a knot when starting and ending your thread to make sure that the stitches will always stay fixed to the canvas. This is especially important when you apply mid to large heights of stitches, as the back of the canvas won't be as tight as a "regular" needlepoint stitch, to be able to fixate the tail of the thread.
- Thread Length
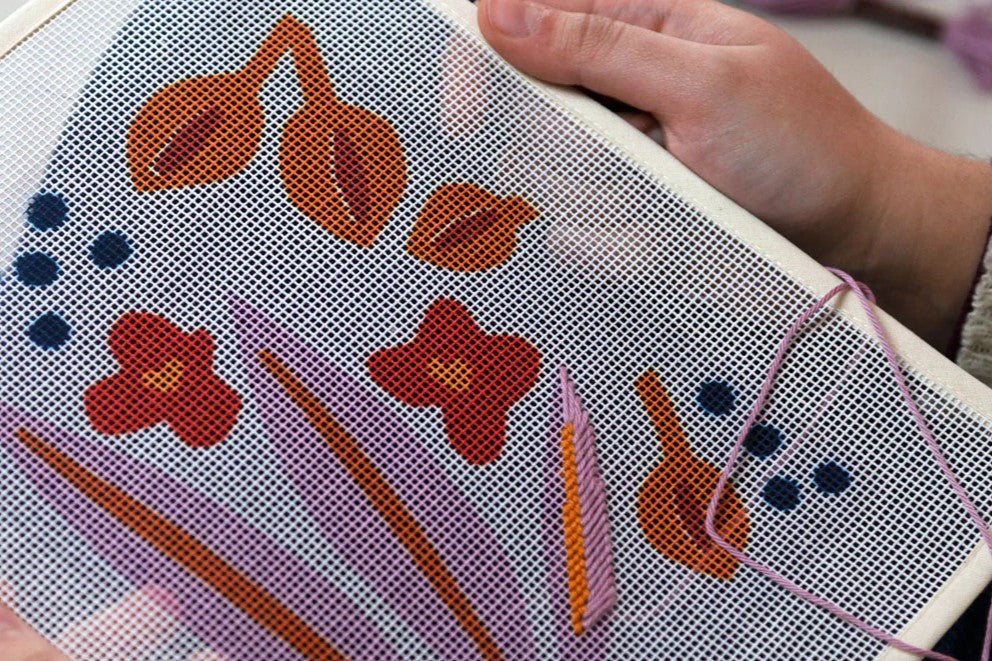
One of the coolest advantages of the Long Stitch is that you can use a larger piece of thread when you are stitching: 80 - 100 cm (for the tent stitch is recommended a maximum of 50 cm / 20 ''). This way you start and end a thread less often, and the stitching process will be faster.
- Stitching Tension
Although the needlepoint canvas has a rigid structure, over time it softens. This will impact how you will handle tension because it can happen that, without noticing, you will be pulling the thread too tight and it will distort the canvas, and it won't be possible later on to stretch that area out. Make sure that the area that you are stitching is always completely flat and stretched - either using your hand, or using a stretcher frame (see tip below).
- Split into Smaller Areas
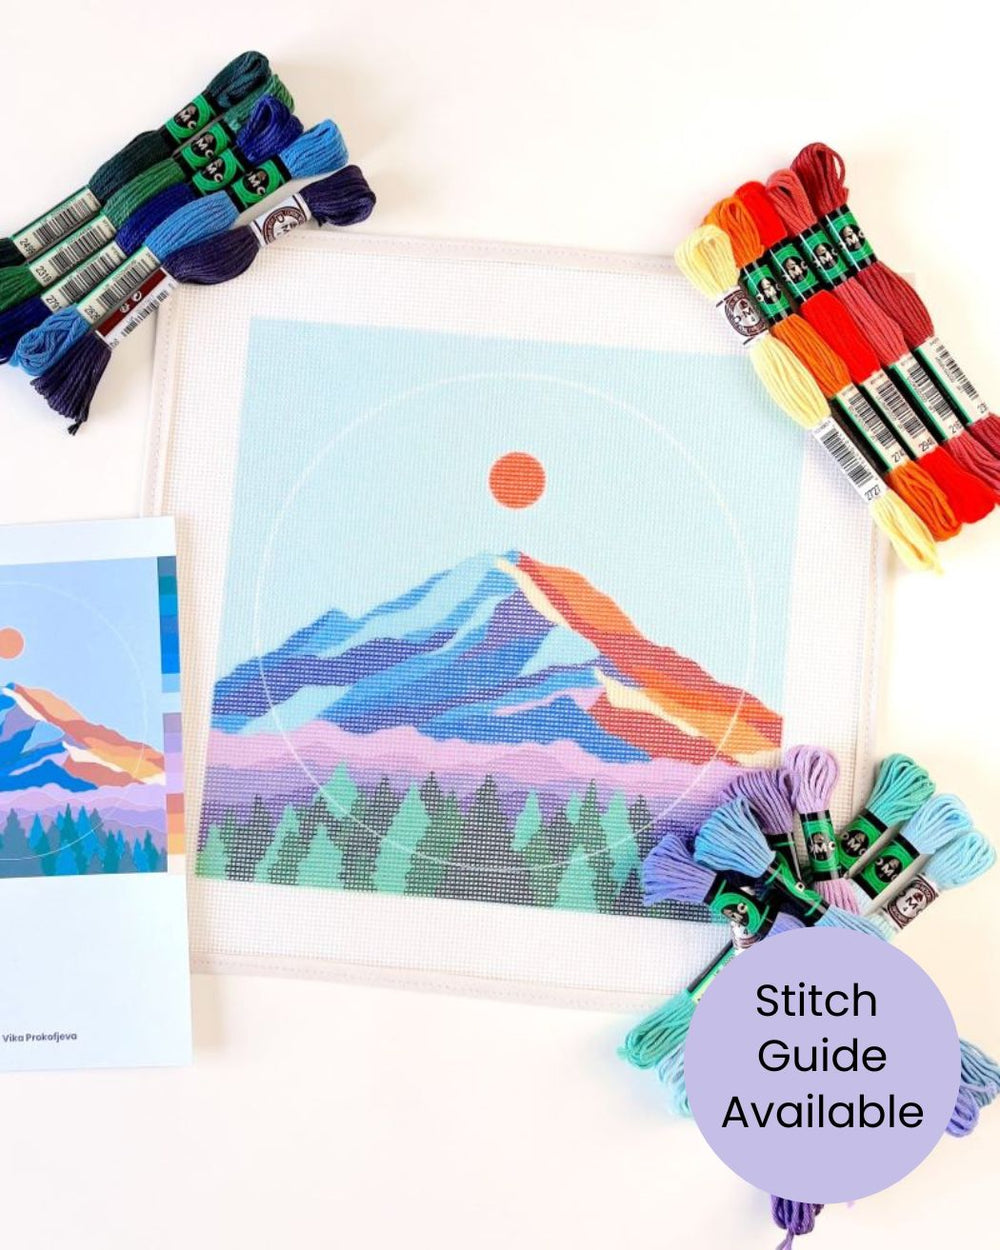
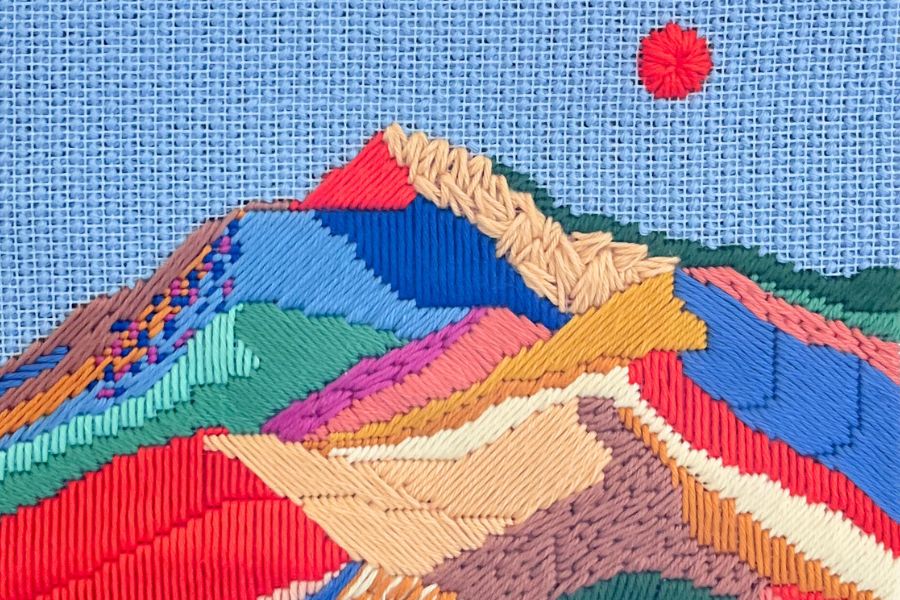
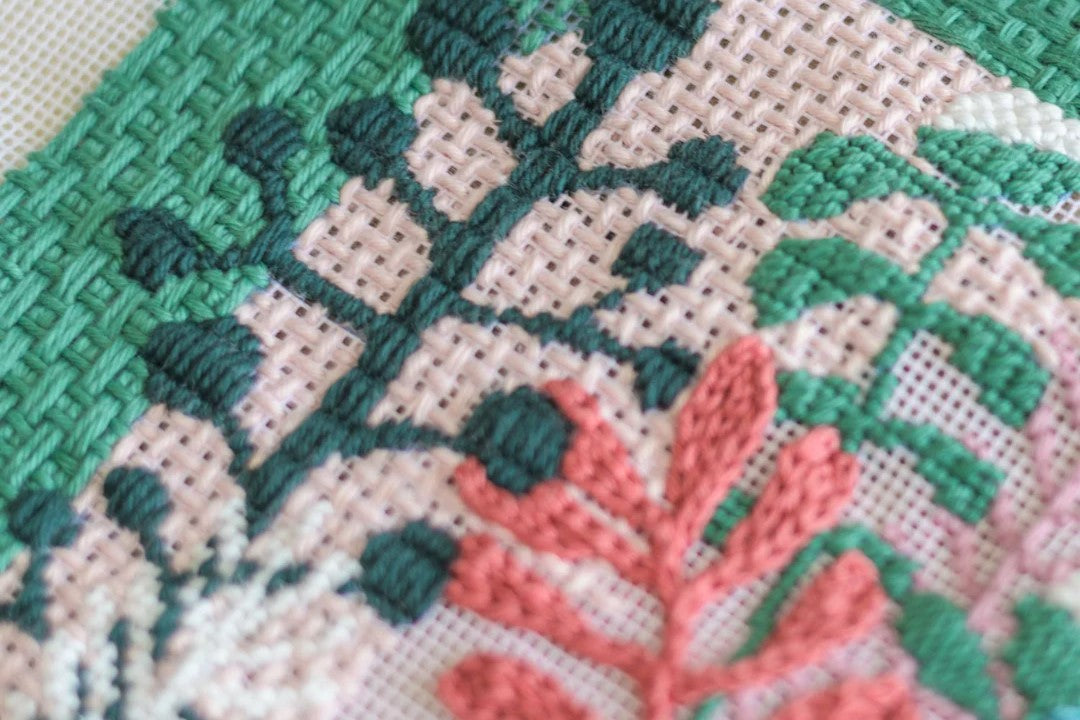
Since the Long Stitch can be very loose and offer less coverage and solidity it is important to apply it wisely and split bigger areas into smaller ones, as you can see in the example below.
We recommend splitting if the stitch length will be greater than 20 canvas holes (more or less) and working several groups of stitches in height. This is not a strict rule, and you should use your sensibility to understand what is the maximum height you should use. A good rule of thumb is that you should ensure that the stitches lie flat and evenly on top of the canvas.

- Split into Smaller Areas - Use Heat Erase Pens to Support
If you need to split the bigger areas into smaller ones, but you want to apply some pattern that will resemble the rest of the design, or the division shouldn't be a straight line for the end look to be more organic, then a good tip is to use a heat erase pen to draw the splitting lines in the canvas.
In the blocking process of your finished needlepoint piece, the pen marks will disappear. But most probably, they will be completely hidden by the stitching :)

- Stitch into a worked area
When starting a new color or new stitching area, you should always start from top to bottom (if you are using vertical long stitch or diagonal, but apply the same logic to the horizontal long stitch), working into a already stitched area.
I.e., you should bring the needle from the back in the empty hole (top), and plunge it back where the hole is shared (bottom) with a previous stitched area. This way you will avoid dragging thread fibers from one color into the other.
- Soften Edges
When you are applying different long stitch directions in areas that are adjacent, then our recommendations to obtain a more polished and cohesive look by the edges of those areas are:
1) Ensure you are "stitching into a worked area" - see the tip above
2) When placing your needle from top to bottom, place it in a hole that is "hidden" by the thread of the adjacent stitched area, like we show in the picture below. This way you won't get the little gap between them and the final product will look much more soft and organic.

- For Better Coverage: use Diagonal Long Stitches
The coverage of the needlepoint canvas is impacted by the thread weight and the canvas mesh size. You shouldn't stitch large canvas holes (lower number of holes per inch) with a very thin thread, and the opposite is also truth: using very thick thread in smaller holes is not recommended (higher number of holes per inch).
Considering this, you need to check if the long stitch can be applied to your specific canvas project, by ensuring that the canvas won't be visible when you are applying the stitches.
In case of doubts, use the diagonal long stitch whenever is possible, as it is the stitch variation that ensures better coverage!
- Circular Motion vs Short Backs
Another way to ensure better coverage in the back too, is to use circular motions so that you have long stitches in the front as well in the back of your project. You will start each stitch next where the previous stitch begun.
Nevertheless, when you are applying random stitch lengths, you can start each new stitch near where the last one finished, rather than looping the thread back under to start next where the previous stitch begun.
This way you save a ton of thread, as the reverse side of the canvas won't have much stitching on.
- Stitching Frame
Using a stitching frame is a personal choice (as we describe in more detail here), and our recommendation is to use one if you want to ensure that the tension is applied evenly throughout the canvas. If your project is very large, and you work on it only a few moments here and there, then using a frame will also help to ensure that the tension will be always correct, specially if you apply different long stitch textures and directions in your project.
- Textures, Volume and Patterns
Although the Long Stitch seems a very basic stitch at first sight, you can add texture, volume and unique patterns to your project by applying some cool techniques. We have a complete guide here to help you with just that!
Conclusion
These are THE guidelines to achieve a perfect Long Stitch / Satin Stitch. We hope that these insights will help you through your creative journey, and if you need any assistance, don't hesitate to get in touch!
Happy Stitching!