Long Stitch: complete guide to obtain incredible Textures & Patterns in Needlepoint
The Long Stitch, also known as Satin Stitch, is a versatile embroidery technique that adds depth, smoothness and visual interest to any needlepoint or needlework project. This stitch became very popular in the 1970's due to the Bargello embroidery technique and is very fast and easy to work with.
It involves creating stitches that span longer distances compared to traditional needlepoint stitches, and that are worked parallel & close to one another, resulting in an unique and smooth solid filling pattern.
In this tutorial, we'll explore the basics of the long stitch and how to use different variations & techniques to achieve smooth textures or striking patterns. We hope that you'll love using this stitch as much as we do!
This blog post is part of a series of tutorials dedicated to the Long Stitch. Here's everything you need to know about this amazing versatile needlepoint stitch:
- How to stitch with Long Stitch
- Complete guide to obtain incredible Textures & Patterns with Long Stitch (you are here!)
- Tips & Tricks for the perfect Long Stitch / Satin Stitch
- Project Gallery of Long Stitch works (coming soon)
- Why we love Long Stitch (coming soon)

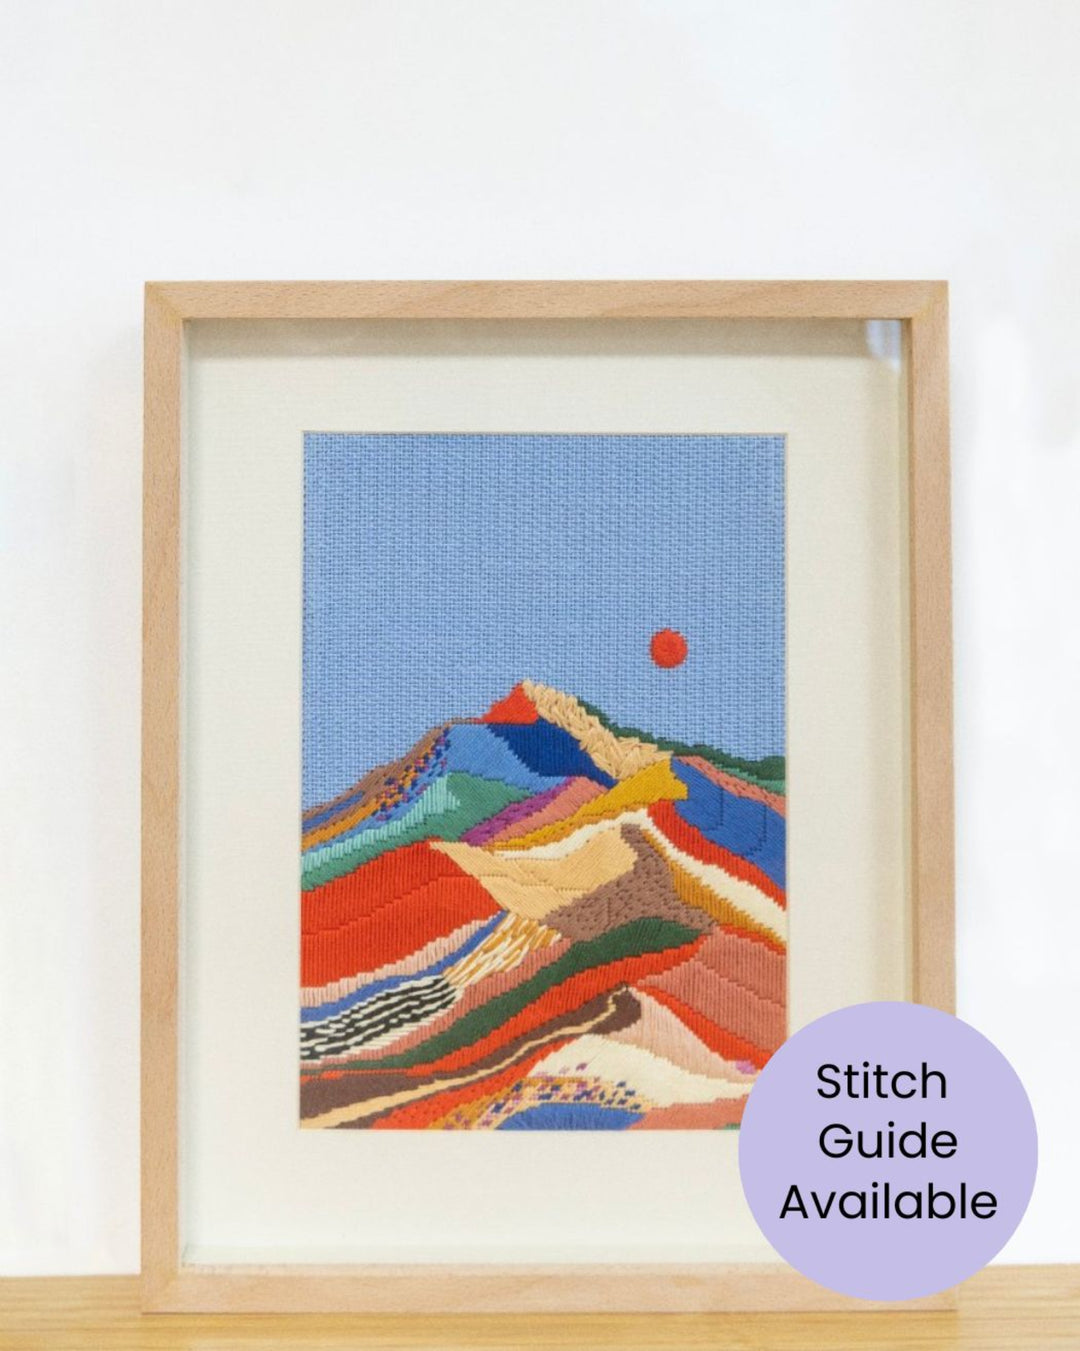
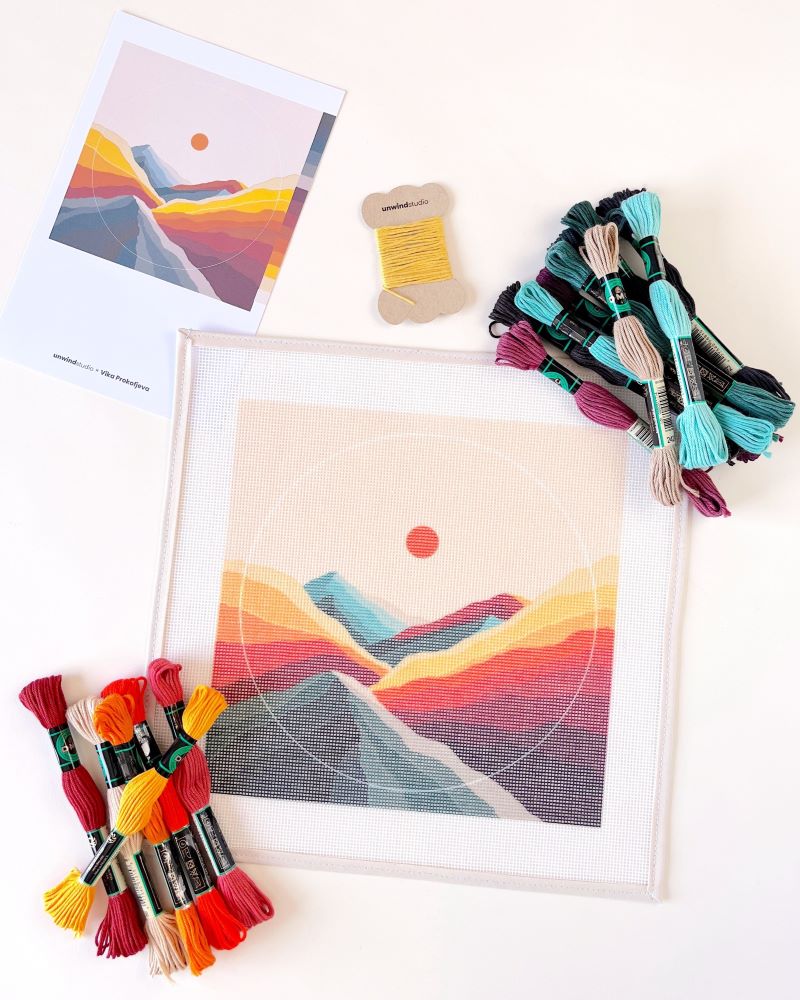
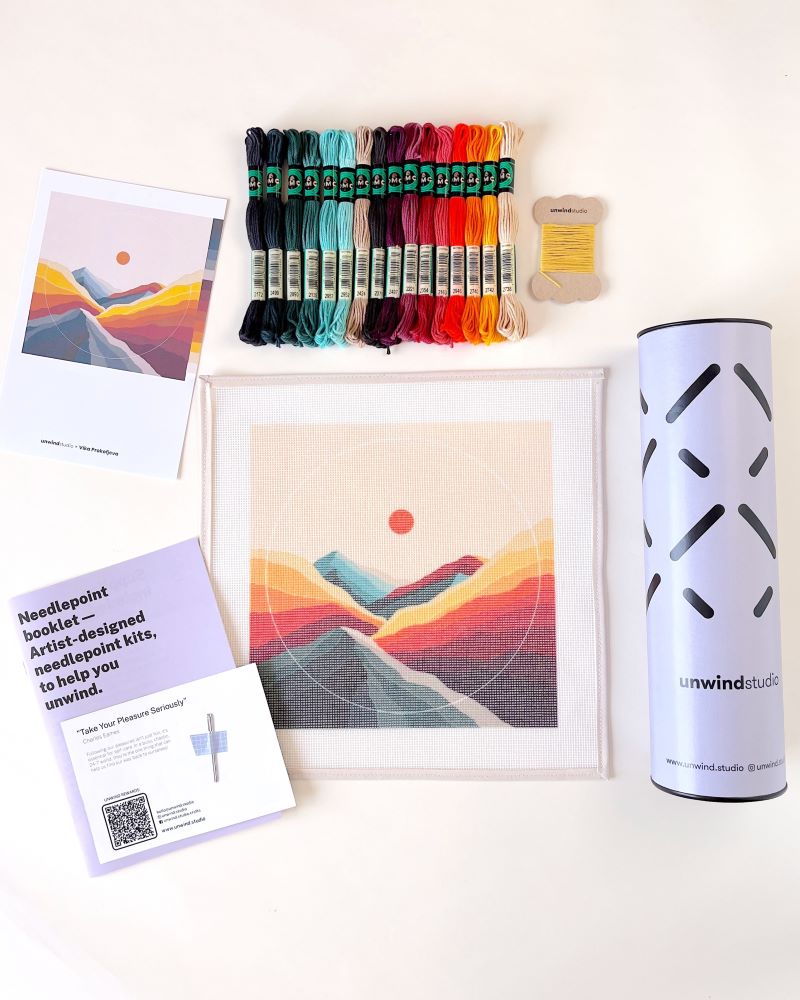
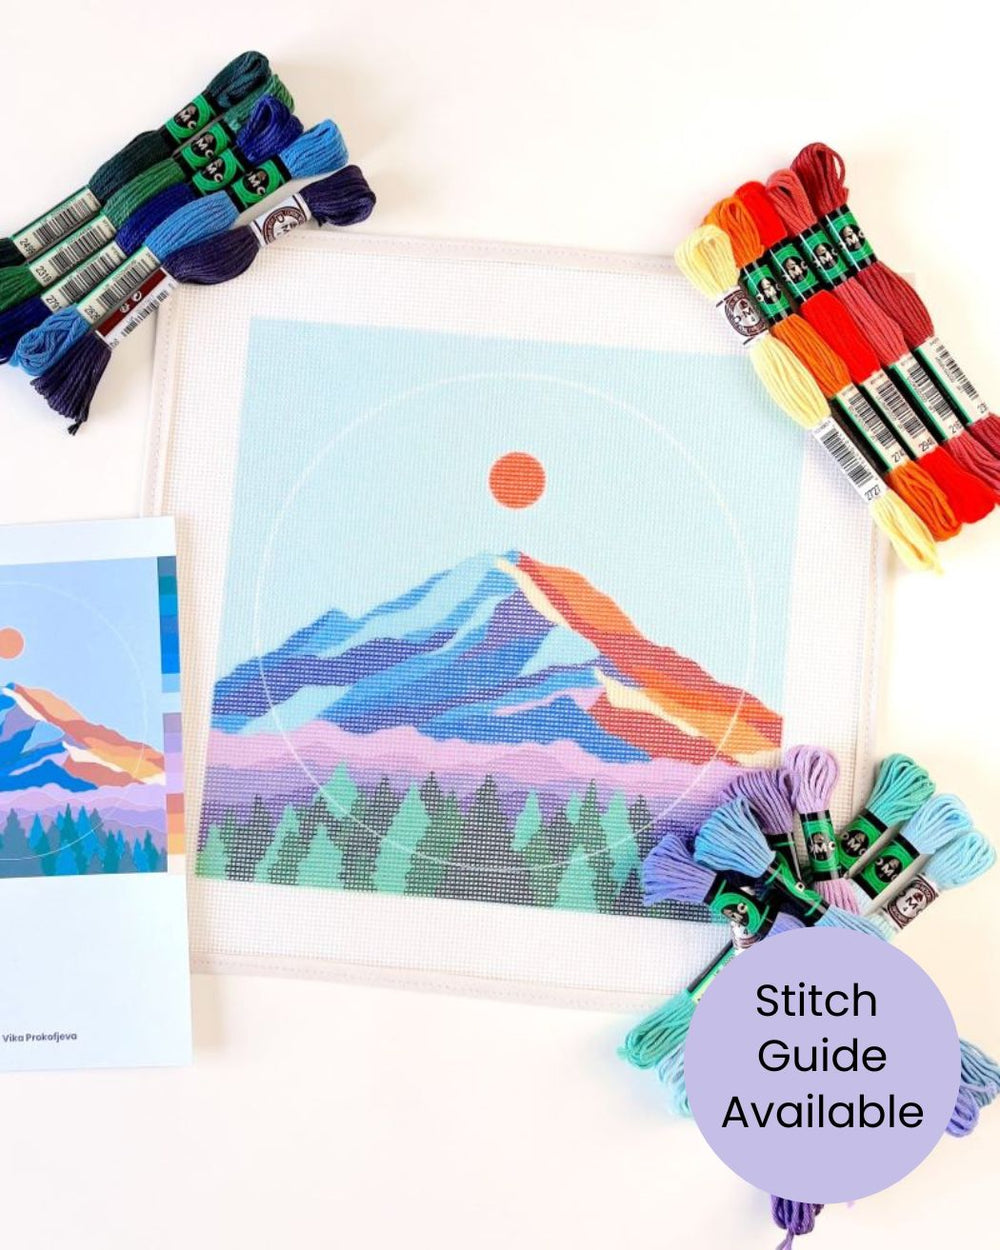
For this tutorial, we will use our Blue Sand Needlepoint Kit as an example of a project done with the Long Stitch and its variations, and how cool and textured it looks in the end.

HOW TO STITCH WITH LONG STITCH: Horizontal, Vertical & Diagonal
The definition of a long stitch is one straight stitch worked to any length in one direction: whether horizontally, vertically or diagonally. These stitches can be easily adjusted in size to fit any space, no matter the shape.

Tips & Tricks
However, the longer the stitch the more vulnerable it will become, so for large open areas where the stitch length will be greater than 20 canvas holes, it is usually better to work several groups of stitches. See the complete blog post of Long Stitch tips & tricks for a detailed clarification of this rule of thumb and many more insights!
Video Tutorial
You can also find a video tutorial on how to stitch with Long Stitch in our dedicated technical/educational post about this amazing stitch.

Mastering the basic long stitch variations lays the foundation for more intricate variations that we will describe below. With these techniques, you'll be able to create unique patterns and transform completely your project, as you can see from what we did with our Blue Sand design.
Below we will share some techniques that you can apply to create contrast and bold patterns with long stitch.
- Change Stitch Direction
A simple way to create contrast between different areas of your design is to change the direction of your long stitch. You can mix vertical, horizontal or diagonal stitches, like the examples shown below.
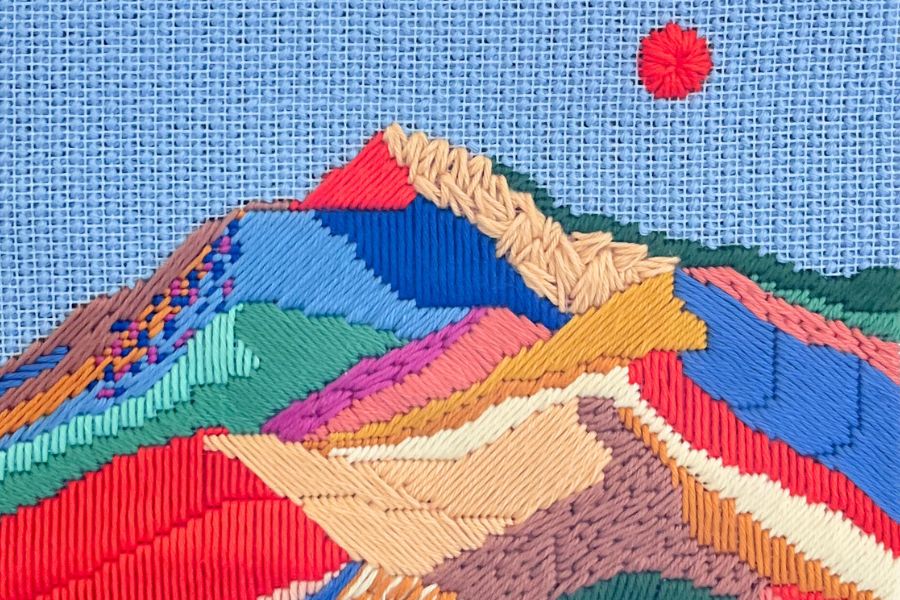
In this particular Blue Sand design, the main reason for applying different stitching directions was to imitate the natural mountain slope directions.

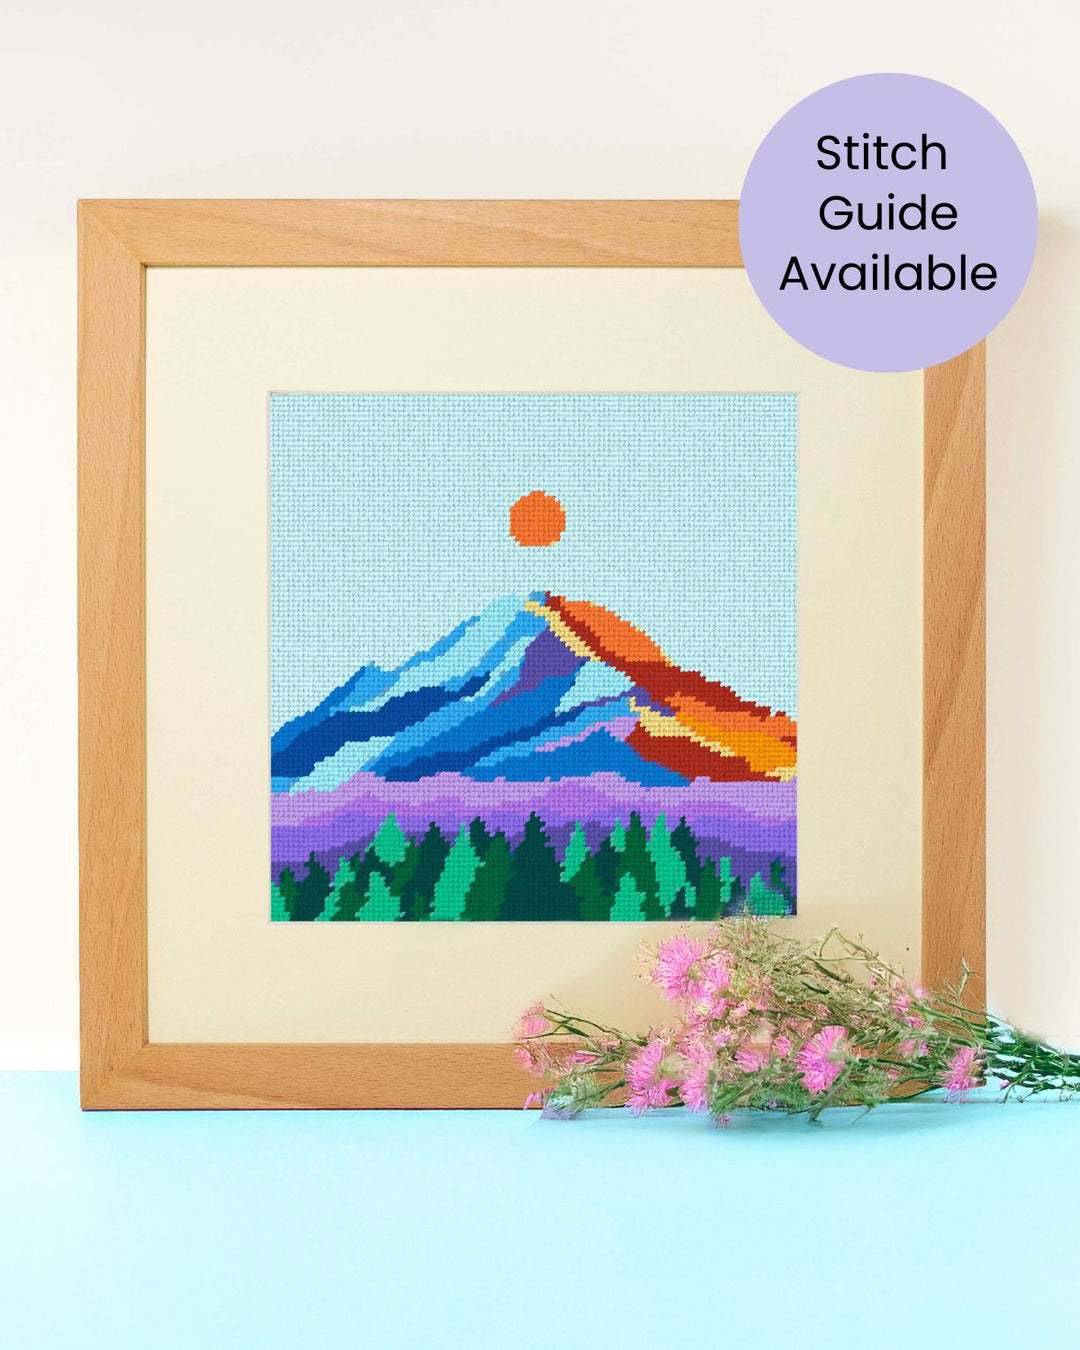
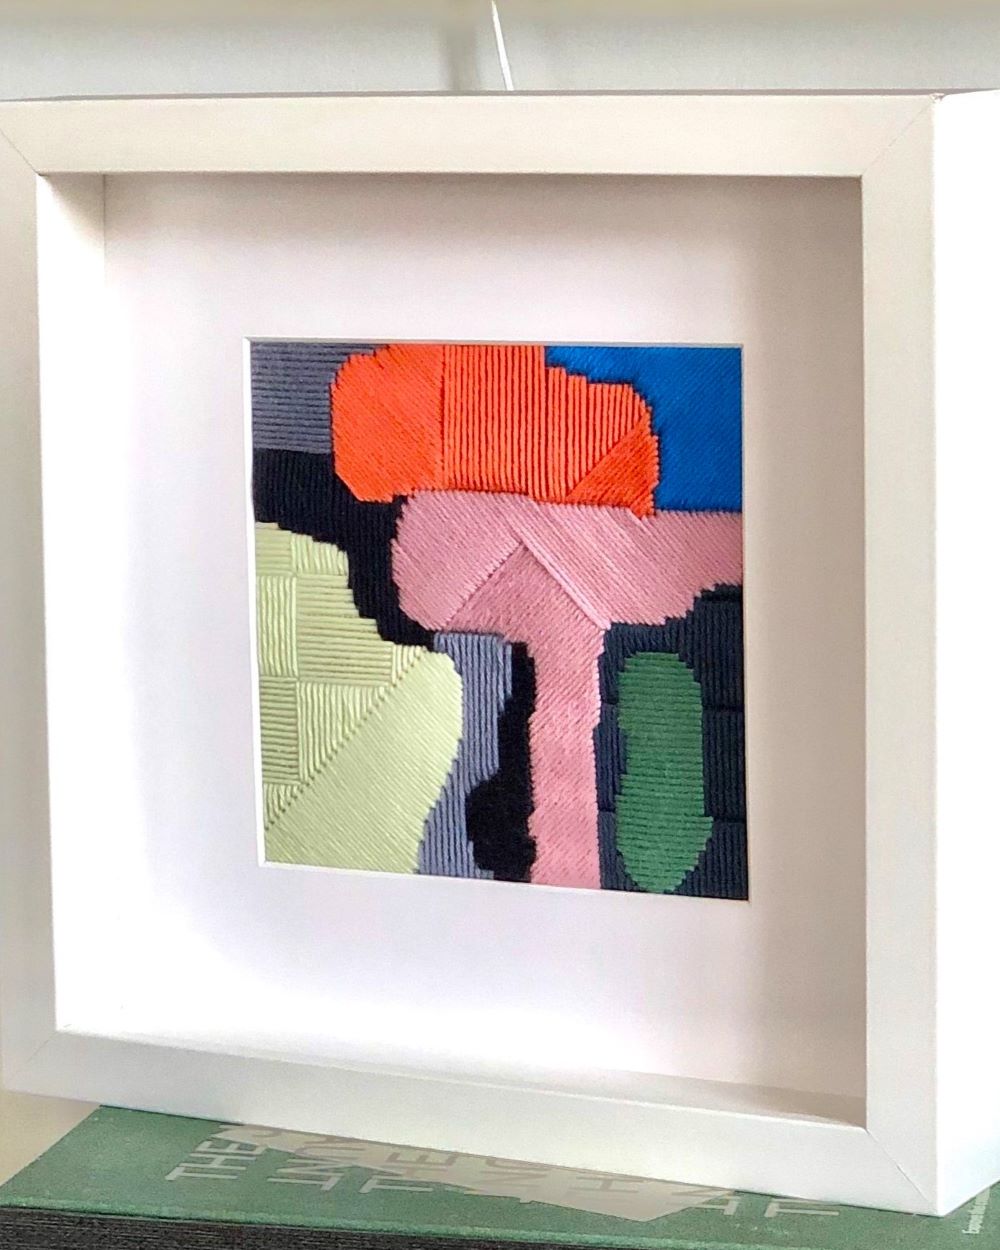
But here's another example of using different stitching directions in an abstract design - our Untitled Abstract Needlepoint Kit:

- Split Stitching Areas
We recommend splitting big areas into small stitching lines in order to ensure a good stitching (see this detailed tip here), but you can also use this reasoning to create contrasts in your design. It might make sense to stitch one area with a complete filling satin stitch and split the adjacent area into smaller bites in order to create a differentiation.

- Circular Direction
Another interesting direction that you can apply, is a "circular direction". We applied this technique in the sun area of our Blue Sand - see below. Basically, you pick a central hole (or a couple of holes) that will serve as the hole where you plunge the needle from the front to the back of the canvas, while covering the entire circular area. This can also be interesting to apply in areas that are not circular!


As stated before, Long Stitch offers endless possibilities for incorporating unique textures into your embroidery. Now we are going to detail how you can experiment with different thread weights or strands, colors, and stitch lengths to create a variety of effects.
Long Stitch Variation: Random Short/Long stitches
We called this the "Random Short/Long" since it requires quite a lot of improvise and the so-called "just wing it!". The goal with this long stitch variation is to experiment with varying lengths of alternating long and shorter stitches, that can produce some cool effects and unique textures.
To achieve the desired outcome, avoid weaving the long and short stitches back and forth like darning. Instead, zigzag them up and down the designated area. Ensure that the thread on the back always returns towards the most recently stitched area, leaving the hole open for additional stitches without causing the thread to split.
By adjusting the length of each stitch, you can create gradients, shading, and dimensionality within your work. Also, it's fun to not follow a strict pattern sometimes and be creative, letting your hand decide the length stitch by stitch.

Long Stitch Variation: Mountain
This long stitch variation adds a geometric flair to your needlepoint projects and great visual interest. Instead of creating straight lines, this technique involves stitching triangular shapes, resembling mountain peaks. By alternating the direction of the triangles, you can achieve stunning textured surfaces.
In our case, we made the triangles with 4 stitches each, but you can make it with 3, 5, or more, depending on the size you're going for.
Sets of elongated stitches are crafted into different triangular formations, with the wider ends positioned along horizontal or diagonal lines, while the top ends converge into a single opening or multiple neighboring openings. Frequently, the upper and lower apertures are obscured beneath additional sets of stitches, so you should be cautious to avoid splitting their threads.

Adding Volume: 2 strands of threads
A cool trick to add volume is to stitch with 2 strands of thread together. See the video below to check how we do it.
Adding Volume & Texture: 2 strands of different thread colors
And a very interesting way to create volume and texture at the same time, is using 2 strands of threads but with different colors!
For this particular Blue Sand design, we applied this technique in an area where there was a mix of two colors - so this was a perfect solution.

But you can also use this technique of using two colors at the same time, to create an effect of grading and shading. It's a great solution for water/ocean areas!
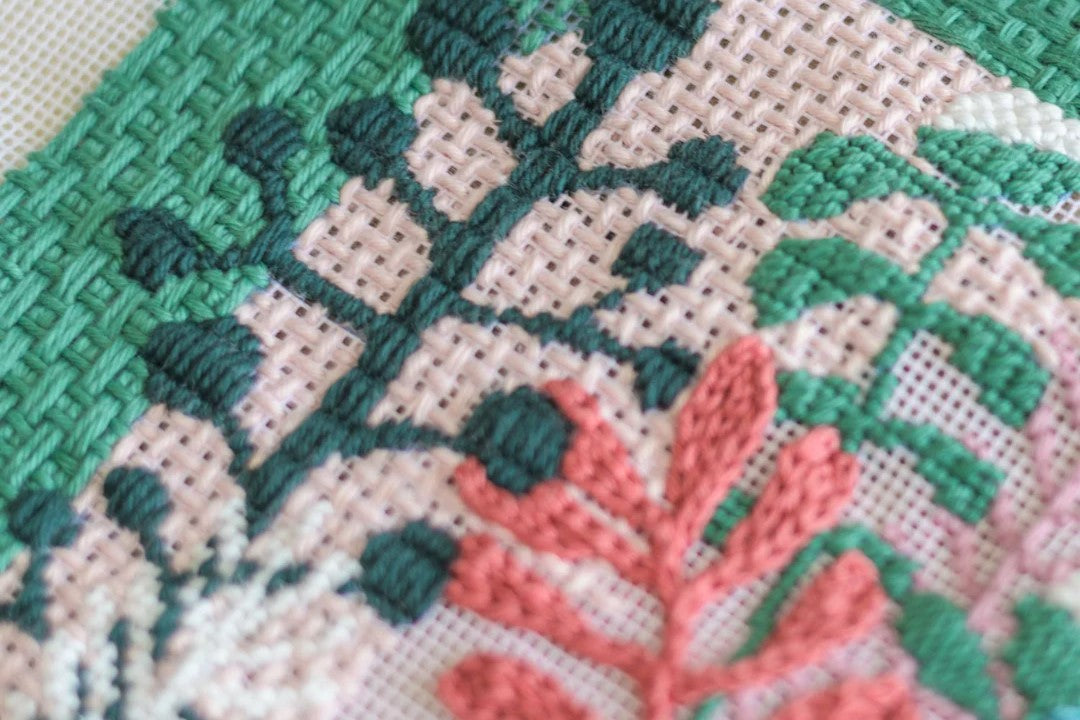
Adding a Raised effect
You can add a raised effect in some of the stitches, to add volume and texture at the same time. This is slightly different from the method of stitching with 2 strands of threads. Instead, you will stitch some random stitches by passing them over stitches that are already done.
In the Blue Sand project, we applied this technique in an area that we stitched in an "arc" direction - instead of stitching it in a unique diagonal direction.

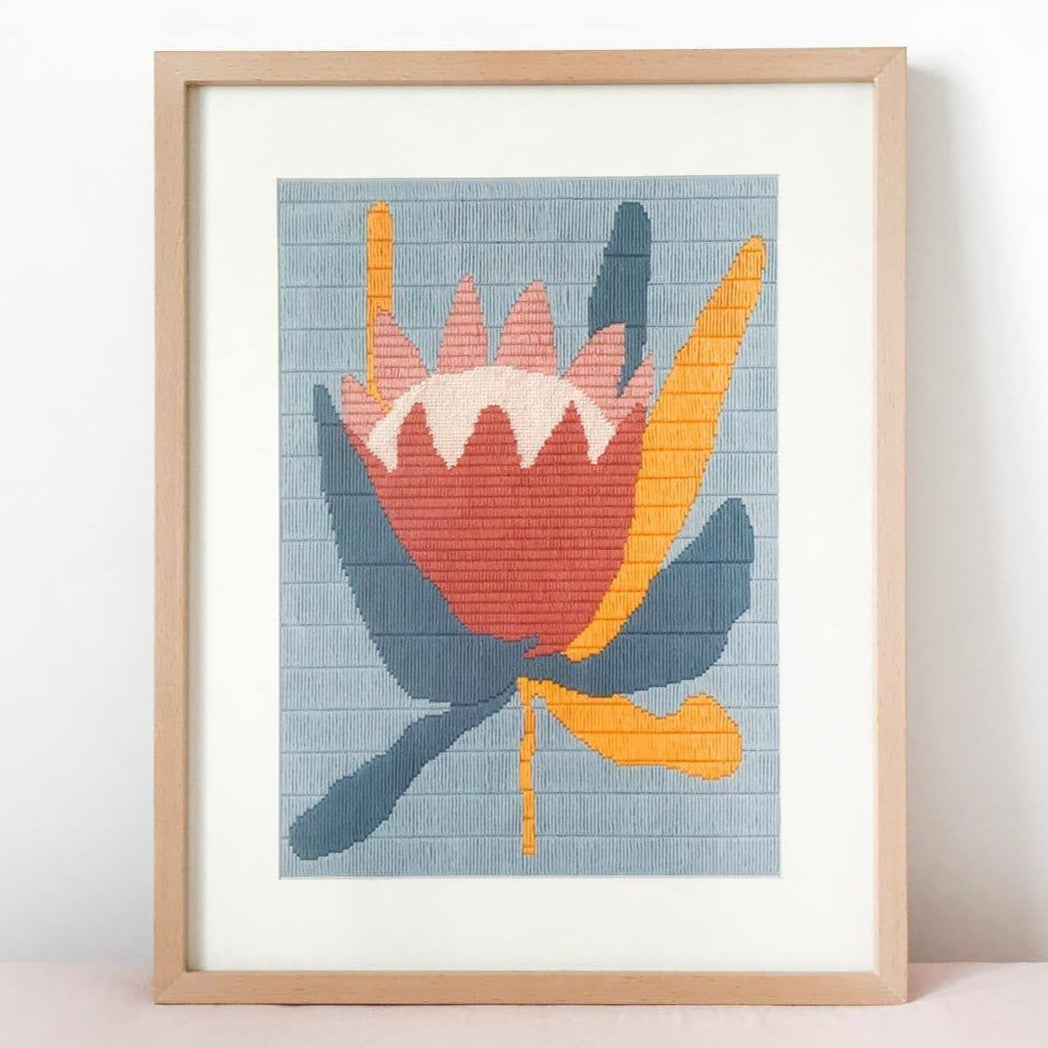
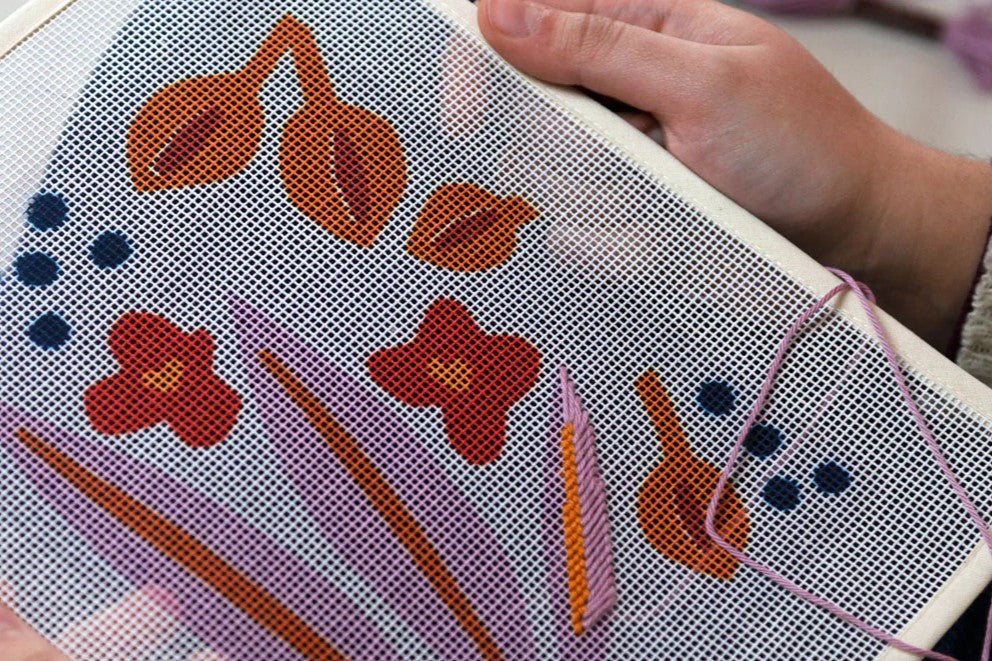
Here's another example, in our Happy Flowers Needlepoint Kit, where we applied this technique to a flower object, to obtain a more natural and organic texture:

CONCLUSION
Needlepoint long stitch offers endless creative possibilities for both novice and experienced stitchers. By mastering basic techniques, exploring variations, and incorporating texture, you can elevate your needlework projects to new heights of artistry and expression. With practice and creativity, the needle becomes your brush, and the canvas your masterpiece.
Happy stitching!