How to Needlepoint
Welcome! This is your starting point.
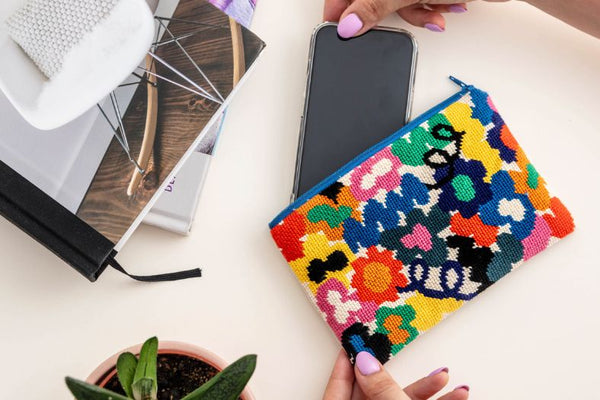
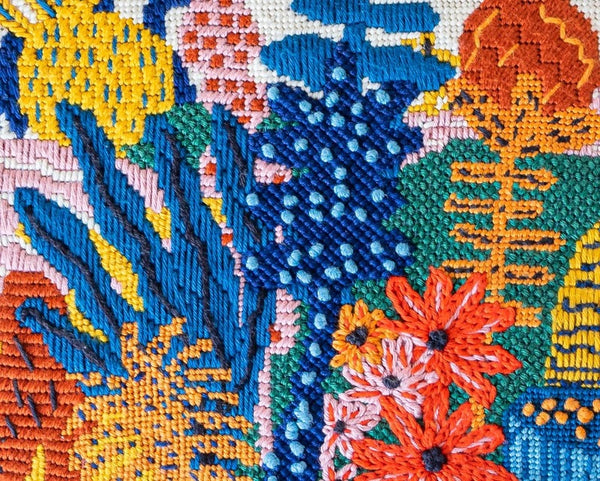
Needlepoint is simple, calming, and fun! With our easy steps and video tutorial, you’ll be stitching with confidence before you know it.
Jump to:

Needlepoint 101: Video Tutorial
Learn Needlepoint: Step by Step Guide
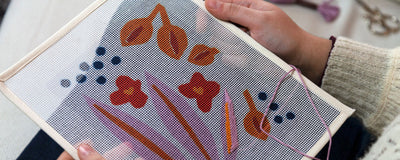
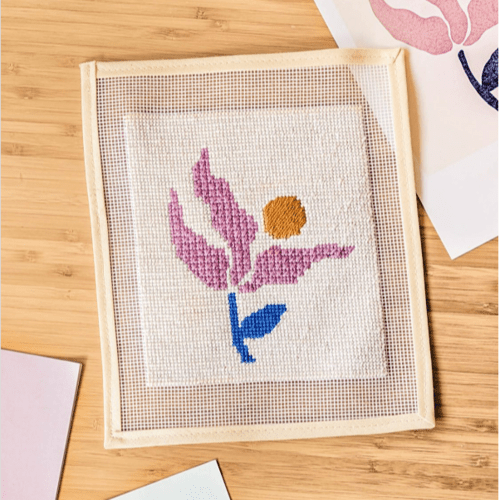
Choose Your Project
If you're beginner, start with small designs, lower canvas counts (10–13 holes per inch) and simple color palettes. Read our full guide here:
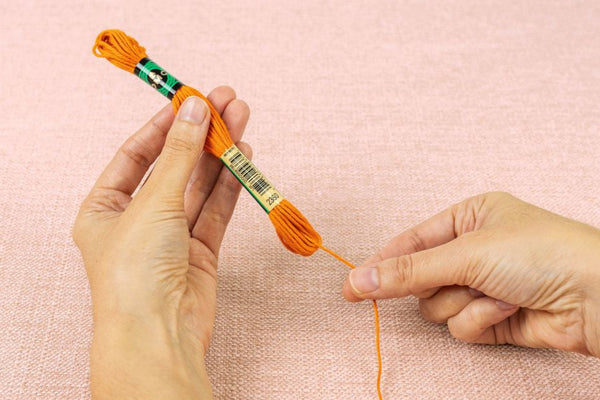
Handle your Skein
Always pull the thread from the side where the long label is, to avoid knots on your skein.
Handle your Skein
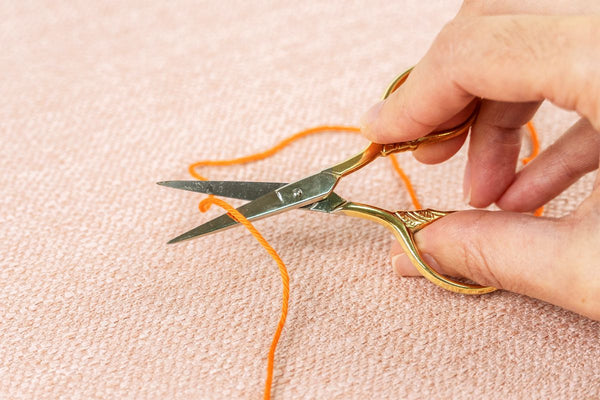
Start by cutting a piece of thread not longer than 50 cm (20’’): about the distance between your fingertips and armpit.
If you are using DMC cotton threads, do not split into strands and use the entire thread to stitch.
Thread your Needle
Learn 3 easy ways to thread your needle, and opt for the most comfortable for you!
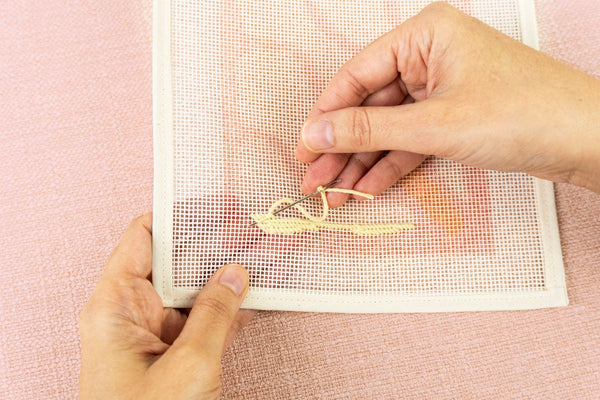
Start Stitching: Waste Knot Method
A waste knot sits on top of the canvas and is used to anchor your thread as you begin your first stitches.
As you go, you’ll be stitching over the "tail" of the waste knot (the thread on the back of the canvas) to lock the thread into the canvas.
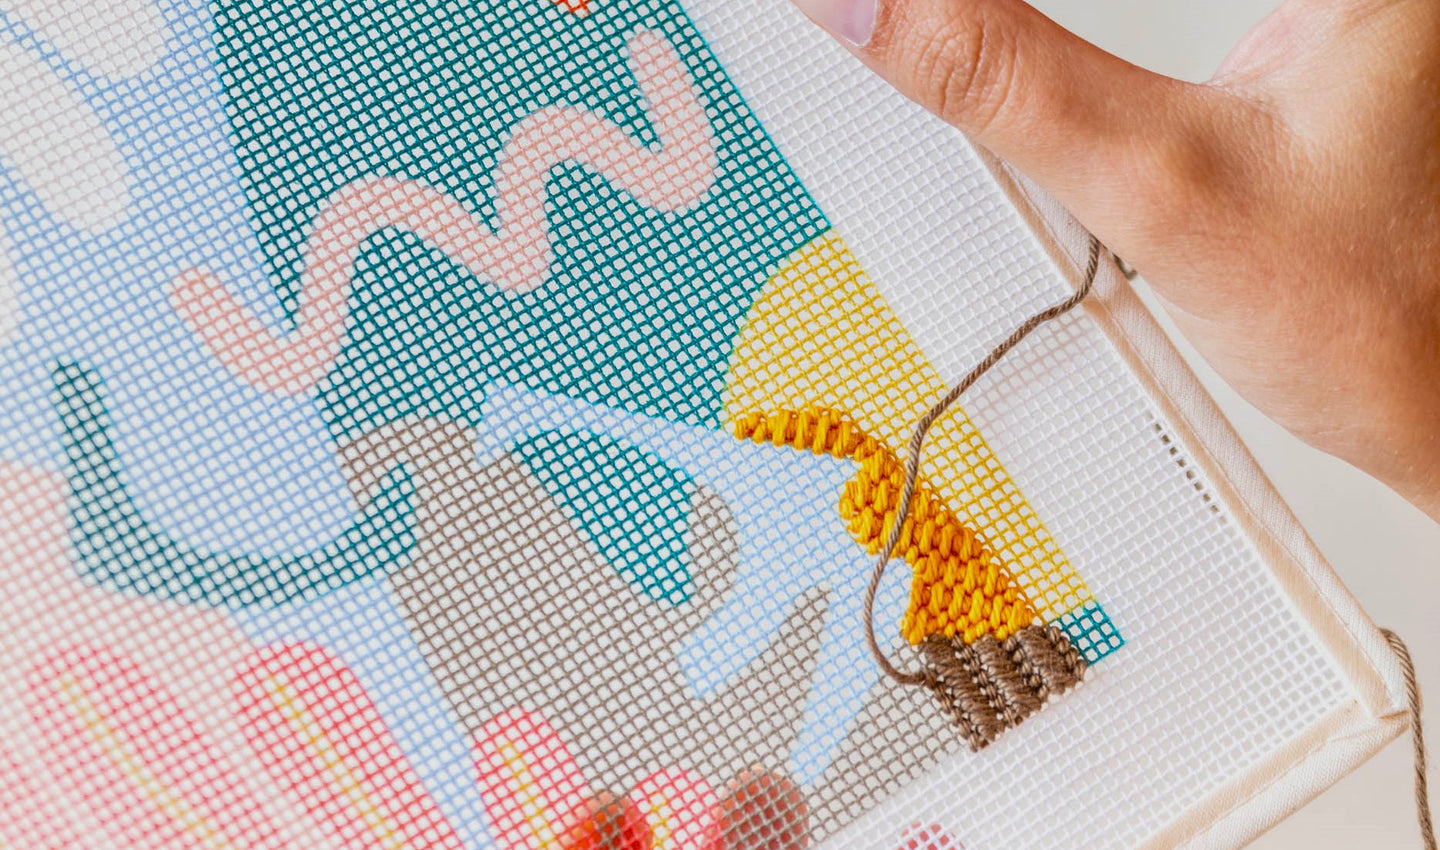
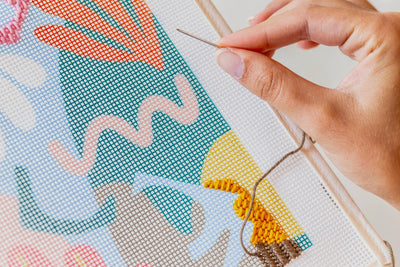
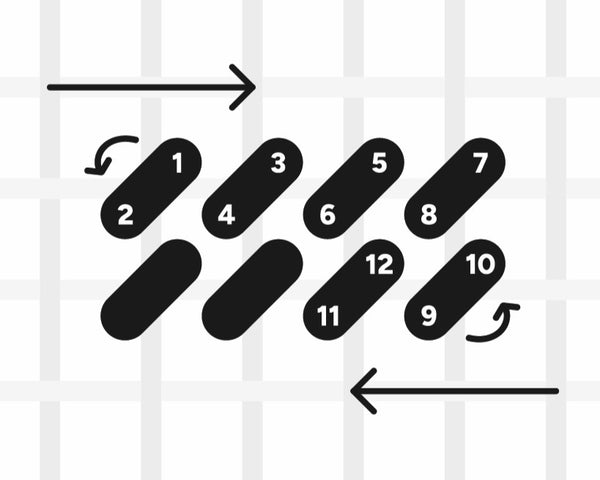
Learning the Continental Tent Stitch
Bring the needle up from the top of a canvas intersection (point 1), then go down into the bottom of the previous intersection to the left (point 2).
This will create a series of diagonal stitches, all leaning the same way.
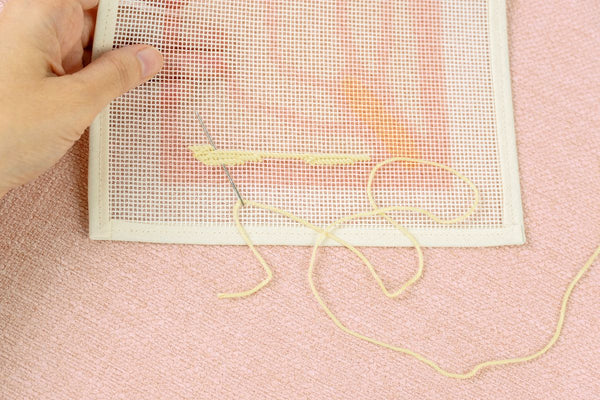
Ending a piece of thread
Stop stitching when there’s about 8cm (3’’) of thread left. On the back of the canvas, run the needle under the last stitches you worked for about 5cm (2’’), then cut the thread tail.
Start a new piece of thread
Once part of your canvas is filled with stitches, a waste knot isn’t necessary. Begin a new thread by sliding it under four or five stitches you’ve already worked, the same method you use to finish a thread.
Recommendations: Where to start stitching
Stitch small details before larger areas to keep shapes crisp.
Start with lighter colors first (unless your background is light – then save it for last) to avoid thread shadowing.
Work the background last, if the design allows, to reduce canvas distortion.
Stitching Tips
Avoid tangles: Let your needle dangle every so often to release any twists in the thread.
Mind your tension: Keep your stitches even: not too loose, not too tight.
Read all tips for a perfect stitching:
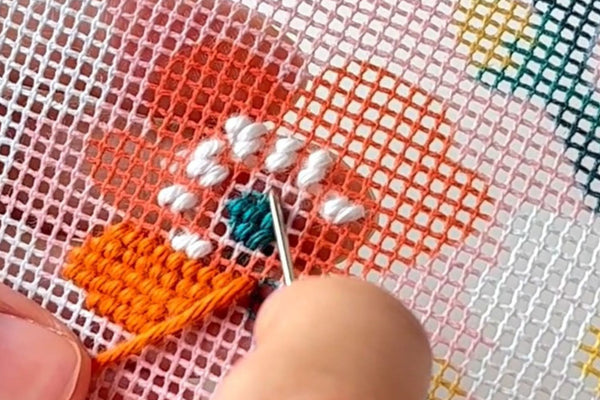
Needlepoint Decorative Stitches
Explore needlepoint decorative stitches like French knots, Mosaic Stitch and Tent Stitch variations to add texture and visual interest to your work.
Access our complete Stitch Library below:
Finishing your Project
Finishing your needlepoint doesn’t have to be tricky! Our step-by-step DIY guide, packed with tutorials, will give you the confidence to finish your project.
Start here: