Do you want to store your everyday essentials in the most unique way? In this blog post, we will show you an easy process to finish your canvas as a super cute zippered pouch!
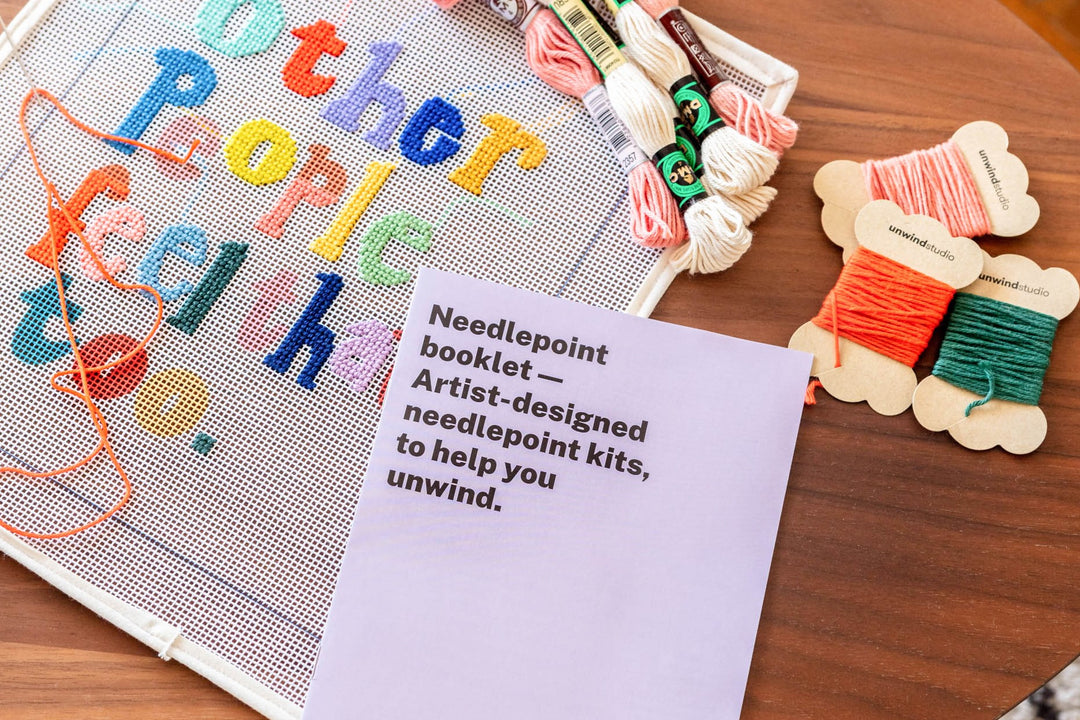
This blog post is part of our DIY needlepoint finishing learning tutorials. With these blog posts, we want to help you broaden your needlepoint knowledge, make you feel more comfortable about this craft, and show you the multiple ways you can transform and elevate your needlepoint canvas!
How to finish a Needlepoint Zip Pouch
We created a video tutorial where you can see how to finish a needlepoint zipper pouch.
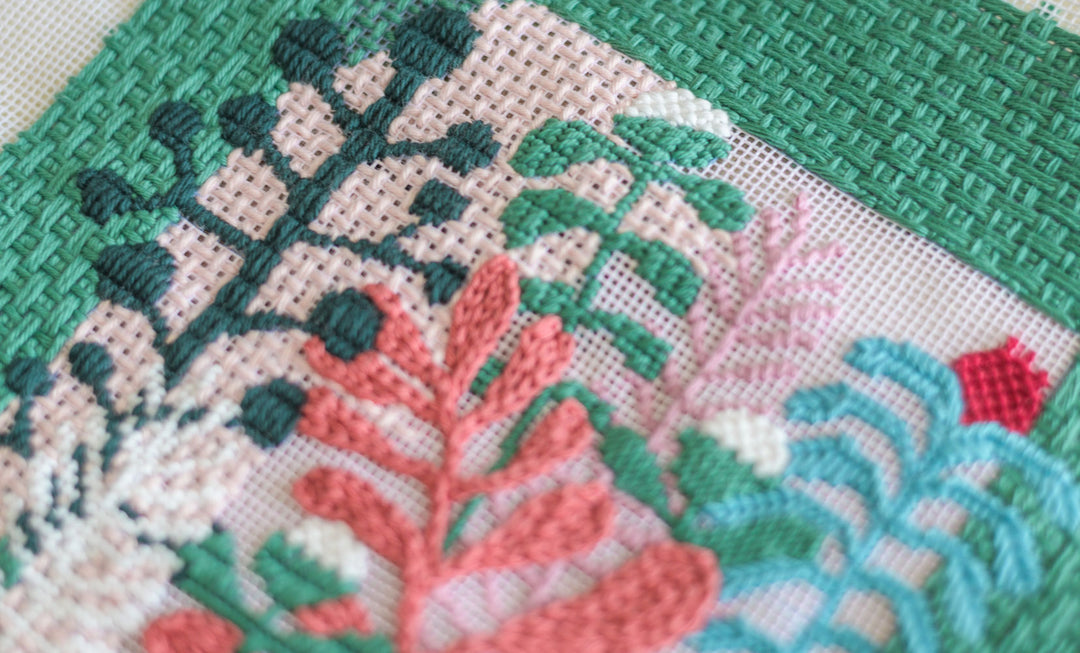
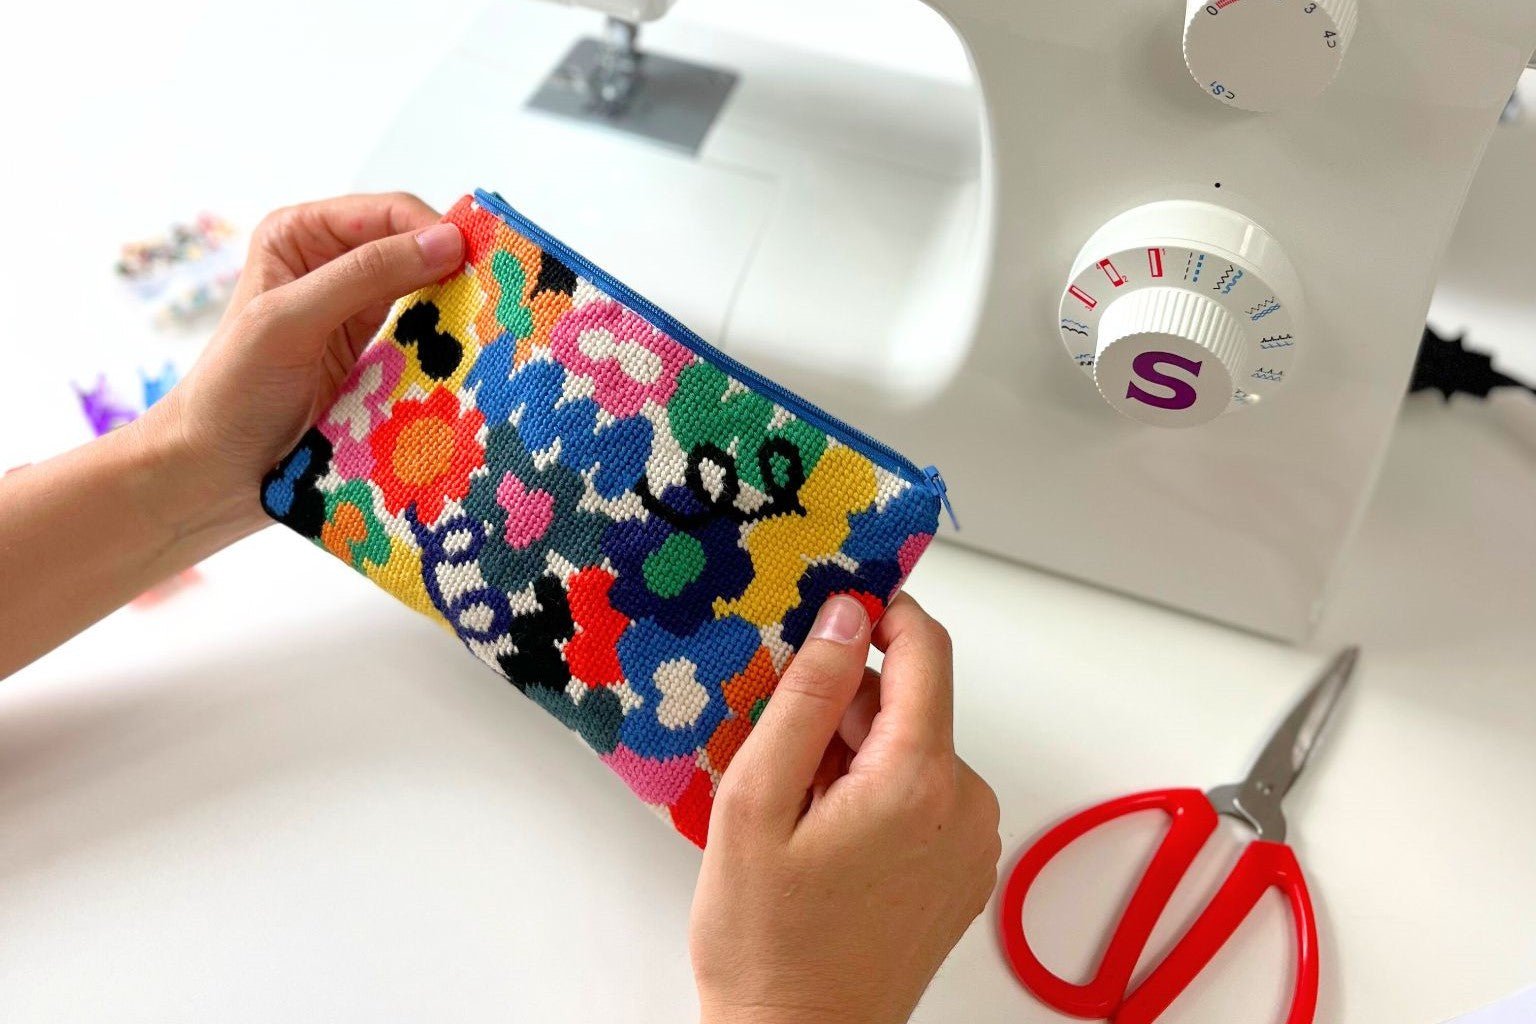
In this video, we used our Jungley Flowers Needlepoint Kit, but we ended up not stitching it until the end, leaving a 2.5cm/1 inch portion of the canvas unstitched, to obtain a more balanced look on our pouch size, and also to use a 20cm zipper that we already owned!
You may also like...
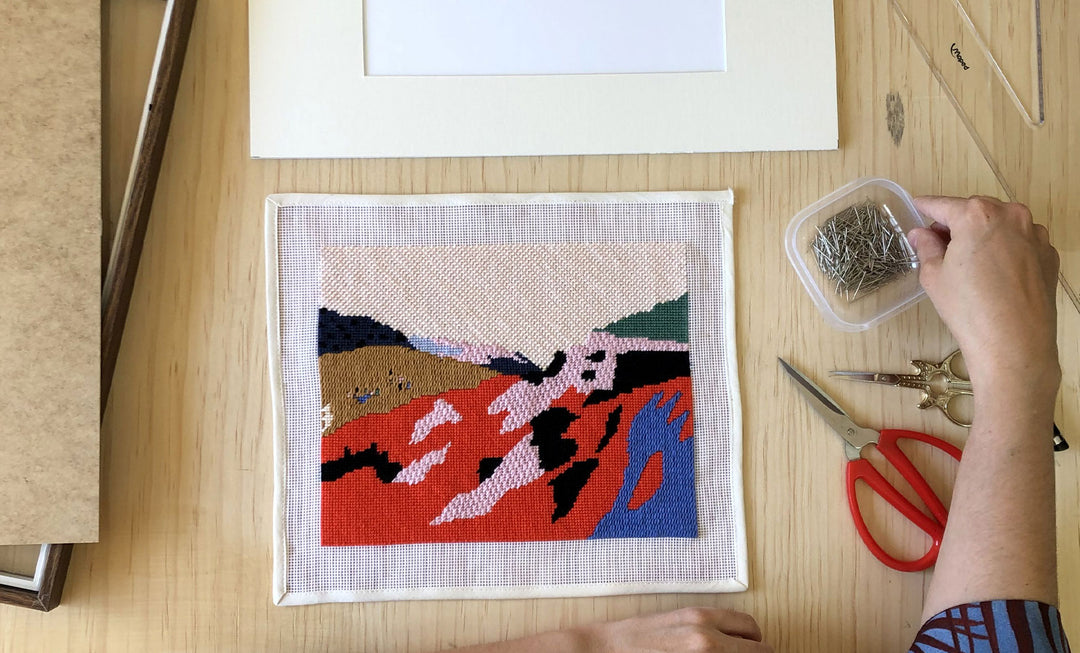
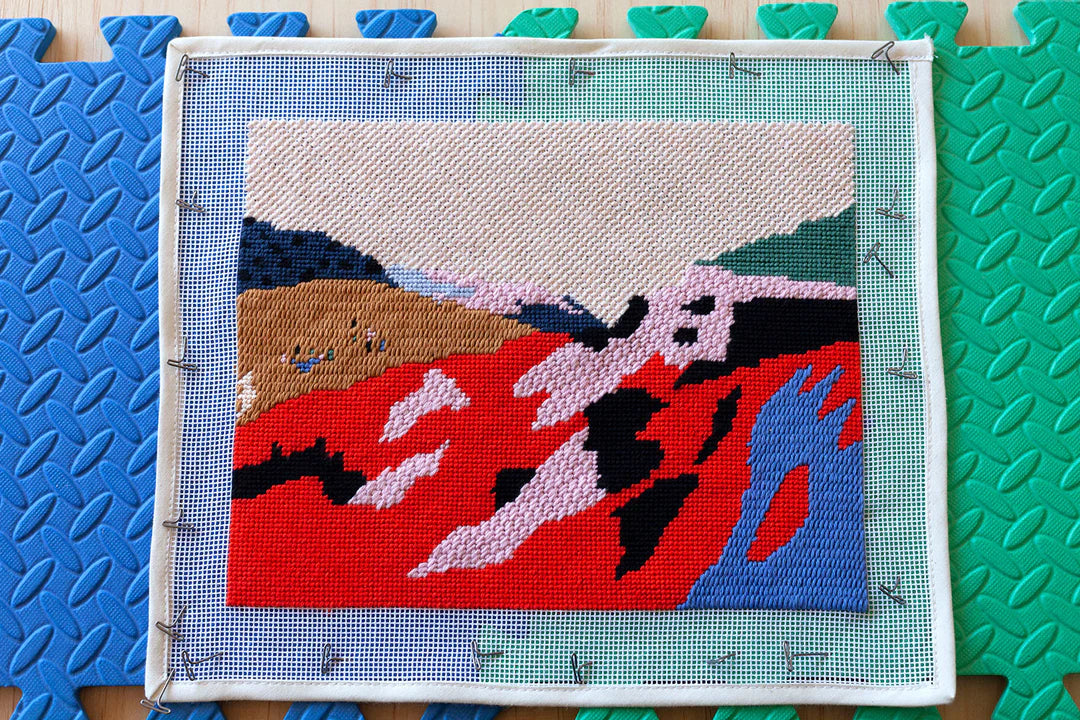
- How to block needlepoint canvas
- How to Finish a Needlepoint Sunglasses/Eyeglasses Case
- How to finish a needlepoint pillow cushion
- How to Finish a Needlepoint Ornament: Video & How To
- Shop more Finishing Tools in our Amazon Store
Materials you'll need:
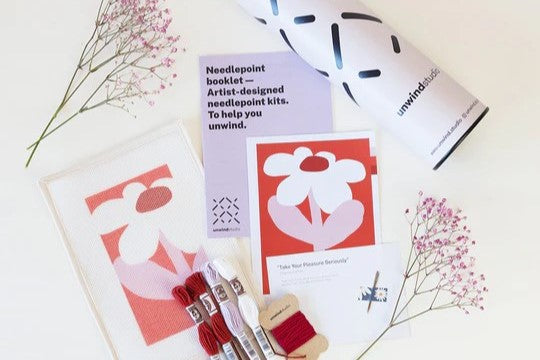
- Finished and blocked needlepoint canvas: We used our Jungley Flowers Needlepoint Kit, but you can use any canvas you like, always keeping in mind the size you want your finished product to have. Visit our Amazon store to complete your blocking tools.
- Zipper: its size should match the size intended for the project! The one we used was 20cm/about 8 inches.
- 2 pieces of Fabric for Lining: We used polyester fabric. Don't forget that the size of the lining fabric and the backing fabric depends on the size of your needlepoint piece.
- 1 piece of Backing Fabric: We chose twill for our project. It is important that the fabric used for backing is sturdy and resistant since it will be on the exterior part of your pouch.
- Fabric scissors
- Ball pins or Fabric clips: you can use whichever you feel more comfortable with.
- Sewing thread: preferably of the same color as the fabric. We used a lighter color to sew with and we think the seams would look better if the thread matched the fabric.
-
Sewing machine: This one is mainly optional, you can sew it by hand if you feel confident with your sewing skills.
-» If you're not familiar or comfortable with using a sewing machine, we have a dedicated blog post on Sewing 101 for Needlepoint Finishing! Check it out to learn the easiest way to finish your project.
How to Finish Needlepoint Zippered Pouch: Step-by-Step Instructions!
With your finished and already blocked needlepoint canvas, it's now time to take action and start this super fun and rewarding project, following this step-by-step guide or our YouTube video tutorial.
Step 1
To start, place your zipper (facing down) on the needlepoint piece (facing up). You will sew the side of the zipper closer to the border of the needlepoint piece, about 5mm (3/16 inch) right up against the zipper teeth.
Line the start and end of the zipper with the needlepoint. Then, place 1 piece of your lining fabric on the zipper, facing down.
A good thing to remember when placing your materials is the "sandwich" effect: the zipper is always in the middle!

Step 2
Place the ball pins to secure the needlepoint, zipper, and fabric together so it's easier to sew. Take your time to adjust things as you go, it is important that all materials are placed correctly!
Bonus tip: place the ball pin head in the opposite direction you'll sew, so you can take them one by one more comfortably while sewing in the machine.
Step 3
Unfold the "sandwich" to check if the zipper is correctly placed and the distance is right. Sew it along the line close to the needlepoint, as straight as possible. When you've finished sewing, check again to see if everything went well.

Step 4
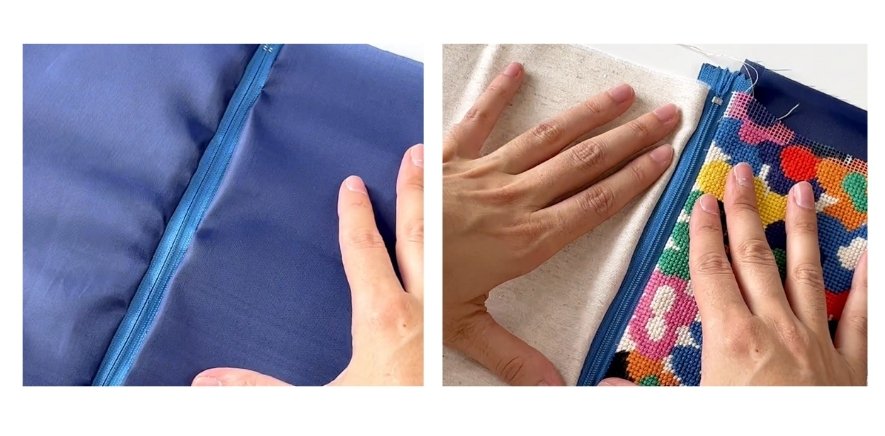
On the other side, the process is exactly the same with the "sandwich effect".
Place the zipper (facing down) on the back fabric (facing up). Then, place the other piece of lining fabric (facing down) on the zipper.
Both of the pieces of lining fabric are together at this point!

Step 5
Place the ball pins carefully and unfold it all again to check. It should look like the image below.
Now, sew it along the line you made with the ball pins and make sure everything is well placed again.
Step 6
Now comes one of the most important steps: opening the zipper!

Step 7
Then, with the zipper open, line your fabrics very carefully (it's more difficult to do it with the zipper open, but otherwise you'll end up with a lopsided pouch!) and put the ball pins all along the border of the needlepoint design (attaching it to the backing fabric).
With the help of a mold (doesn't have to be perfect!) measure the area of the lining fabric where you will place the ball pins (to match the other side). Keep adjusting it until it is all lined up.

Step 8
Now comes another crucial step: leave an open space on the lining fabrics!
You can't sew it all in this part of the process, because later you will need that hole open!

Step 9
Sew everything together, except for the space you purposely left without the ball pins.
In this part, you will stop sewing and start again a little bit further on the lining fabric. You can also leave the hole open on the underside of the fabric, instead of the sides. This way, the final seam won't be so noticeable!
Then, go on normally all around the perimeter you've made with the ball pins.
Step 10
Cut the excess fabric all around. The corners are cut in triangle shapes to alleviate some bulk.
Step 11
And now comes the fun part: turn the entire project right side out through that hole you left open!
It is important to poke out the corners to end up with a well-structured zip pouch.
If you can't do it perfectly with your fingers, you can use a pointy object like a pen to help you!

Step 12
Finally, you just have to take the lining fabric out, fold the two ends of the fabric inwards and sew it together.

In the end, it should look like this!

Important things to keep in mind!
- The sandwich effect: Paying attention to the order in which you should place the materials is essential to the process!
- Open the zipper: If you forget to open the zipper, you'll not be able to finish the de project (Speaking from experience, oops!)
- Leave a hole open in the lining fabrics: you need that hole to be able to turn the project right side out and make the needlepoint piece and the backing fabric be on the exterior part of the pouch.
We hope this tutorial was useful and clear for you to learn how to do your own Needlepoint Zipper Pouch.
We had a lot of fun making this project and are very proud of how this pouch turned out! If you try it yourself, we would love to see your project. Send us a photo :)
If you want to learn more about what you can do with your finished needlepoint, or simply get inspired for your next project, check out our DIY Needlepoint Finishing resources!
Happy Stitching!