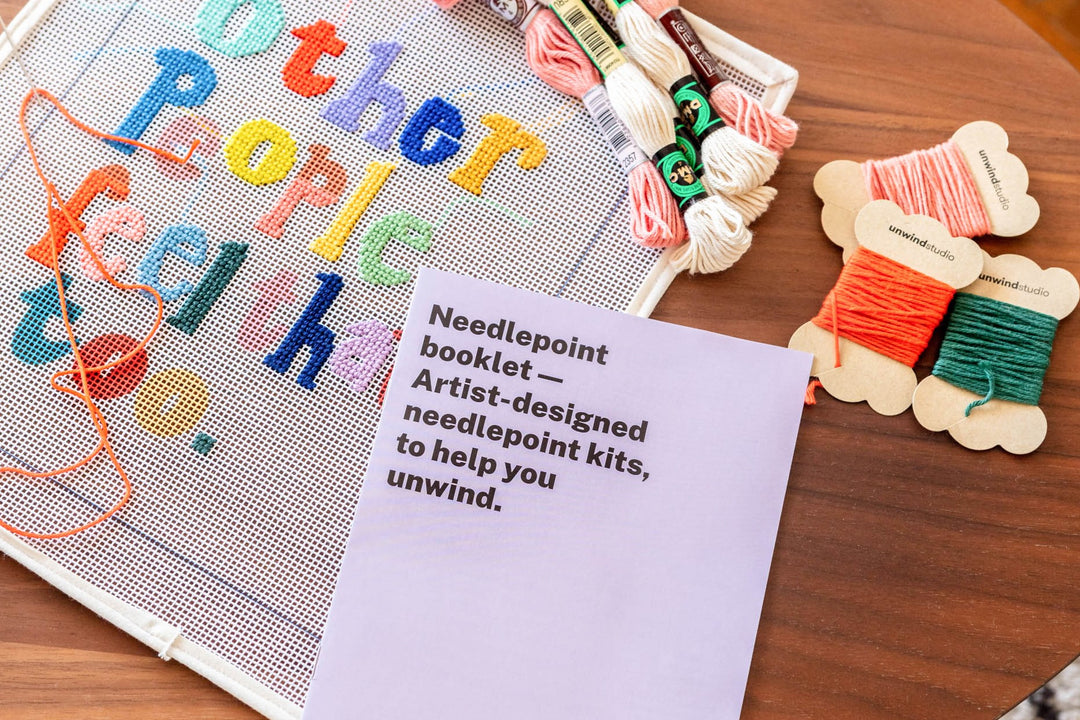
We all have this familiar experience: the constant worry of losing or inadvertently scratching our favorite pair of sunglasses in the summer, or even the ones that help us see every day. But fear not - In this blog post, we present a creative solution to protect your shades in style.
We will be teaching you how to craft your own personalized needlepoint sunglasses or eyeglasses case that will not only keep your eyewear safe but also add a touch of fun and cuteness to your everyday essentials. So, gather your materials, unleash your creativity, and let's get started on this project that perfectly blends functionality and fashion!
DIY Finishing: Needlepoint Sunglasses/Eyeglasses Case (double-sided canvas)
We created the video tutorial and instructions below where you can learn how to finish a needlepoint sunglasses case. In this video we used our lovely Royan Sunglasses Case Needlepoint Kit.
The instructions on this video are only for double-sided canvases. We opted for a very simple and inexpensive method:
- applying the binding stitch to the edges, instead of extra cording
- self-adhesive velvet fabric for lining, to avoid extra sewing
We are absolutely confident that once you watch this tutorial, you will feel prepared to start stitching your own sunglasses case without worrying too much on how you will finish it!
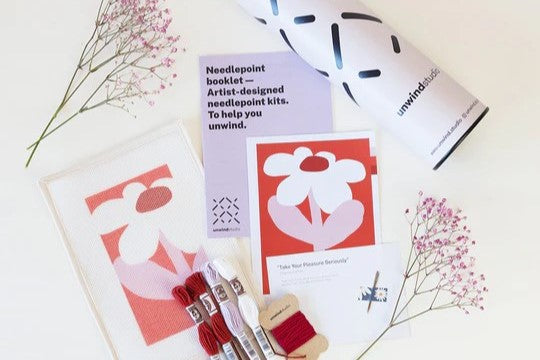
Materials You'll Need:
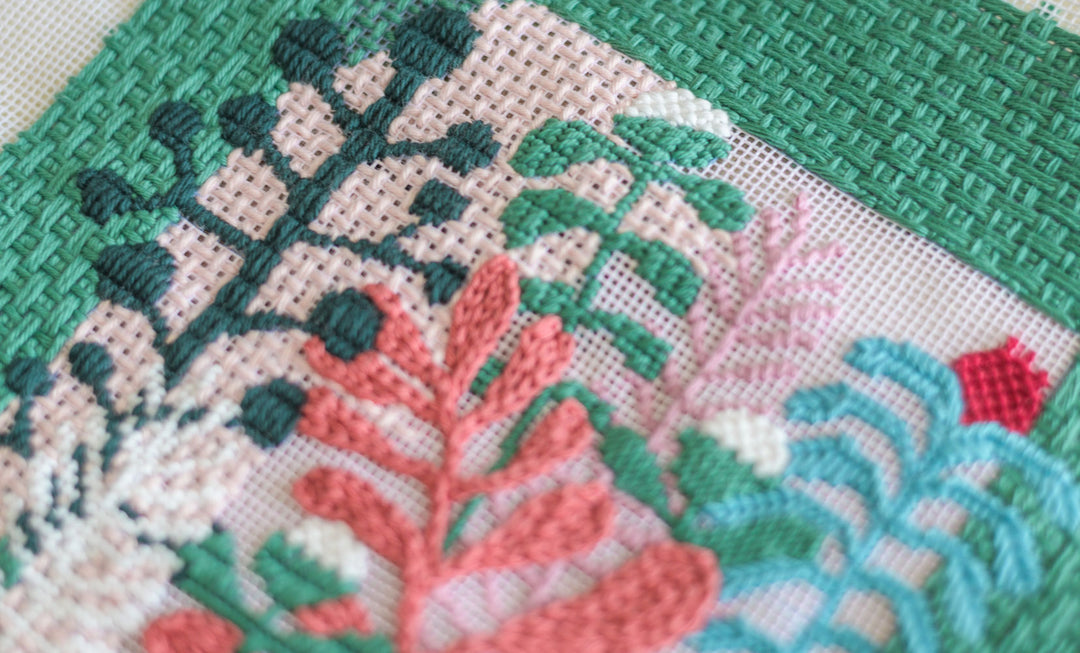
- Finished double-sided canvas for sunglasses/eyeglasses (check out the beautiful designs and patterns of our Sunglasses Case Needlepoint Kits)
- Thread of a matching color for the Binding Stitch. For this project we used the same type of thread used in the stitching: DMC soft cotton, but it's also very common to use DMC stranded cotton, which is slightly more resistant.
- Fabric for the lining. We used self-adhesive velvet fabric for an easier and quicker finish!
- Invisible sewing thread (or sewing thread with same color as the border)
- Scissors
- Sewing sharp needle
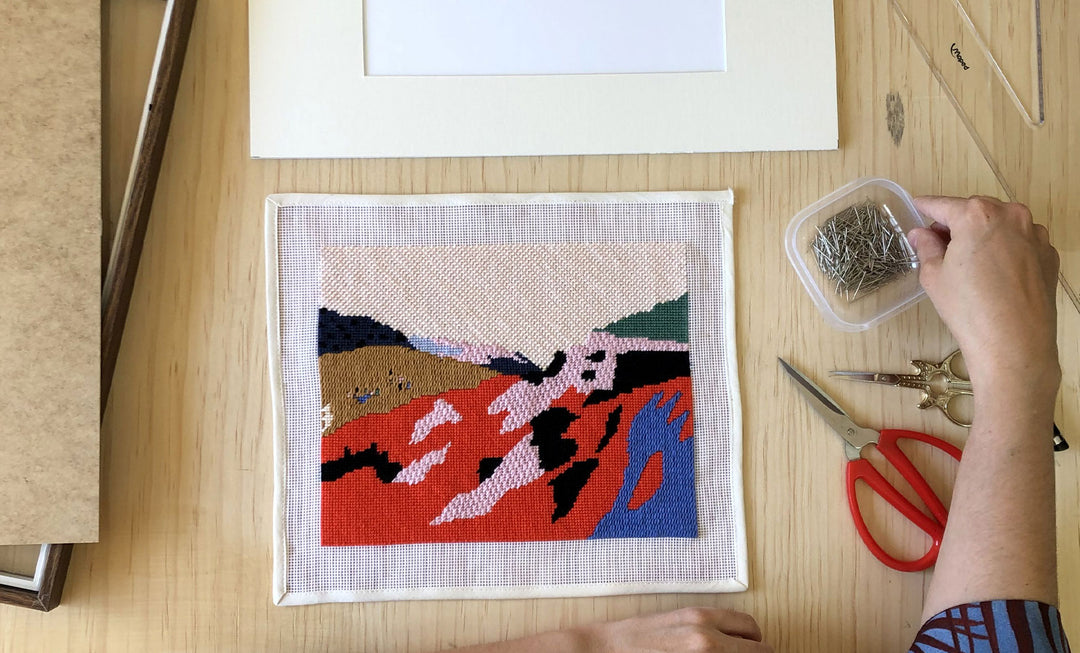
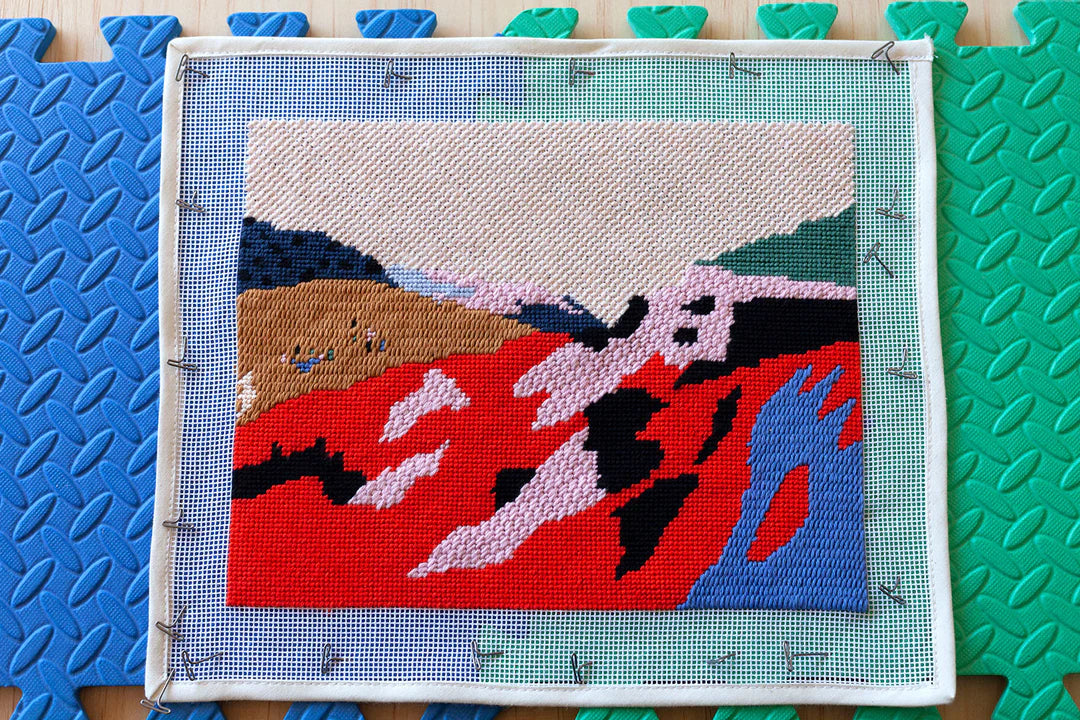
Pro Tip before starting: Block your canvas!
If you think your canvas is not straight enough, don't skip this step!
Some of the most common stitches, such as Continental Tent Stitch, are very likely to cause distortion to your design, so to finish the sunglasses case properly it is important to do some blocking and guarantee that your canvas is straight and ready to go!
Read our article and watch our video tutorial to learn how to block your canvas :)
Visit our Amazon store to complete your blocking tools.
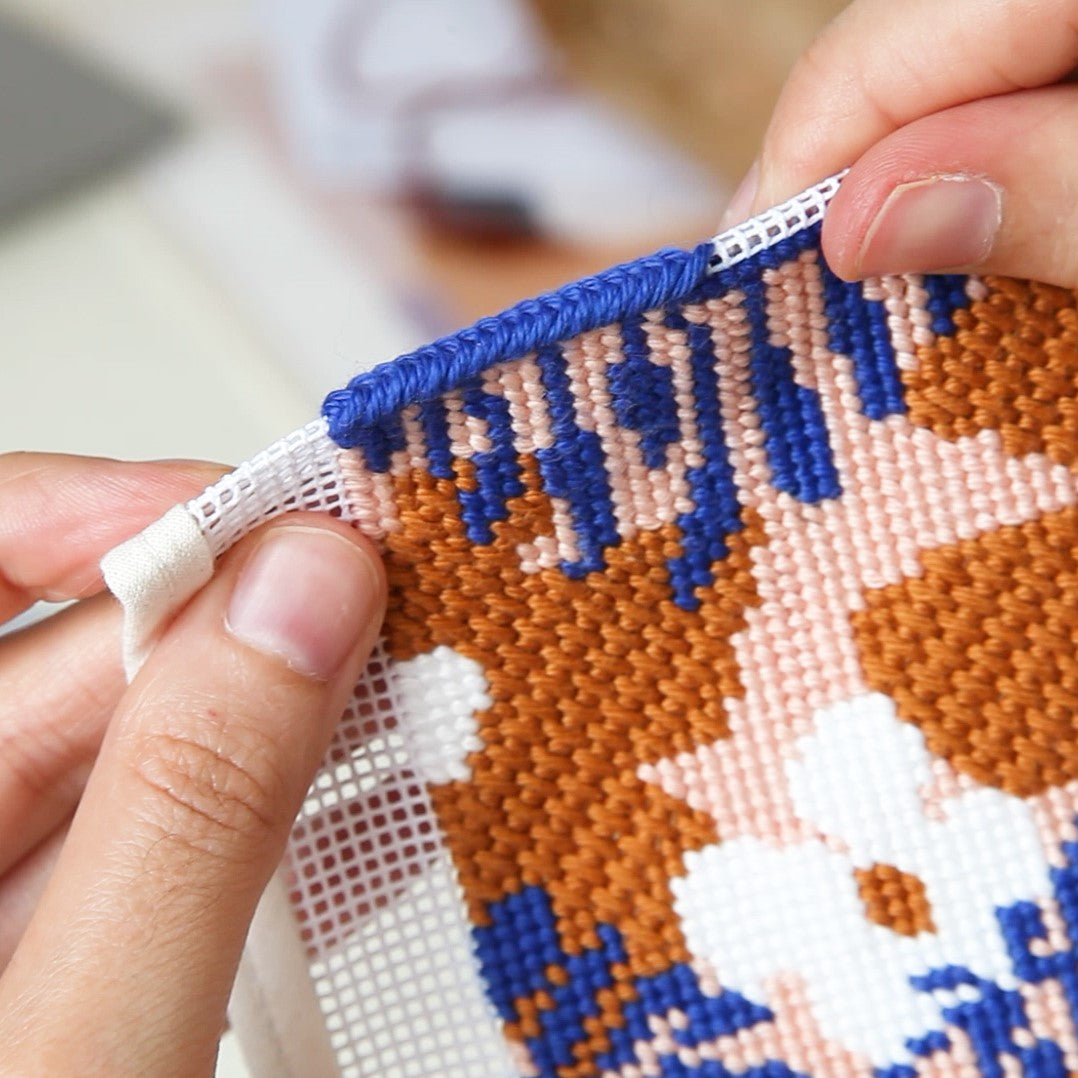
Step 1 - Do the Needlepoint Binding Stitch
Once you have completed the needlepoint design, it's time to add a neat and professional finish to the edges. Using a matching thread color, work the binding stitch around the entire perimeter of the design. This stitch not only secures the threads but also creates a clean and polished edge to protect the piece, which we will use to sew the sunglasses case together.
Watch our video tutorial to learn how to do the binding stitch.
Step 2 - Attach the Lining Fabric
To protect your sunglasses from scratching on the back of the needlepoint canvas, cut a piece of fabric (we used self-adhesive) to match the size of your design. This fabric will act as a lining and will then be the inside of your case: we used velvet due to its fluffy feel that ensures no damage to the glasses lenses.
Self-Adhesive Fabric:
Peel off the backing from the self-adhesive fabric and carefully align it with the back of your needlepoint design. Press firmly to ensure a strong bond between the fabric and the canvas. Smooth out any wrinkles or air bubbles for a clean and professional finish.
If you opt for regular fabric, you just need to sew it into the back of the piece.
Step 3 - Sew the Edges of the Canvas
Now, you just have to fold the canvas in two, with the lining and back of the canvas faced inside. Start sewing all of the edges but one: the side for the glasses to come in and out.
Try to sew along the line between the binding stitch and the canvas design for a more polished and "invisible" look. We used invisible thread to help hide the stitches even more ;)
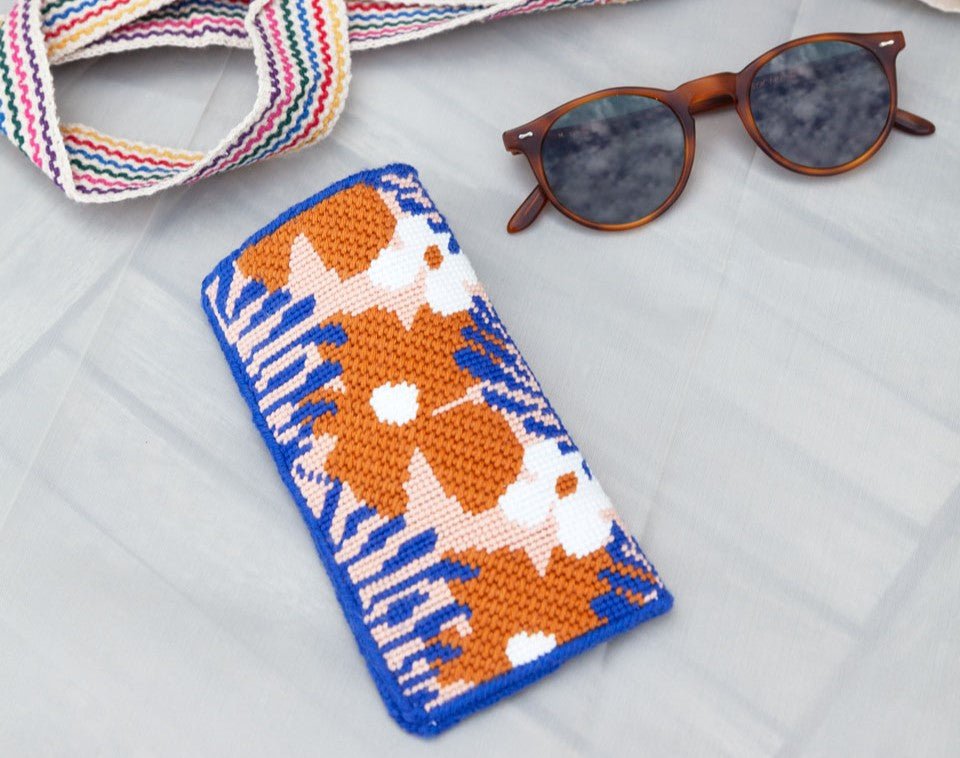
Step 4 - Enjoy your cute sunglasses case!
Voilà! You can now switch your boring case for this one: vibrant, unique, and best of all: made entirely by you!

In conclusion, creating your own personalized needlepoint sunglasses case is easier than it seems and you end up with a delightful way to safeguard your eyewear while adding a touch of your original style. It is also a very cool gift for that friend that loves sunglasses or doesn't spend a day without their seeing ones! They can either do it themselves or you can stitch it with love for them :)
Happy stitching!