Skip to content
Portes grátisencomendas a partir de 60€
English
English
Français
Deutsch
    • Shop All Kits & Canvases
    • Bestsellers
    • New In !
    • Beginner Kits
    • Starter Kit Bundles
      • Bookmarks
      • Key Fobs
      • Bag Charms, Magnets & Patches
      • Portuguese Tiles
      • Starter Kit Bundles
      • Sunglasses Cases
      • Coasters & Trays
      • Clutches & Inserts
      • Cushion Kits
      • Ornaments
      • Stockings
      • for Kids
      • Long Stitch Kits
      • Digital Charts
      • Summer Love
      • Floral Garden
      • Folk Art
      • Nature Elements
      • Bold and Colorful
      • Geometric Designs
      • Abstract Visuals
      • Minimal Aesthetic
      • Museum Art
      • Cozy Fall
      • Mental Health Crafts
      • for Children
      • Animals
      • Flowers
      • Landscapes
      • Tumbling Blocks
      • Museum Art
      • Sayings
      • Portugal
      • Food
      • Christmas
      • Travel
      • Nursery Decor
      • for Kids
      • Starter Kit Bundles
      • Beginner
      • Confident Beginner
      • Intermediate
      • Advanced
      • Extra Small
      • Small
      • Medium
      • Large
    • Digital Charts
    • Canvas Sets
    • 25% OFF Sale
  • Accessories
    • Shop All
    • Decorative Stitches Booklet
    • Unwind Studio Frames
    • Acrylic Trays & Coasters
    • Threads
    • Project Bags
    • Needle Minders
    • Embroidery Scissors
    • Blank Canvas
    • Lifestyle Items
    • Browse our Finishing Guide
    • Shop Frames
    • Shop Supplies by Project
    • Shop All Finishing Tools & Materials
  • Gifts
    • Gift by Recipient
      • Gifts for Beginners
      • Gifts for Bookworms
      • Gifts for Pet Lovers
      • Gifts for Kids
      • Gifts for Teens
      • Gifts for Sisters or BFFs
    • Gifts by Price
      • Under 30€ / $30
      • 31€ - 50€
      • 51€ - 80€
    • Gift Cards & Stocking Stuffers
      • Shop Gift Cards
      • Shop Stocking Stuffers
    • Gift Boxes
    • Greeting Cards & Gift Tags
  • About Us
    • About Us
    • Meet the Team
    • Wholesale & Special Events
    • Say Hello!
  • For Beginners
    • 🪡 Beginner's Guide
    • How to Needlepoint: Video Tutorial
    • What's in a Needlepoint Kit?
    • How to Choose a Project
    • Do you need a Stretcher Frame?
    • Best Stitches for Beginners
    • Guide to Affordable Needlepoint
    • Download our Free How To Booklet
  • Stitch Guides & Tutorials
    • Free Stitch Guides
    • Stitch Library & Tutorials
      • Tips to Select Decorative Stitches
      • How to Compensate Stitches
      • Best tips for a perfect Stitching
      • Tips for a perfect Basketweave stitch
  • Needlepoint Finishing
    • ✂️ DIY Finishing Guide
      • How to Block a Canvas
      • How to Frame a Needlepoint
      • How to Finish an Ornament
      • How to finish a Sunglasses Case
      • See all Finishing Tutorials
      • How to do a Binding Stitch
      • Sewing 101 for Needlepoint
      • Top Tips to create a Gallery Wall
      • Unique Framing Ideas
      • DIY Finishing FAQs
  • Our Project Gallery
  • Blog
  • Get 10% OFF
    Take our Quiz
    Rewards
    Blog
    FAQs
    Log in
  • instagram Instagram
  • Facebook
  • YouTube
  • Pinterest
  • TikTok
Cart
Subtotal
€0,00
Shipping, taxes, and discount codes calculated at checkout.
View cart
Your cart is currently empty.
  • Get 10% OFF
  • Take our Quiz
  • Rewards
  • Blog
  • FAQs

Language

  • English
  • Français
  • Deutsch
icon-search Search
Unwind Studio logo on a white background Unwind Studio logo on a white background
account Log in icon-search Search Cart
  • Shop
    Featured
    New!
    Bestsellers
    Starter Kit Bundles
    Beginners
    Kids
    Digital Charts
    25% Off Sale
    Kits with Stitch Guide
    Kits with Finishing Materials
    Tools & Supplies
    All Kits & Canvases
    Shop by Category
    All Kits & Canvases
    Starter Kit Bundles
    Bookmarks
    Key Fobs
    Bag Charms, Magnets & Patches
    Portuguese Tiles
    Sunglasses Cases
    Coasters & Trays
    Clutches & Inserts
    Cushion Kits
    Ornaments
    Stockings
    Long Stitch Kits
    Kids
    Shop by Style
    Summer Love
    Floral Garden
    Bold and Colorful
    Nature Elements
    Folk Art
    Geometric Designs
    Abstract Visuals
    Minimal Aesthetic
    Colorful Spring
    Mental Health Crafts
    Shop by Skill Level & Size
    for Kids
    Starter Kit Bundles
    Beginner
    Confident Beginner
    Intermediate
    Advanced
    Extra Small
    Small
    Medium
    Large
    Shop All Kits
    ARE YOU INTO?
    Christmas🎄
    Museum Art
    Canvas Sets
    Portugal
    Animals
    Flowers
    Landscapes
    Tumbling Blocks
    Food
    Sayings
    Travel
    Nursery & Kids Decor
  • For Beginners
    Beginner's Guide
    How to Needlepoint - Video Tutorial & Instructions
    Complete Guide
    Download our Free Booklet
    Shop
    Starter Kit Bundles
    Beginners Kits
    Start with the Basics
    What's in a Needlepoint Kit?
    How to choose the right project
    Do you need a Stretcher Frame?
    Best Stitches for Beginners
    Best Tips for Beginners
    Guide to Affordable Needlepoint
  • Accessories
    Stitching Tools
    Stitching Tools
    Shop All
    Decorative Stitches Booklet
    Project Bags
    Needle Minders
    Embroidery Scissors
    Blank Canvas
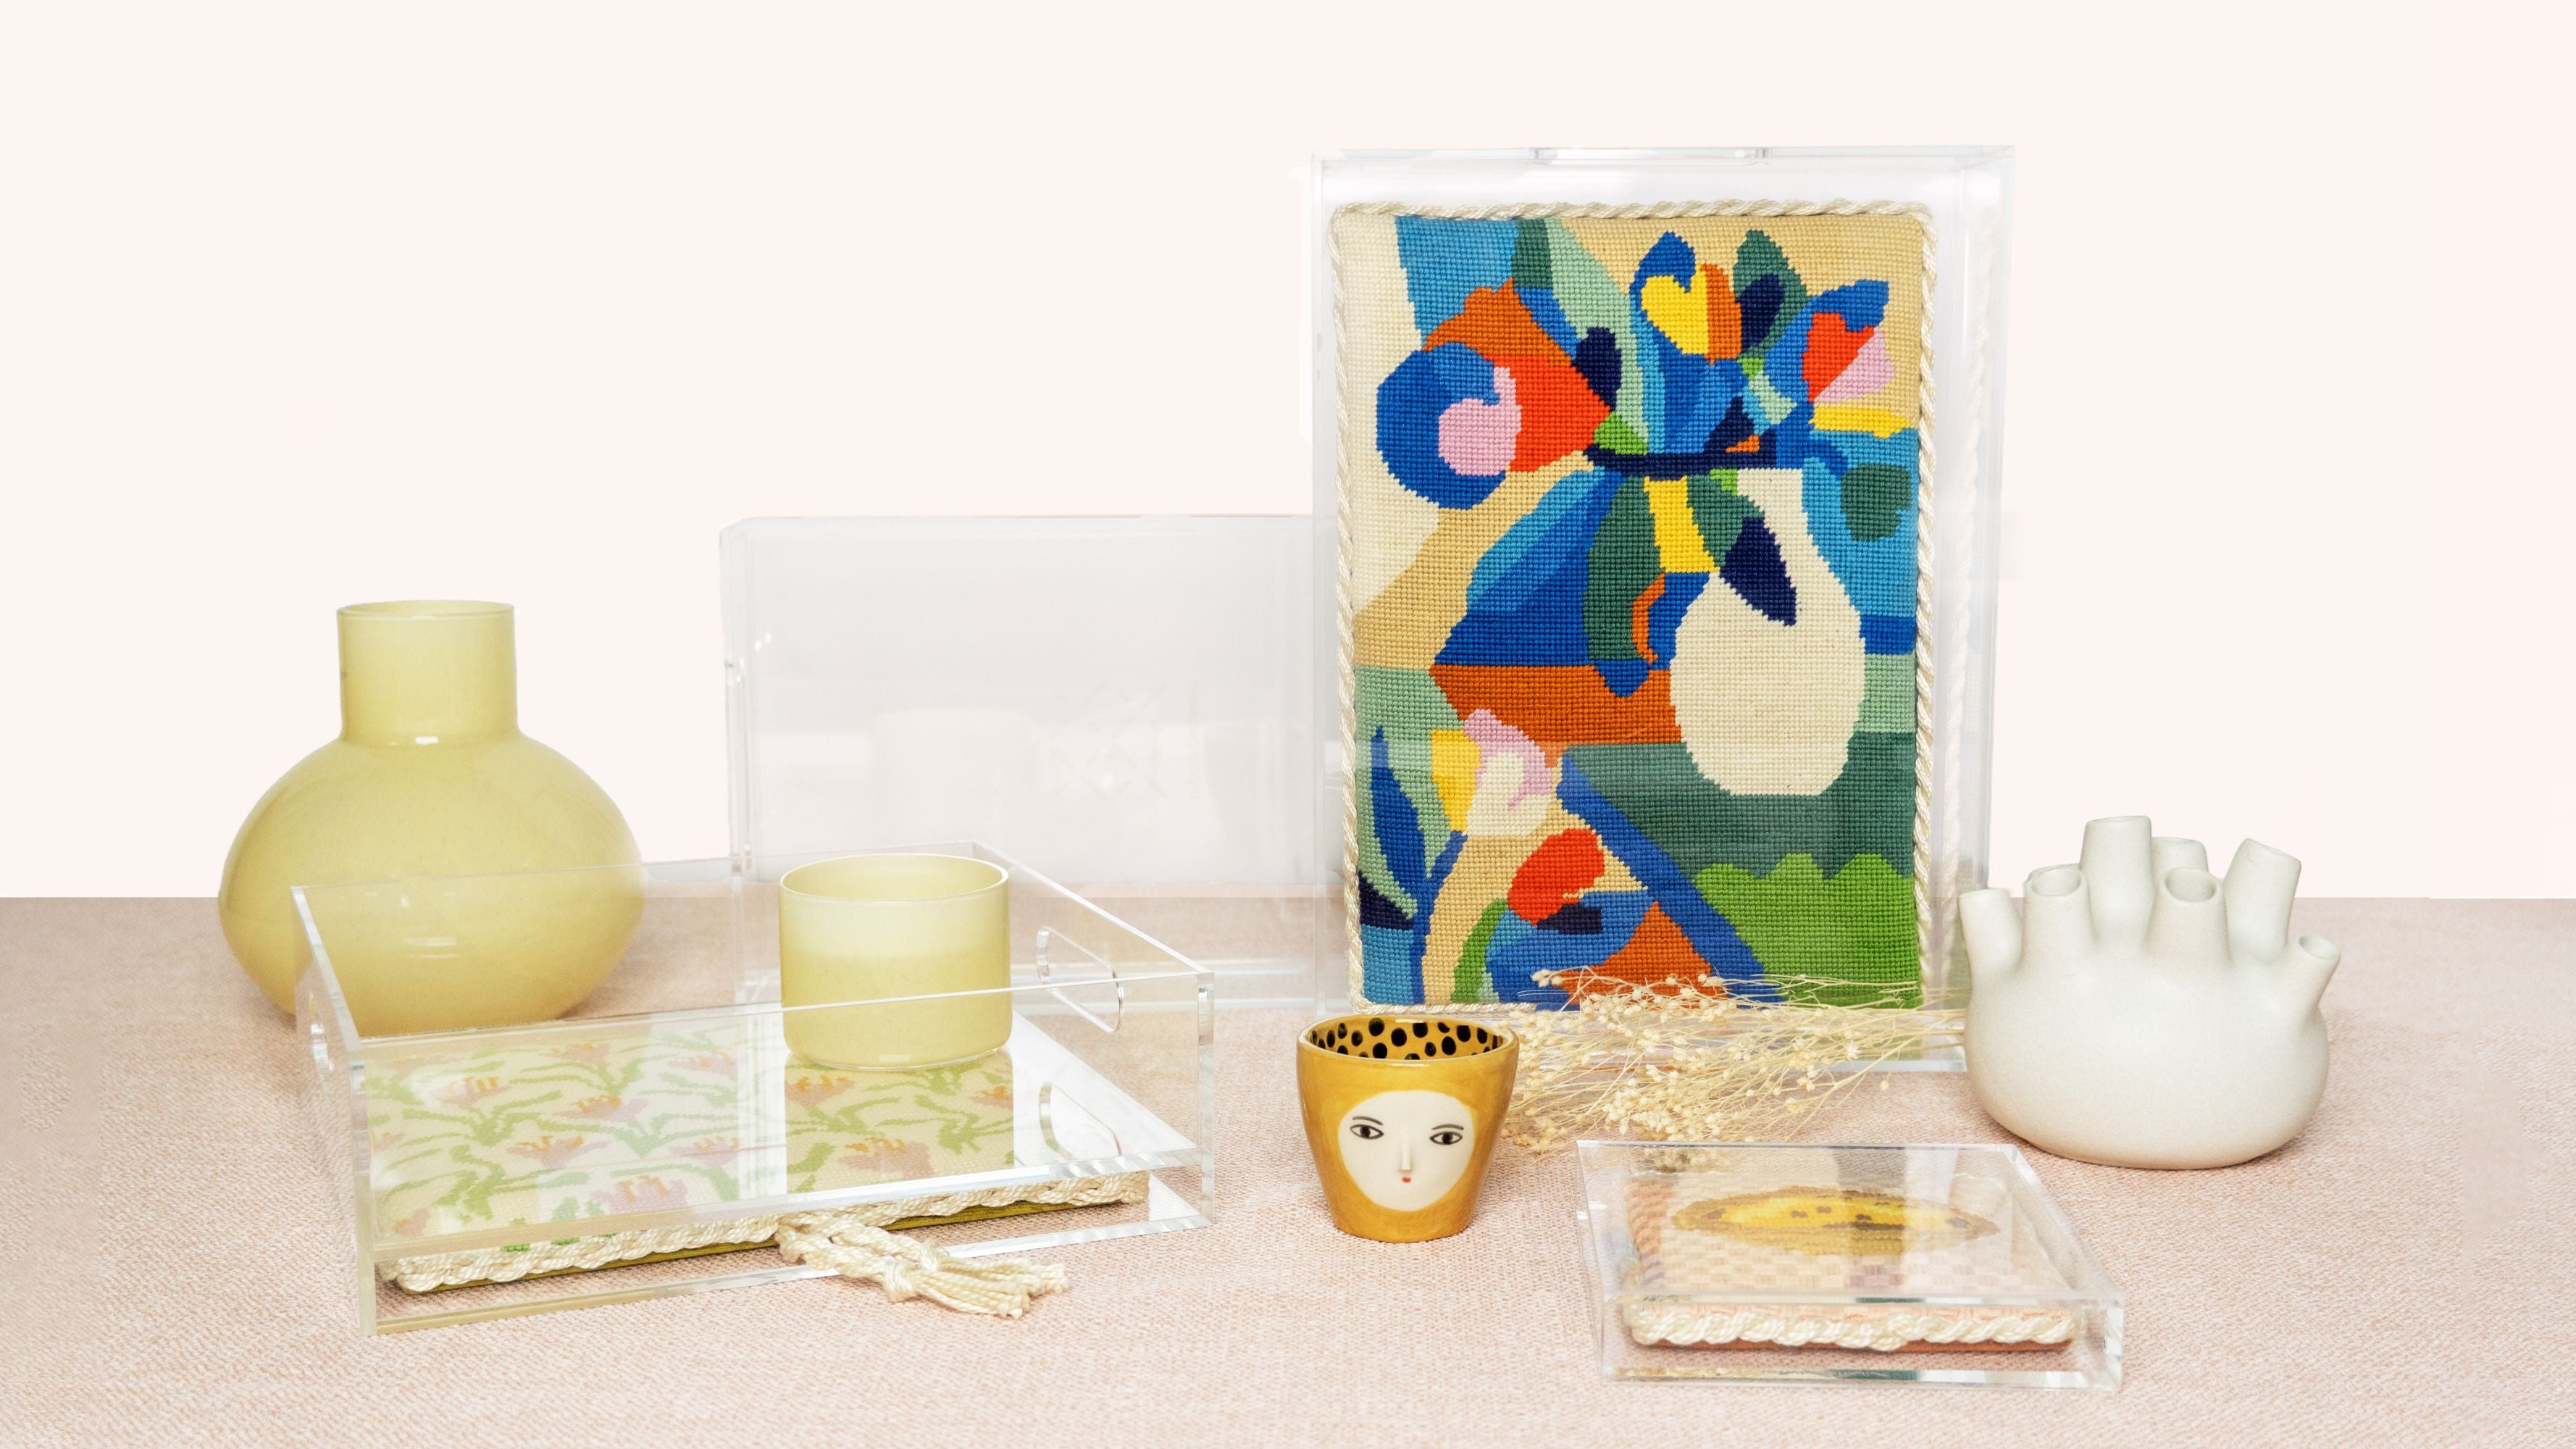
    Framing by Unwind Studio
    Framing
    Shop our Frames
    All about our High-Quality Frames
    Acrylic Trays & Coasters by Unwind Studio
    Acrylics
    Shop our Acrylics
    Shop Kits & Canvases Inserts
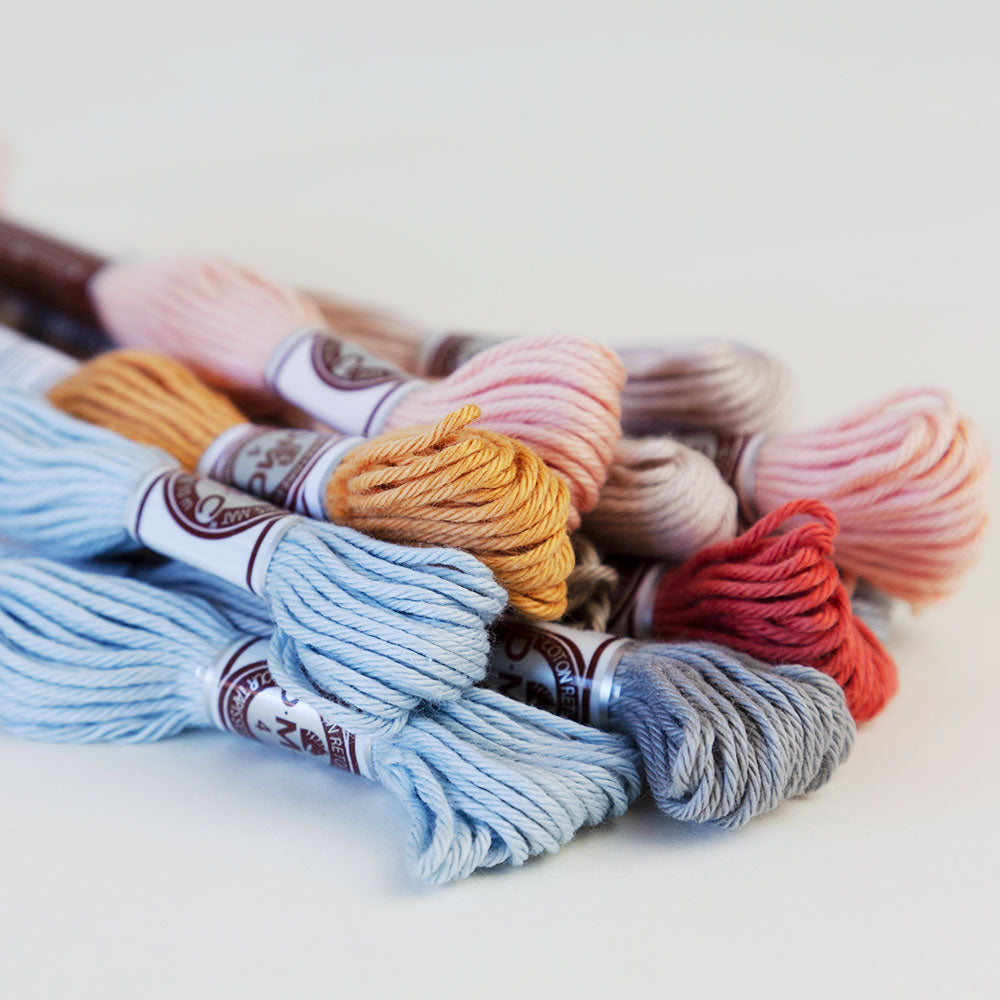
    Needlepoint Threads & Yarns
    Threads
    DMC Soft Matte Cotton
    DMC Pearl Cotton #3
    Lifestyle
    Lifestyle Items
    Shop our Lifestyle Items
    Greeting Cards & Gift Tags
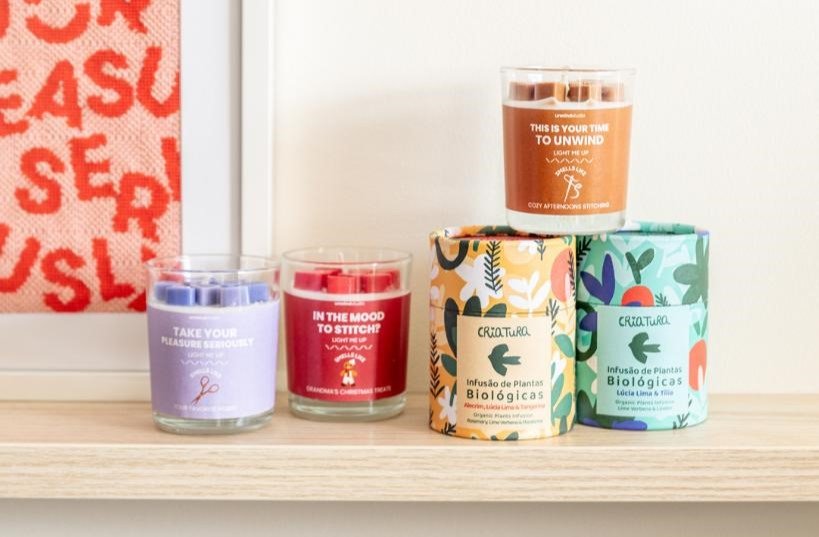
    Aromatic Candles
    Organic Infusions
  • Finishing
    Learn how to Finish
    Explore our Guide
    How to Block Needlepoint
    How to Frame Needlepoint
    See all Finishing Tutorials
    Finishing Supplies
    Shop by Project
    Shop all Supplies
    Tips & Tricks
    How to do the Binding Stitch
    Sewing 101 for Needlepoint
    Tips for Gallery Walls with Needlepoint
    Top Finishing FAQs
    Project Gallery
  • Stitches Guides & Library
    Stitch Guides
    Stitch Library & Tutorials
    Tips & Tricks
    Tips to Select Stitches
    How to Compensate Stitches
    Best Tips for a Smother Stitching
    How to get a perfect Basketweave Stitch
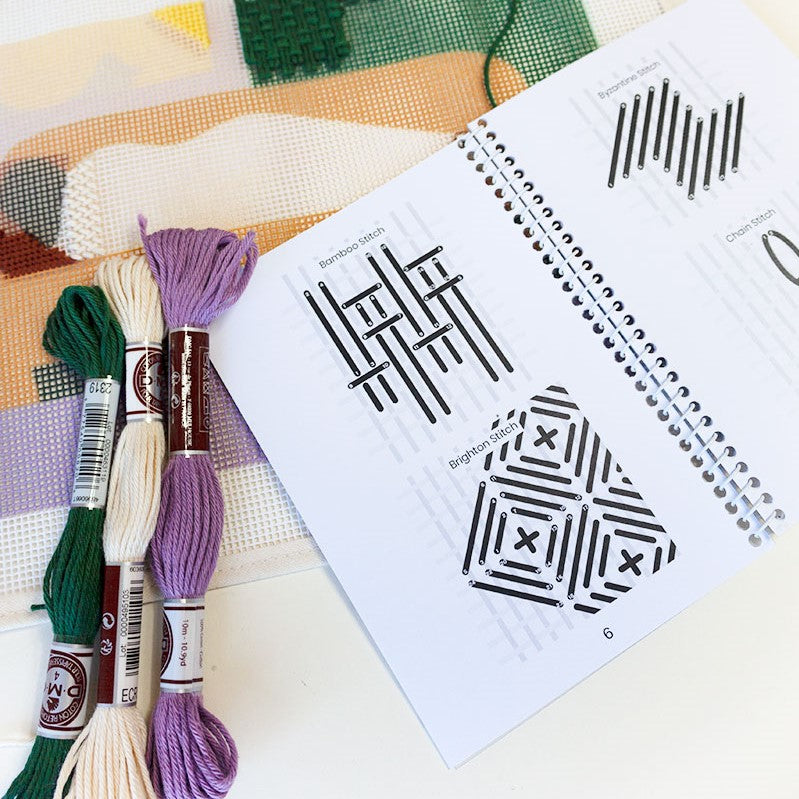
    Decorative Stitches for Needlepoint Booklet
    Decorative Stitches
    Shop our Booklet
  • Gifts
    Gifts by Recipient
    Gifts for Beginners
    Gifts for Bookworms
    Gifts for Pet Lovers
    Gifts for Teens
    Gifts for Kids
    Gifts for Sisters or BFFs
    Shop the Gift Guide ✨
    Gifts by Price
    Under 30€ / $30
    31€ - 50€
    51€ - 80€
    Over 80€
    Gift Boxes
    Needlepoint Starter Kits
    Starter Kits
    Shop the perfect gift for beginners
    Unwind Studio Gift Card
    Gift Cards
    Shop Gift Cards
    Shop Stocking Stuffers
    Greeting Cards & Gift Tags
  • About
    About Us
    About Us
    More about Our Story & the Team
    Unwind Rewards
    Unwind Rewards
    Earn while Unwinding
    Our Blog
    Learn and Get Inspired
    Unwind for Business
    Unwind for Business
    Become our Stockist
    Custom Needlepoint
    Special Events & Corporate Gifs
    Our Artists
    Become an Affiliate
    Take our Quiz
    Say Hello!
How to Finish a Needlepoint Irregular-Shaped Ornament - with Video Tutorial
Home / Unwind Studio Blog /
finishing · needlepoint finishing · video tutorials ·Oct 24, 2024

How to Finish a Needlepoint Irregular-Shaped Ornament - with Video Tutorial

by Cátia Correia

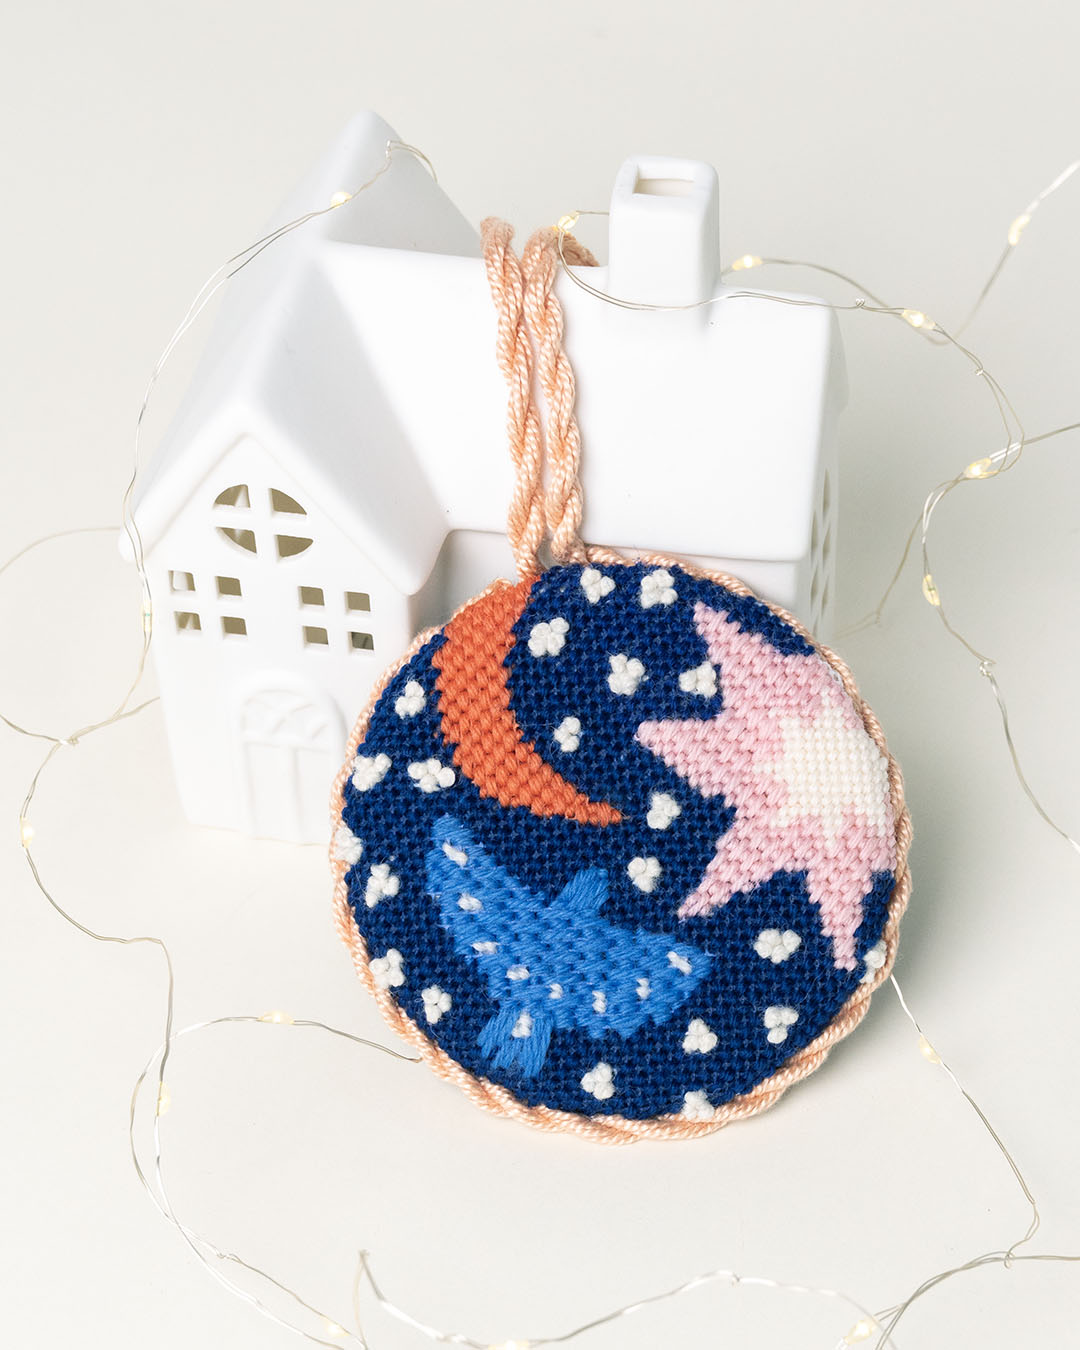
If you’ve ever stitched a beautiful needlepoint ornament but felt intimidated by how to finish it, especially when it’s not a standard circular shape, don’t worry—you’re not alone! In this post, we’ll walk you through the steps of finishing your irregular-shaped needlepoint ornament so it’s ready to hang, gift, or display with pride.

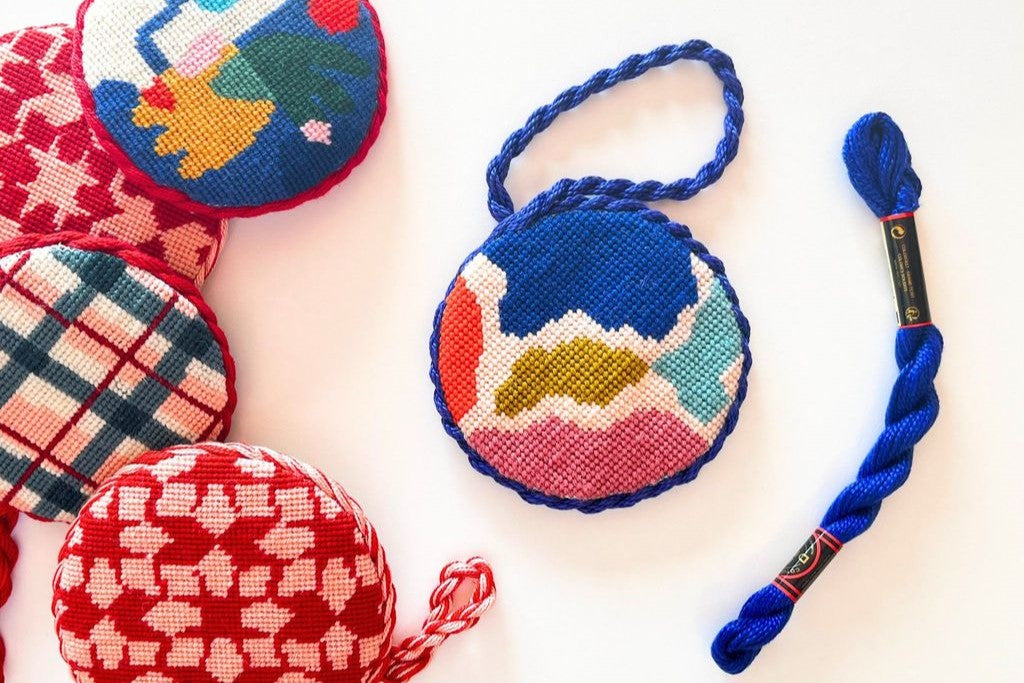
irregular shaped ornaments by unwind studio


  • Check out our other blog post to learn how to finish a round needlepoint ornament!

How to Finish a Needlepoint Irregular Ornament - Video Tutorial

We've created a video tutorial to help you better understand what differs from finishing a regular ornament and an irregular one, walking you through all the steps for a smooth finish. It's probably easier than you think!

Materials You'll Need:

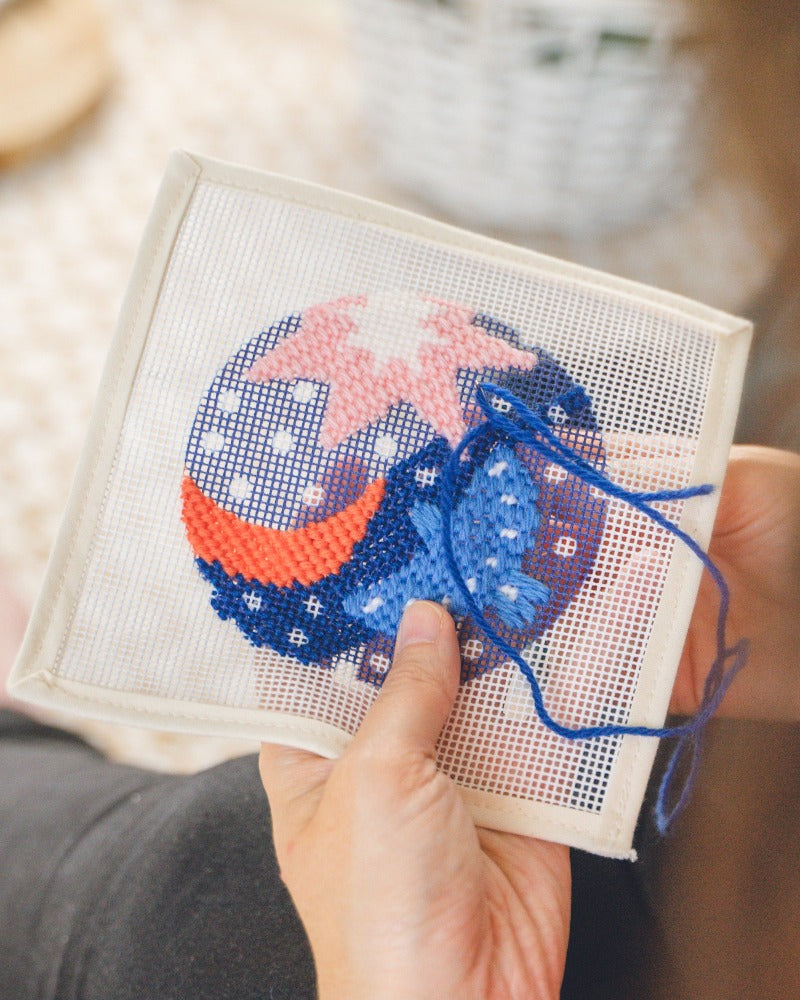
  • Stitched needlepoint ornament canvas
  • Photocopy of your needlepoint design (to use as a template)
  • Mat board
  • Filling batting (to add dimension)
  • Fabric for backing
  • Textile glue
  • Thread for cording (in a matching color)
  • Scissors
  • Marker or pencil
  • Pins and clips

Pro Tip: Before starting any finishing project, always block your needlepoint canvas to ensure it is straight and even. This step is essential for a polished finish. You can find more about how to block your needlepoint in our blocking tutorial here.

Step-by-Step Tutorial

Step 1: Prepare Your Template

Since your ornament has an irregular shape, it’s important to cut the mat board to fit that shape perfectly. If you purchased an irregular-shaped ornament kit with finishing materials from us, you’ll find a photocopy of your canvas included in the order. Otherwise, you can make your own photocopy, as long as it's real-sized.

Carefully cut the photocopy/paper template to match the exact shape of your ornament. This template will serve as a guide for tracing the shape onto the mat board.

Step 2: Cut the Mat Board

Using your paper template, trace the shape onto your mat board twice—once for the front of the ornament (where your needlepoint will go) and once for the back (for the backing fabric). Then, cut the first piece of mat board.

After cutting the first piece, check it against your needlepoint canvas to ensure it fits. If it’s a little big, trim it down slightly to create a snug fit. Once the first piece fits well, use it as a guide to cut the second mat board piece for the backing.

Step 3: Trim the Canvas

Now it’s time to cut the excess canvas around your needlepoint design. Leave a small border around the edges, and make small cuts along the edge to create “teeth.” These small cuts will help you fold the canvas neatly to the back of the mat board later.

Step 4: Prepare the Filling Batting

Cut a piece of filling batting to the same shape as your mat board but slightly smaller. This batting will go between the mat board and the needlepoint canvas to give the ornament a plush, full appearance.

Place the filling batting on the mat board, sandwiching it between the needlepoint canvas and the board. Then, fold the canvas “teeth” to the back of the mat board and secure them with clips to hold everything in place.

Step 5: Prepare the Backing Fabric

Follow the same process for the backing fabric. Cut the fabric with a small border around the edges, and make the same “teeth” cuts. Then, place the filling batting and mat board inside the fabric, fold the edges to the back, and secure with clips.

Step 6: Glue the Edges

Carefully apply textile glue to secure the folded edges of the needlepoint canvas and backing fabric. Remove the clips one by one, apply glue, and then replace the clips to apply pressure while it dries. Repeat this process for both the front and back halves of your ornament.

Our go-to textile glue is this one - essential for ensuring a neat, seamless finish, especially since it dries clear and won’t leave any visible marks.

Step 7: Make the Cording

Cording adds a beautiful, finished touch to your ornament. Choose a thread color that complements your design. Since this is an irregular-shaped ornament, consider making the cording a little thicker to hide any excess canvas along the edges.

  • You can find a detailed tutorial on how to make the perfect cording here.

Once your cording is ready, it’s time to assemble the ornament.

Step 8: Assemble the Ornament

Now that both halves are dry and your cording is prepped, begin attaching the cording to the edge of the ornament. Start by inserting one end of the cording between the front and back halves of the ornament. Apply some glue and secure with a clip.

Continue gluing the cording around the edges, using pins to hold it in place as you go. When you reach the top of the ornament, insert the other end of the cording to form a hanger loop. Apply glue to secure the loop and finish by clipping or pinning it until the glue dries.

Step 9: Final Touches

Once the glue is completely dry, carefully remove all the pins and clips. And there you have it—a beautifully finished, irregular-shaped needlepoint ornament, ready to hang on your tree or gift to a loved one!

Conclusion

Finishing a needlepoint ornament with an irregular shape may seem daunting at first, but with a little patience, it becomes a surprisingly satisfying process. The key is in the details: from cutting precise templates to securing the edges with care, each step brings you closer to a beautifully finished ornament that you can proudly display or gift. Whether it's for your own holiday décor or a handmade gift, your finished piece will have that special, personal touch that only comes from making it yourself. So go ahead, give it a try, and enjoy the transformation!

Happy Stitching!!

Share Share on Facebook twitter Tweet Tweet on Twitter Pin it Pin on Pinterest

icon-left-arrow Back to Unwind Studio Blog

Shop our Christmas Ornaments

View all
The Nutcracker Needlepoint Stand Up Kit
Unwind Studio
from €30,00
The Ballerina Needlepoint Stand Up Kit
Unwind Studio
from €30,00
The Santa Claus Needlepoint Stand Up Kit
Unwind Studio
from €30,00
Christmas Night Needlepoint Ornament Kit by Unwind Studio
Christmas Night Needlepoint Ornament Kit
Claire Iglesias
from €15,00
View all
20 products

More for you

How to make your own cording

Without any fancy & expensive tools, you can make your own cording at home!

Learn how

5 Reasons to do Christmas Crafting

One of the most wonderful ways to get into the festive spirit is by embracing the art of crafting!

Read our blogpost
How to block my needlepoint canvas

How to block needlepoint canvas: Video & How To

Want to learn how to block your needlepoint projects? Follow these simple steps and you can practice your needlepoint blocking techniques in the comfort of your own home!

Read our blogpost

Don't Know Where to Start?

Take our quiz to find out which kit is perfect for you!

Take Now!
Colorful Needlepoint Kit & Needlepoint Booklet
Invalid password
Enter
Unwind Studio logo with design

Unwind and Save

Get a 10% discount when you subscribe to receive special offers, updates on new product launches, needlepoint inspiration, and more.

  • instagram Instagram
  • Facebook
  • YouTube
  • Pinterest
  • TikTok

Shop & Resources

  • Shop All Needlepoint Kits
  • Tutorials
  • Blog
  • Take our Quiz
  • Unwind Rewards
  • Refer a Friend
  • Become an Affiliate
  • FAQs

Info

  • Contact Us
  • Track my Order
  • Shipping & Returns
  • International Customs & Duties
  • Imprint
  • About Us
  • Our Artists
  • Accessibility
  • Store Locator
  • Wholesale
  • Unwind for Business
  • Work With Us

Language

  • English
  • Français
  • Deutsch
  • American Express
  • Apple Pay
  • Bancontact
  • BLIK
  • Google Pay
  • iDEAL Wero
  • Maestro
  • Mastercard
  • Multibanco
  • MobilePay
  • Multibanco
  • PayPal
  • Shop Pay
  • Union Pay
  • Visa

© 2026 Unwind Studio | Terms | Privacy

How to Finish a Needlepoint Irregular-Shaped Ornament - with Video Tut