Complete Guide to Needlepoint Finishing - Your Top FAQs
Complete Guide to Needlepoint Finishing
Needlepoint is a delightful craft that allows you to create stunning pieces of art using just a needle and thread. However, once you've completed your needlepoint project, you'll likely want to finish it in a way that showcases your hard work and preserves it for years to come. Whether you're framing a needlepoint masterpiece, turning it into an ornament, or transforming it into a functional item like a cushion or clutch, here's everything you need to know about needlepoint finishing.
General Questions
What is needlepoint finishing?
Needlepoint finishing refers to the process of completing a needlepoint project beyond the stitching stage. This may include blocking, trimming excess canvas, backing, and adding any additional elements to turn the stitched canvas into a finished product.
Why is finishing important in needlepoint?
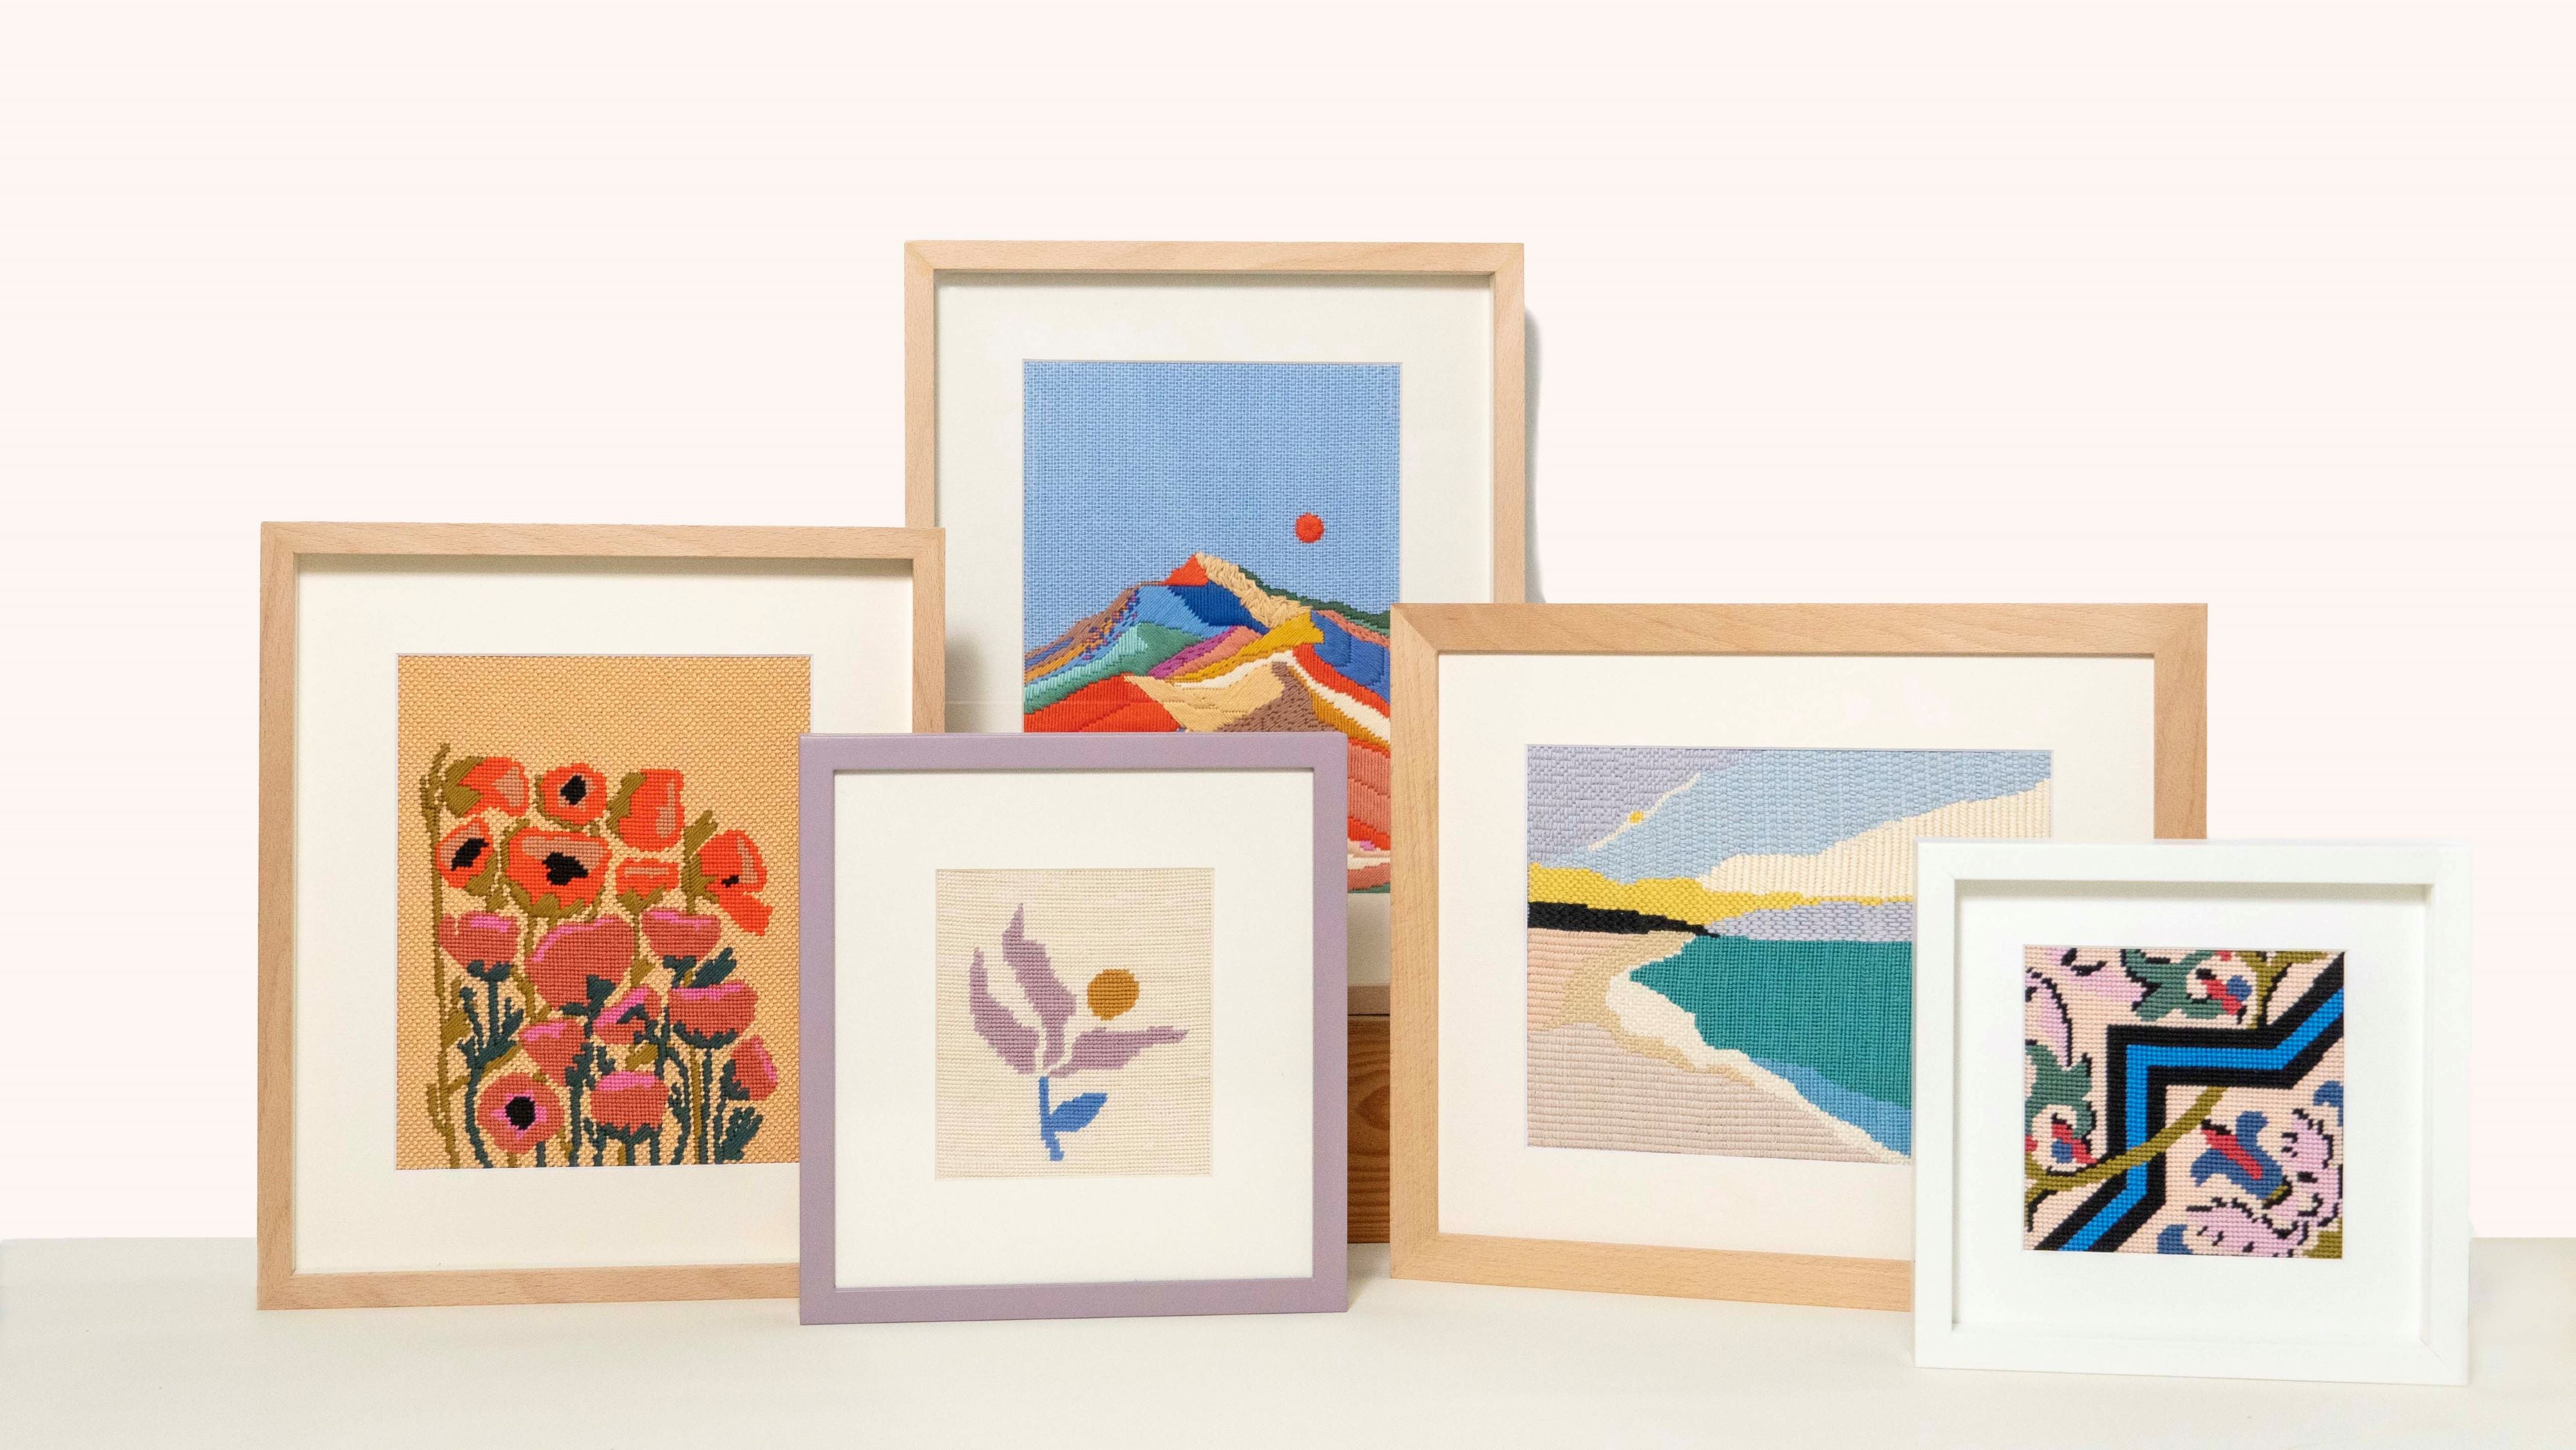
Finishing not only gives your needlepoint project a polished look but also ensures its longevity. Proper finishing techniques help preserve the stitches and protect the piece from wear and tear over time. Also, you can transform your pieces into useful or decorative objects that reflect your taste.
Do I need special skills to finish needlepoint projects?
While some finishing techniques may require specific skills, many basic finishing tasks can be accomplished by beginners with patience and attention to detail. Practice and following tutorials or guides can help you develop the necessary skills.
Check out our Finishing Guide where we gather lots of tutorials and resources to finish your project with ease!
Can I finish needlepoint projects myself, or should I seek professional help?
Whether you choose to finish your needlepoint projects yourself or seek professional assistance depends on your comfort level, the complexity of the finishing techniques required, and the desired outcome. Learning these techniques can be fun and extremely rewarding, so we always recommend doing it yourself!
Why is blocking my finished needlepoint project important? And how do I do it?
Blocking a needlepoint piece is a very important step when finishing your creation. Some stitches, such as the continental tent stitch, tend to create more distortion and tension in the canvas, and the design starts to lose its original shape. The blocking process is necessary to make the piece straight again, so it can be finished in various applications.

To learn how to block your canvas, check out our full step-by-step tutorial.
What's the best way to finish the edges of a needlepoint canvas?
The best way to finish the edges of your canvas and get a polished and secure result is by doing the Needlepoint Binding Stitch all around. We also have a full tutorial where we teach you how to do it on a canvas with straight edges, as well as curvy or irregular formats.

I sometimes don’t have a vision for what things can be finished, how can I get inspiration?
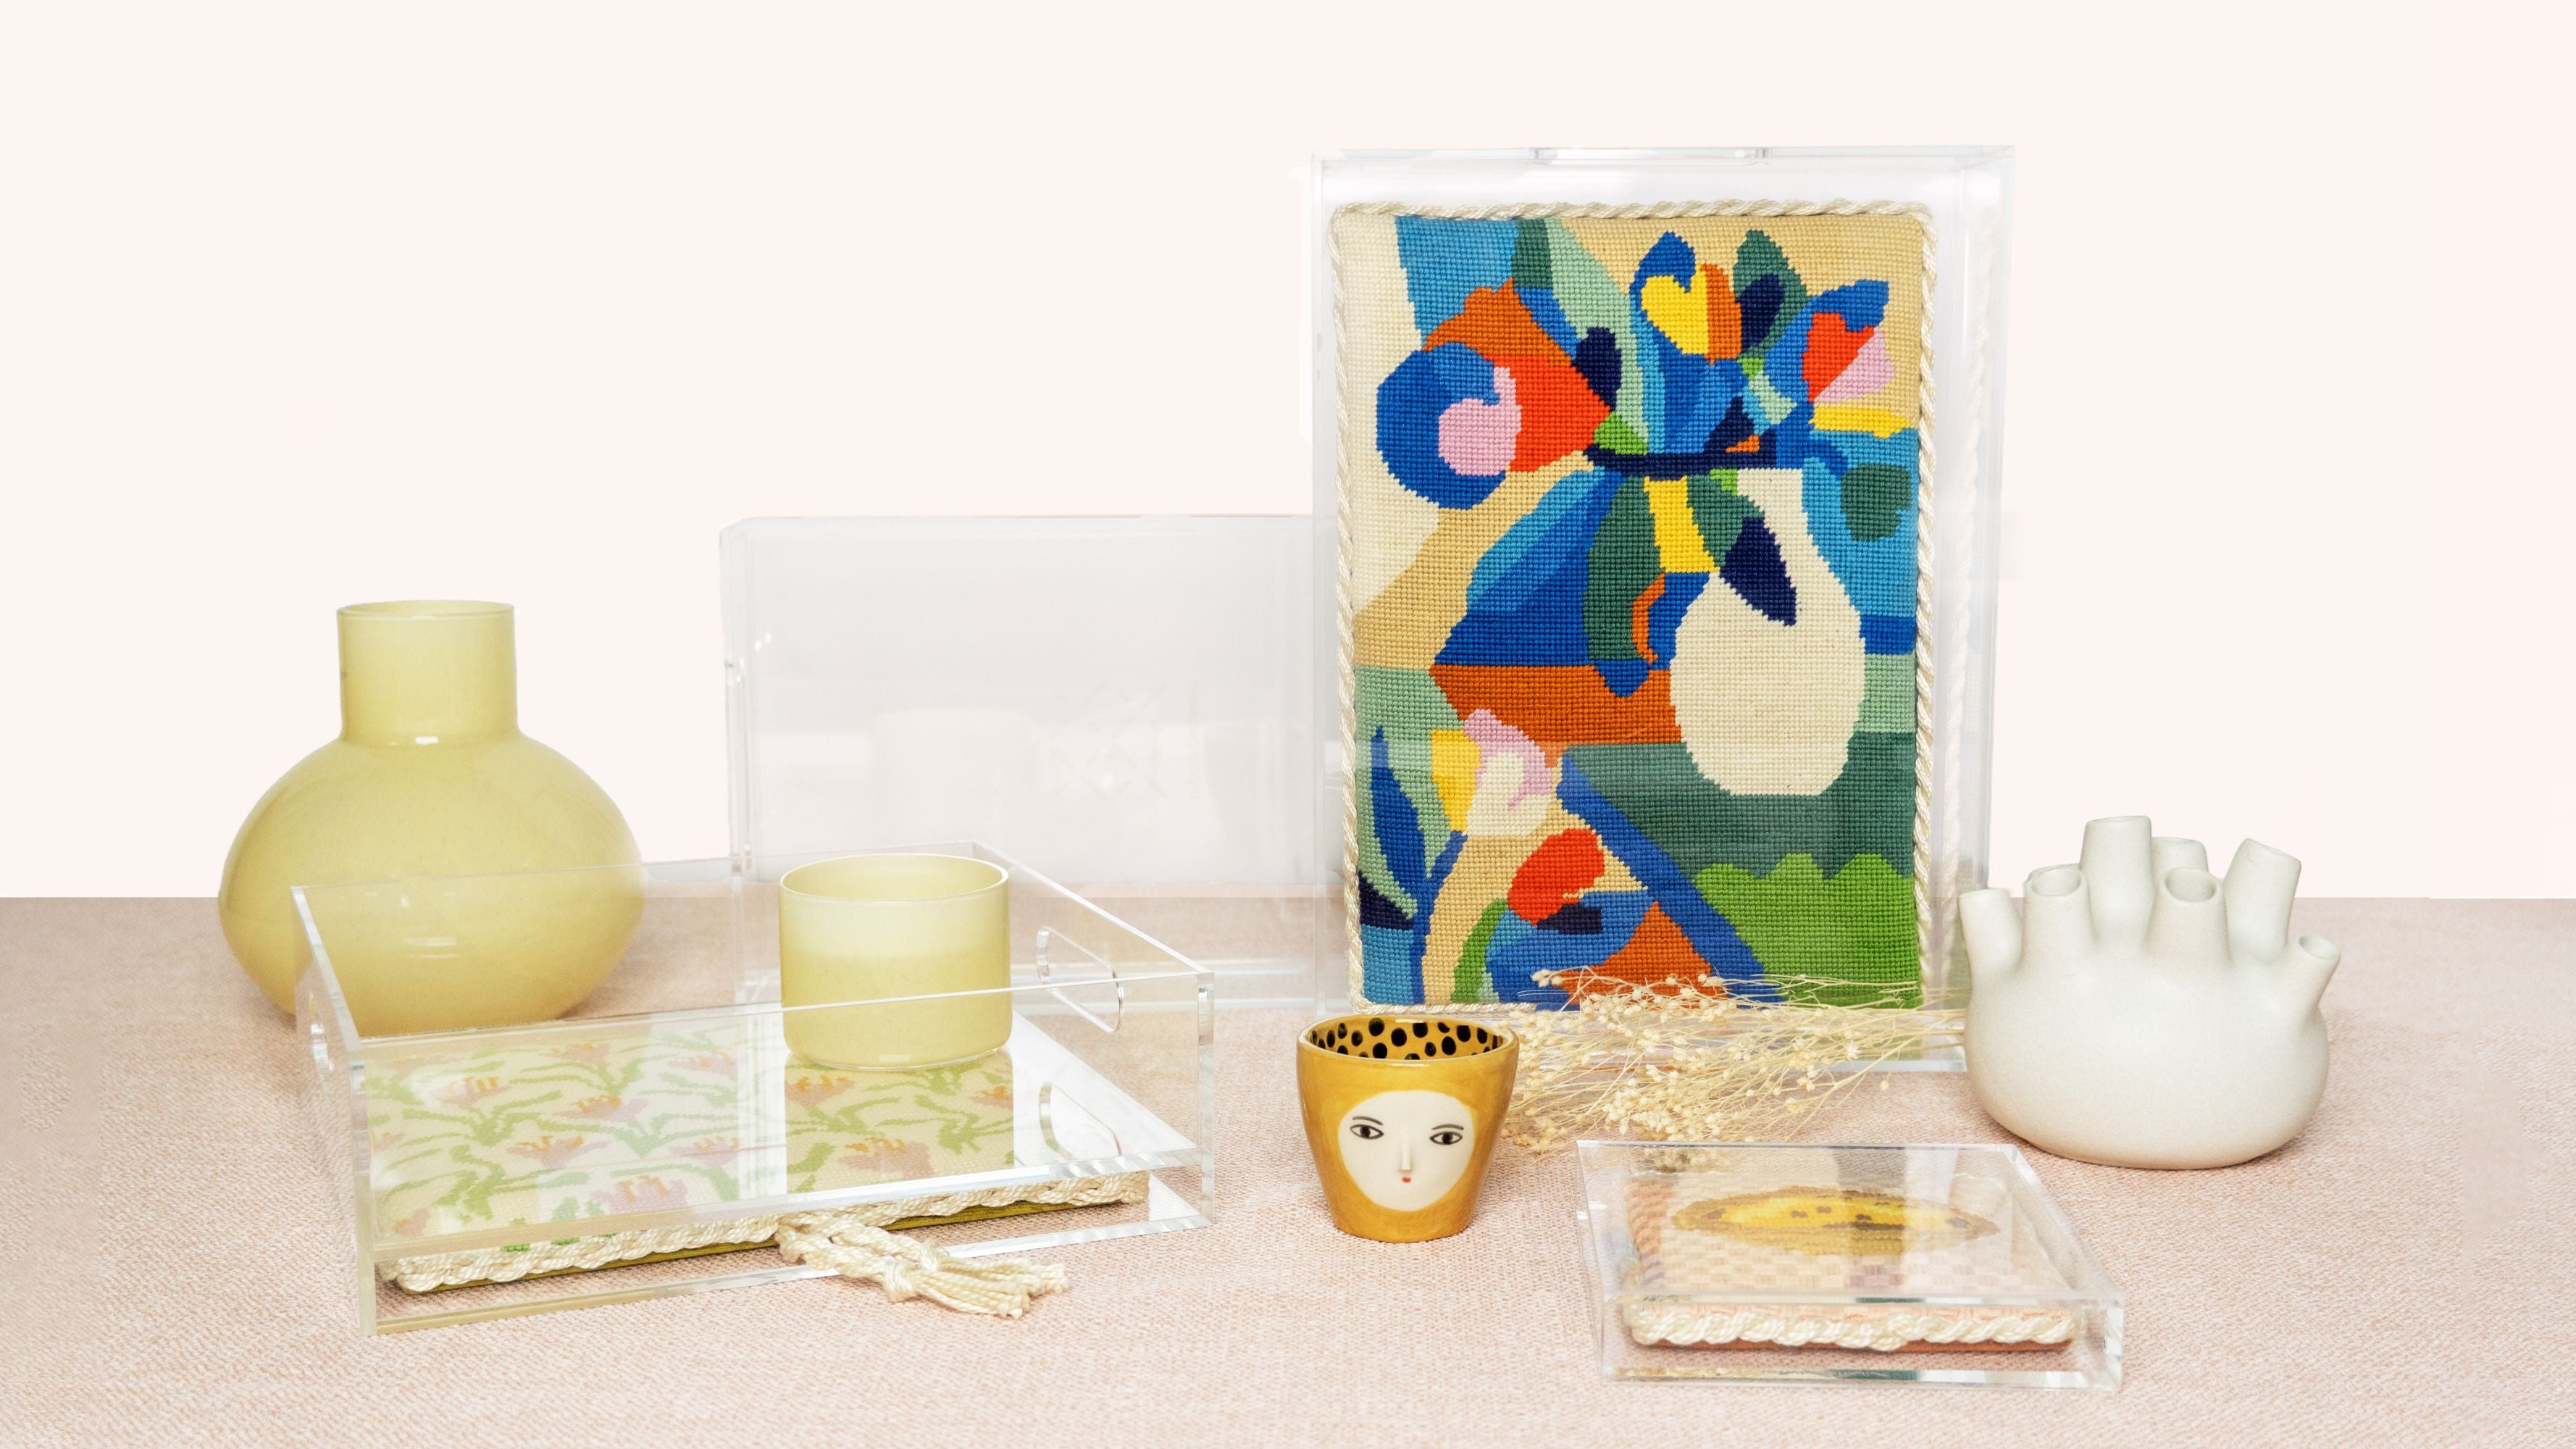
You can get inspired from lots of online sources, such as Pinterest or Needlepoint enthusiasts social media channels. We also advice you to explore our Project Gallery, and follow our Instagram and Pinterest where we share both our finished projects, as well as our dear customers'.
Questions about Sewing for Needlepoint Finishing
Why should I invest in a sewing machine for needlepoint finishing?
1. It's a cheaper investment, if you compare with the cost of sending your needlepoint project to be finished by professionals. Your first project most probably won't look 100% perfect, but you will improve this skill over time, and you can proudly say that you did all by yourself!
2. You will learn a new skill that will allow you to explore other textile crafts / hobbies you have been wanting to try.
3. Investing in a sewing machine is a significant step toward a more sustainable lifestyle. It allows you to mend and upcycle old clothing, reducing waste and the need for new purchases.
How do I set up a sewing machine, isn't it difficult?
No! Setting up a sewing machine and using it for the purpose of finishing a needlepoint project is super simple! Check out our dedicated video tutorial 101 Sewing for Needlepoint Finishing to learn step-by-step how to do it the easy way!
What are some recommended sewing machines for beginners?
If you are going to use the sewing machine solely for needlepoint finishing projects, then we definitely recommend investing in a cheaper sewing machine - under 150€ / $150 is enough.
We relied on our beloved Singer Tradition 2250 for 3 years, using it every week day, and it's still working perfectly. We currently upgraded to the Singer Heavy Duty.
Here's a great blogpost that explains in detail how to find the best affordable sewing machines.
How can I ensure proper care and maintenance for my sewing machine?
Regularly clean the machine, oil moving parts, and change needles to maintain smooth operation. Follow the manufacturer’s maintenance guide to extend the machine's lifespan.
Questions about Finishing Needlepoint Ornaments

What is the best way to finish needlepoint ornaments?
Needlepoint ornaments can be finished with a variety of techniques, including backing with felt or fabric, adding decorative trim or tassels, and attaching cording or ribbon.
Check out our dedicated tutorial to find an easy way to finish this project, it's one of the quickest and simplest needlepoint projects you can make!
Can I personalize needlepoint ornaments?
Absolutely! Needlepoint ornaments are perfect for personalization. You can add initials, names, dates, or other custom details using embroidery stitches or embellishments.
How do I attach cording to my needlepoint ornament?
You can make your own cording, or you can buy cording at local haberdasheries/craft stores. To attach it, you can either sew it to the edges of the canvas or use fabric glue to secure it. This information is also featured with more depth in one of our tutorials.
Questions about Finishing Needlepoint Cushions

How do I turn my needlepoint into a cushion?
To make a needlepoint cushion, first, select a suitable fabric for the backing and lining. Cut the fabric to size, leaving seam allowances, and sew the needlepoint to the backing fabric. Fill the cushion with stuffing or a pillow form, then sew the backing fabric closed. Watch our video tutorial to better understand this process!
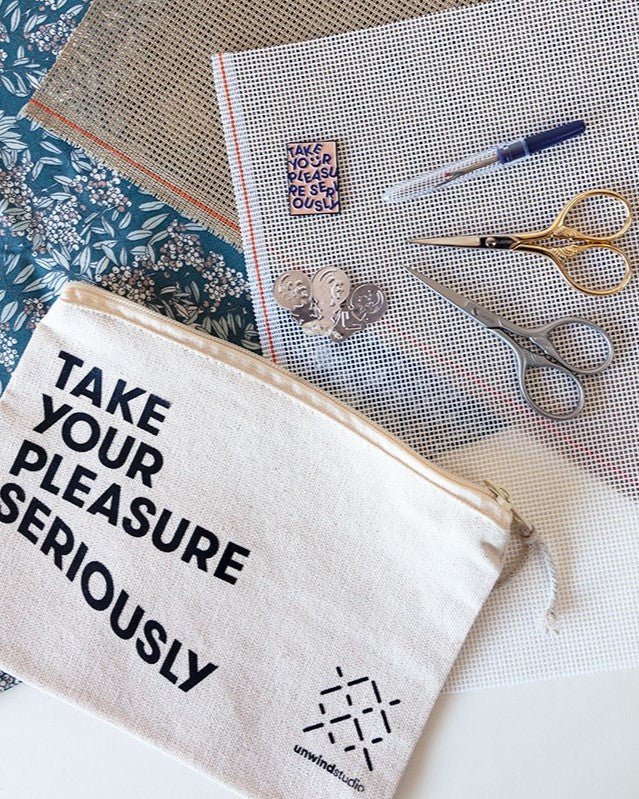
You can also add a zipper to your cushion and at Unwind Studio you can purchase your backing fabric with the zipper included already, for an easier finishing process.
Do I need to block my needlepoint before making it into a cushion?
Blocking your needlepoint before turning it into a cushion is recommended to ensure it lays flat and square. This will make the finishing process easier and result in a more professional-looking cushion.
Can I wash needlepoint cushions?
Most needlepoint cushions can be spot-cleaned with mild detergent and water. However, it's essential to follow any specific care instructions for the fibers and fabrics used in your project to avoid damaging the stitching or backing.
What size cushion insert should I use for my needlepoint cushion?
Choose a cushion insert that matches the dimensions of your finished needlepoint or slightly larger for a fuller look. Consider the thickness of the insert to achieve the desired level of plushness for your cushion.
Questions about Finishing Needlepoint Acrylic Clutches

How do I finish a needlepoint acrylic clutch?
Finishing a needlepoint acrylic clutch involves doing the binding stitch, attaching a backing fabric to your canvas and securing it to the acrylic frame of the clutch. It's a pretty easy process that requires few tools.
Check out the full tutorial here!
Where can I find the acrylic clutch to recreate this project?
You can find the exact clutch we used in our tutorial on our Amazon Shop, amongst other useful and interesting needlepoint tools and accessories.
How do I care for a needlepoint acrylic clutch?
To keep your needlepoint acrylic clutch looking its best, avoid exposing it to harsh chemicals or abrasive surfaces. Spot clean any stains with a damp cloth and mild detergent, and store it in a protective pouch or dust bag when not in use to prevent scratching.
Questions about Finishing Needlepoint Stockings

What is the best way to finish a needlepoint stocking?
Finishing a needlepoint stocking involves sewing the stitched canvas to a backing fabric, adding a lining if desired, and attaching a hanging loop.
Check out the full tutorial on how to finish a needlepoint stocking.
Should I line my needlepoint stocking?
Lining your needlepoint stocking can add durability and structure to the finished piece, especially if it will be used to hold gifts or treats. Choose a coordinating fabric for the lining and sew it to the back of the needlepoint before assembling the stocking.
How do I attach a hanging loop to my needlepoint stocking?
To attach a hanging loop, fold a length of ribbon or fabric in half and stitch the looped end to the inside top corner of the stocking. Ensure the loop is securely attached to support the weight of the filled stocking when hanging.
Questions about Finishing Needlepoint Zipper Pouches

How do I prepare my finished needlepoint canvas for making a zipper pouch?
Before starting the finishing process, ensure your needlepoint canvas is clean and free from any loose threads or debris. Ideally, you should block the canvas to remove wrinkles and flatten the stitches.
What's the process for attaching the zipper to the needlepoint canvas?
For this part of the process, we recommend using the "sandwich effect": the zipper is always in the middle! This is a good thing to remember to avoid sewing your layers wrong and not being able to turn the fabric right side out.
Learn the whole process in our Needlepoint Zipper Pouch Tutorial.
Should I add lining to the needlepoint zipper pouch?
Yes! We always recommend adding the lining fabric to ensure the durability of your pouch, since there's going to be a lot of use and you'll fill it with objects that could potentially damage the canvas.
Questions about Finishing Needlepoint Sunglasses Cases

What fabric should I use for the lining so that I don't damage my sunglasses/eyeglasses?
For the lining of your needlepoint sunglasses or eyeglasses case, it's best to use a soft, smooth fabric that won't scratch or damage your lenses. We usually use Self-Adhesive Velvet Fabric, which is both soft and safe for the glasses, as well as easy to use since you just have to stick it to the canvas.
Avoid using rough or textured fabrics that could potentially cause abrasions to your glasses.
What's the difference between finishing a double-sided sunglasses case canvas and a one-sided one?
In a double-sided sunglasses case canvas, the needlepoint canvas is usually square-shaped which allows the stitched canvas to be on both sides of the case. To finish, you fold it in half, leaving the stitching visible on either side.
A one-sided sunglasses case canvas is only the "front part" of the case, so you'll need to attach it to a backing fabric in order to turn it into the finished sunglasses/eyeglasses case.
Questions about Finishing Needlepoint Patches

Is it important to do the Binding Stitch to finish Needlepoint Patches?
Should I attach backing fabric to the Needlepoint Patch?
How do I attach the Needlepoint Patch to clothing or accessories?
To attach the patches, sew them onto the desired garment or accessory using a needle and thread, ensuring the stitches are secure. Alternatively, you can use fabric glue or iron-on adhesive for a temporary or no-sew option.
We hope this guide is helpful and motivates you to try new ways of finishing your projects. If you have any more questions about Needlepoint Finishing, please send them to hello@unwind.studio - We want this guide to be as complete as possible to help everyone!
Happy Stitching!!


