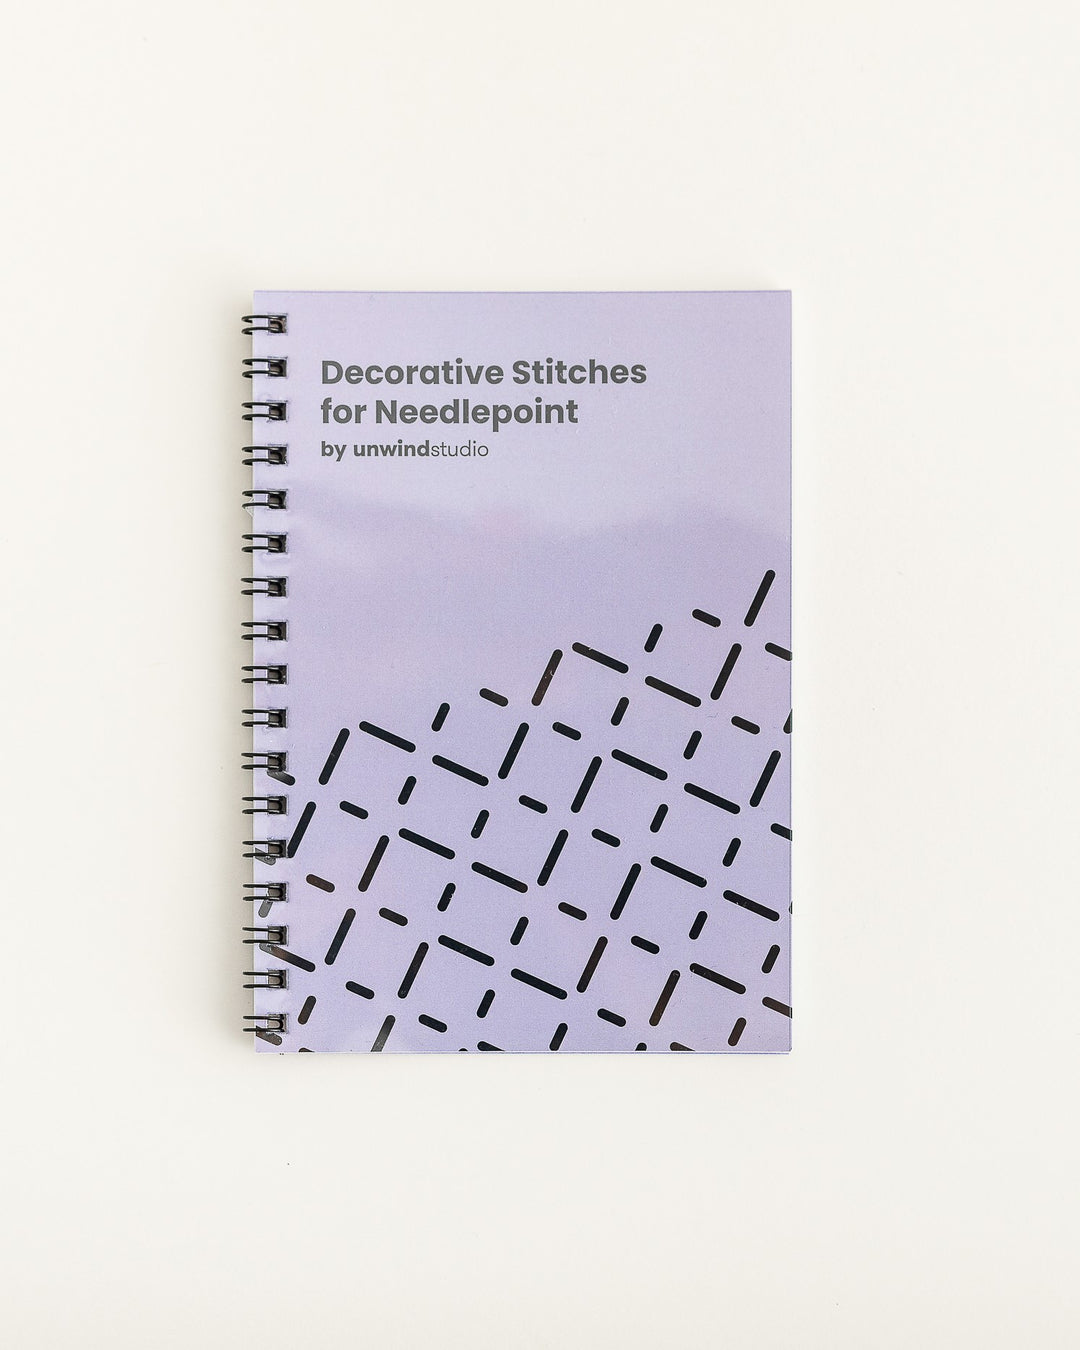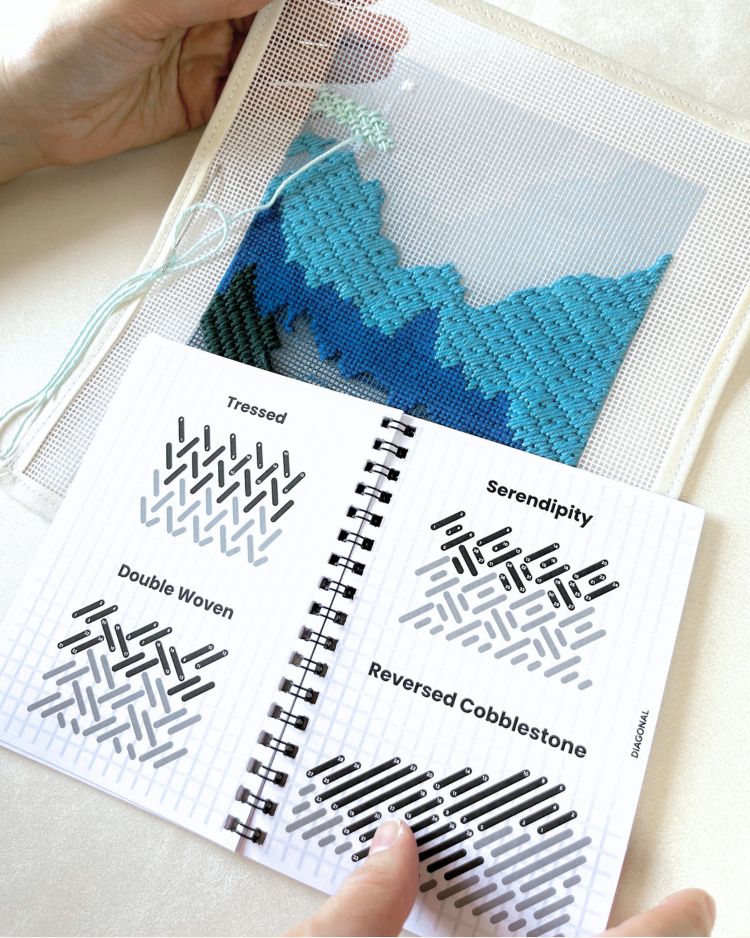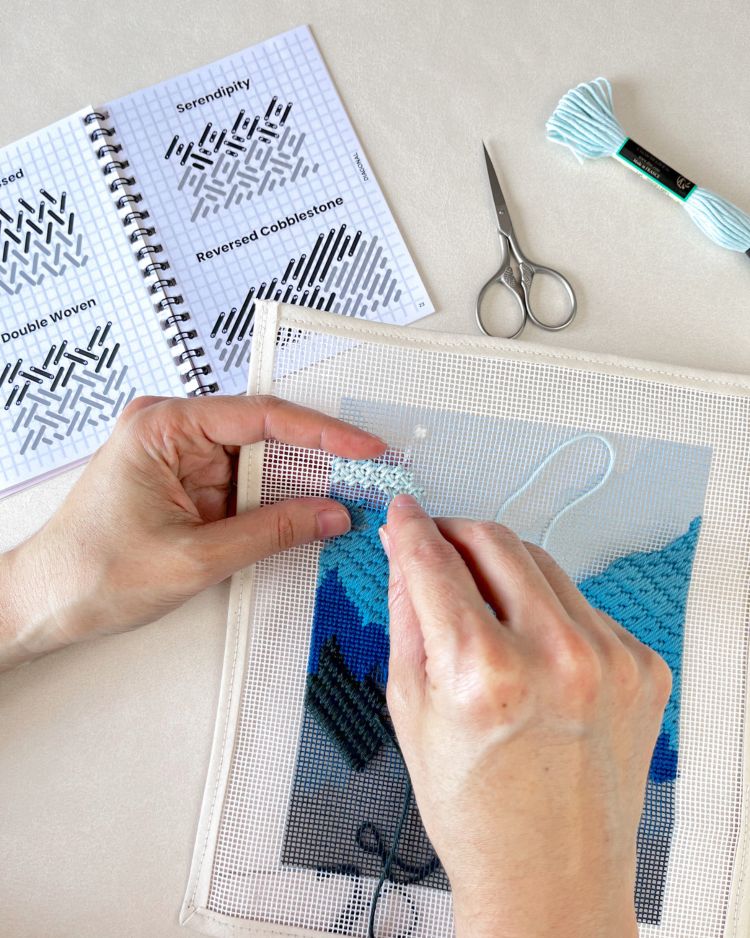

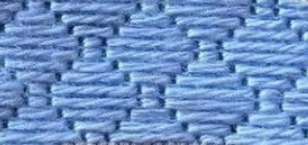
Balloon Stitch
-
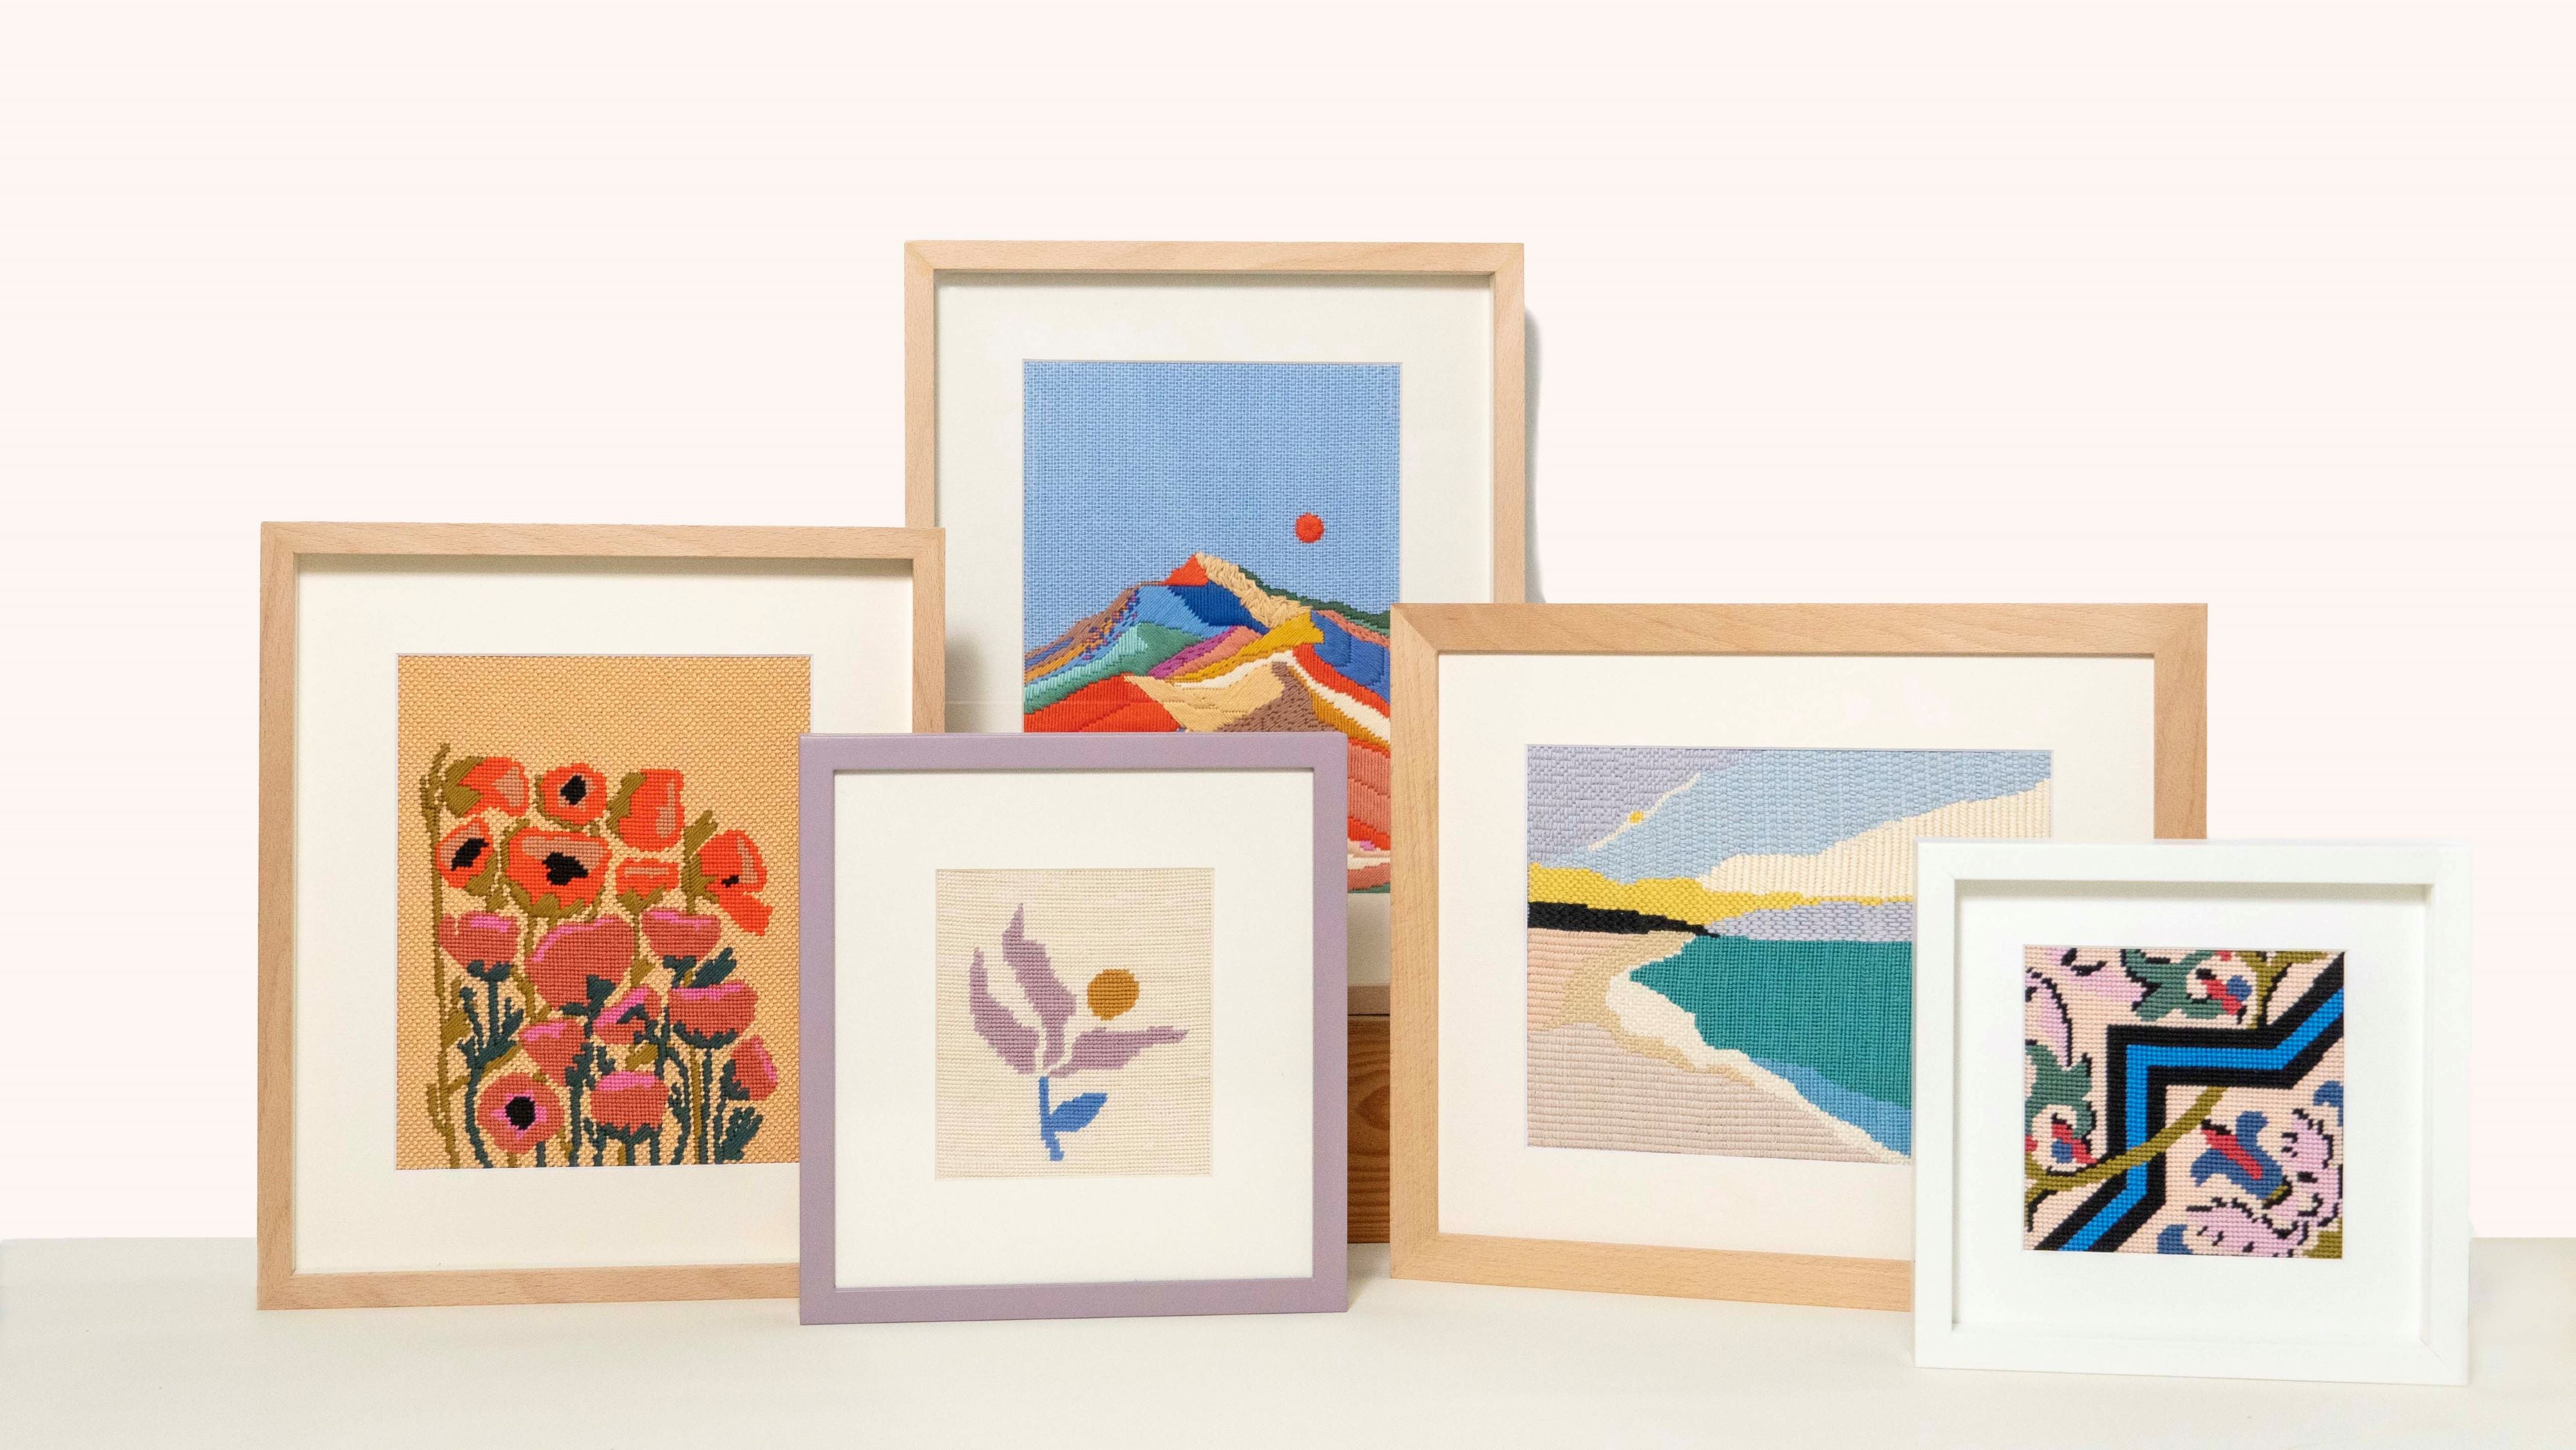
Best for: Mountains, dramatic skies, landscapes, geometric patterns, and large filler background areas.
-
Technique: A flat, straight, and condensed stitch structure that expands and contracts diagonally to form a charming, curved balloon-like silhouette.
-
Key Tip: Keep a consistent, relaxed tension. Because this stitch uses varying lengths (from 1 to 7 rows), pulling too tightly can distort your canvas mesh.
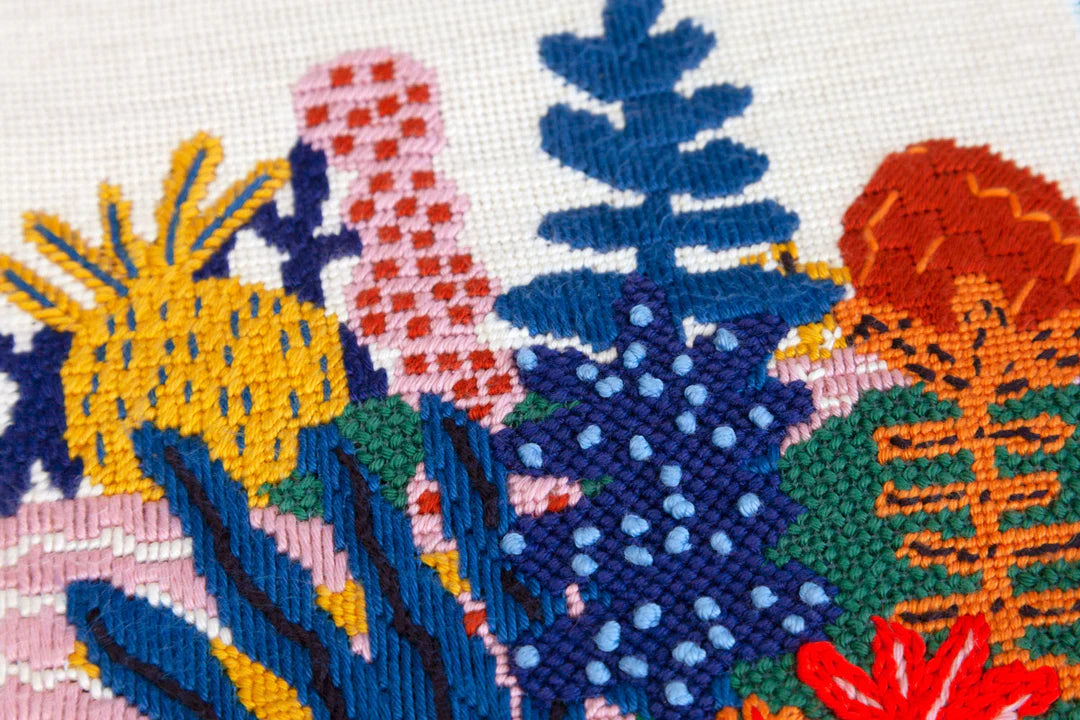
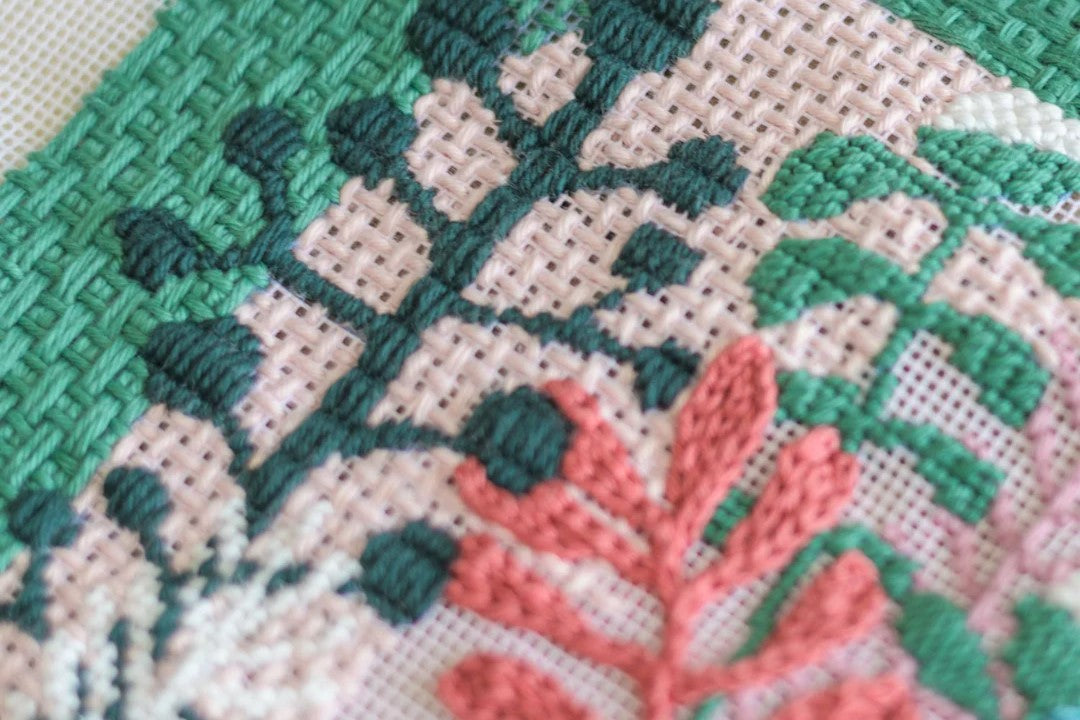
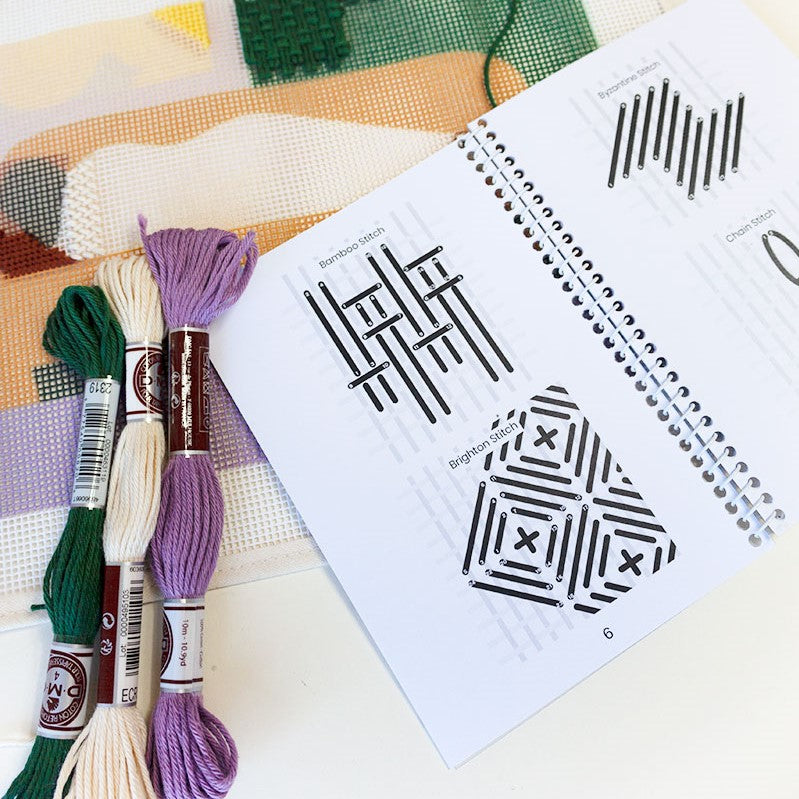
The Balloon Needlepoint Stitch is a decorative stitch used in needlepoint to create textured or dimensional effects. This stitch creates a charming and textured effect, particularly when used in decorative stitching.
Stitch Overview & Best Uses
- Stitch Structure: Flat, Parallel, Straight, Condensed
- Recommended for: Large areas, Mountains, Skies
How to Balloon Stitch - Video Tutorial
Step-by-Step Balloon Stitch Instructions
Horizontal variant:
-
The horizontal layout creates a beautiful wave-like pattern across your canvas rows.
-
Secure Your Thread: Start by securing your thread at the back of your Zweigart canvas using a small knot or an away waste knot.
-
Bring the Needle Up: Insert your needle from the back of the canvas to the front at your starting point.
-
The Base Stitches: Make a small vertical stitch from bottom to top, skipping 1 row. Bring the needle back down behind the canvas and repeat. You should now have two identical short stitches side-by-side.
-
Increase Diagonally: Move out diagonally, increasing the length by one row both up and down. This next stitch will skip 3 rows. Remember: all stitches must follow the same direction (bottom to top).
-
Peak the Balloon: Repeat the diagonal increase. Make one stitch skipping 5 rows, followed by two stitches skipping 7 rows right at the center of the balloon pattern.
-
Decrease Diagonally: Begin mirroring the pattern downwards. Make one stitch skipping 5 rows, one stitch skipping 3 rows, and finally, two stitches skipping 1 row.
-
Repeat the Pattern: Once you complete the two shortest stitches, repeat the process from Step 4 onwards to continue the row.
-

Vertical variant:
The vertical variant follows the exact same rhythmic steps as the horizontal version, but the alignment changes:
-
The Adjustment: Instead of stitching from bottom to top, change the orientation of your canvas so the stitches run cleanly from left to right (or vice versa).
Want to See the Balloon Stitch in Action?
See it in action in these needlepoint kit stitch guides:
- Green Mountains Needlepoint Kit - Stitch Guide · Shop the kit
- Nutcracker in the Snow Needlepoint Kit Stitch Guide · Shop the kit
- Dunes no.7 Needlepoint Kit - Stitch Guide · Shop the kit
- Floral Study 1 Needlepoint Kit - Stitch Guide: 2 Versions · Shop the kit
- Peaceful Mountains Needlepoint - Stitch Guide · Shop the kit
- Breath Needlepoint Kit- Stitch Guide · Shop the kit
Browse all our needlepoint kit stitch guides for more ideas.