How to Finish a Needlepoint Coaster or Tray: Video Tutorial & How To
There’s something extra satisfying about finishing a needlepoint project, not just the stitching part, but actually turning it into something you can use or display. If you've been wondering how to take that final step with your coaster or tray, you're in the right place! This tutorial walks you through how to finish your canvas and mount it into one of our acrylic pieces in the easiest way.
We use a coaster in the tutorial as our main example, but the process for trays is pretty much the same, so you can use this video to finish both projects.

How To Finish a Needlepoint Coaster or Tray - Video Tutorial
Watch the video below to see the full process from start to finish. It’s super simple and once you see it done, you’ll feel totally ready to try it yourself :)
✂️ What You'll Need:
**Our Coaster and Tray canvases don't include the finishing materials, but you can shop these separately on our website. We'll leave the links below for each item.
-
Stitched needlepoint canvas (blocked)
-
Scissors
-
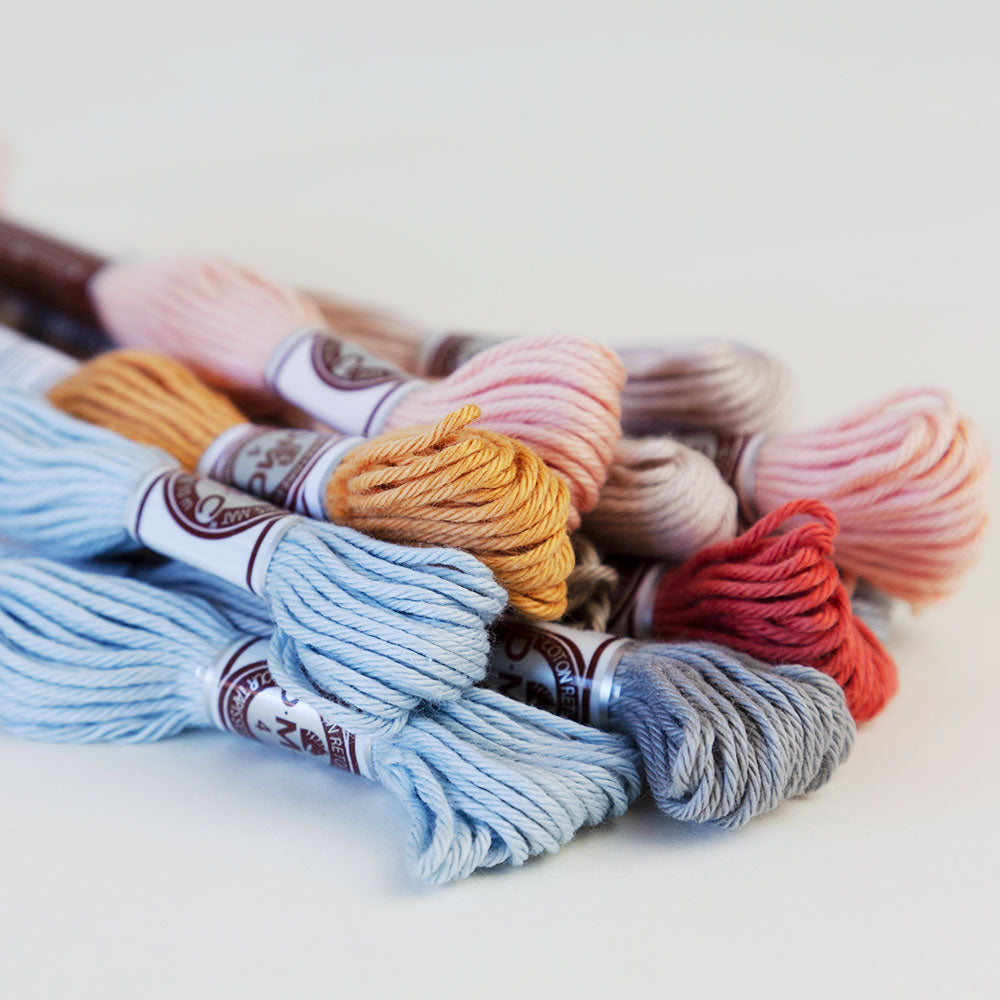
Cording (you can shop the threads to make cording here!)
-
Backing fabric (we used our premium velvet fabric)
-
Regular thread and invisible sewing thread
Step-by-Step Instructions
1. Prepare Your Canvas
Make sure your needlepoint canvas is fully stitched and blocked (so it lies flat). Trim the excess canvas around the design, leaving about 1 to 1.5 cm for folding.
- Watch our tutorial on blocking here!
2. Cut the Support Materials
Cut two pieces of mat board: one exactly the size of your stitched design, and another slightly smaller (about 5mm shorter). Then cut a piece of filling batting the same size as the smaller mat board. This adds a soft, plush feel to the finished piece and helps it look more straight on the front.
3. Mount the Front (Stitched Canvas)
Layer your stitched canvas with the filling and the smaller mat board. Fold the excess canvas to the back and sew it down using regular thread from one side to the opposite, like the image below. This stitching method helps the front stay well-stretched and tensioned, but you can also use glue for this step if you prefer.

4. Mount the Backing Fabric
Repeat the process with the backing fabric and the larger mat board, this time without the batting. Cut the fabric slightly larger than the board, snip the corners diagonally, and fold everything neatly to the back. Use textile glue and fabric clips to hold the folds while they dry.
5. Join Both Halves
Once both the front and back pieces are dry and finished, glue them together. Press firmly and let the glue set fully.
6. Add the Decorative Cording
Now it’s time to add the final touch: decorative cording around the edge. Use fabric clips to help you wrap it neatly and secure it in place. Leave a little extra on one end, apply a small amount of glue to stiffen the tip, and let it dry. This will make it easier to tuck inside the finished edge for a clean look.
Use invisible thread to hand-stitch the cording in place all the way around. When you reach the end, tuck the stiffened tip inside the coaster, side by side with the other cording end, for a seamless look.
**You can also glue the cording instead of sewing, but sewing creates a more secure and professional finish by far. Here you can see the difference of the two methods:

Finishing a needlepoint tray
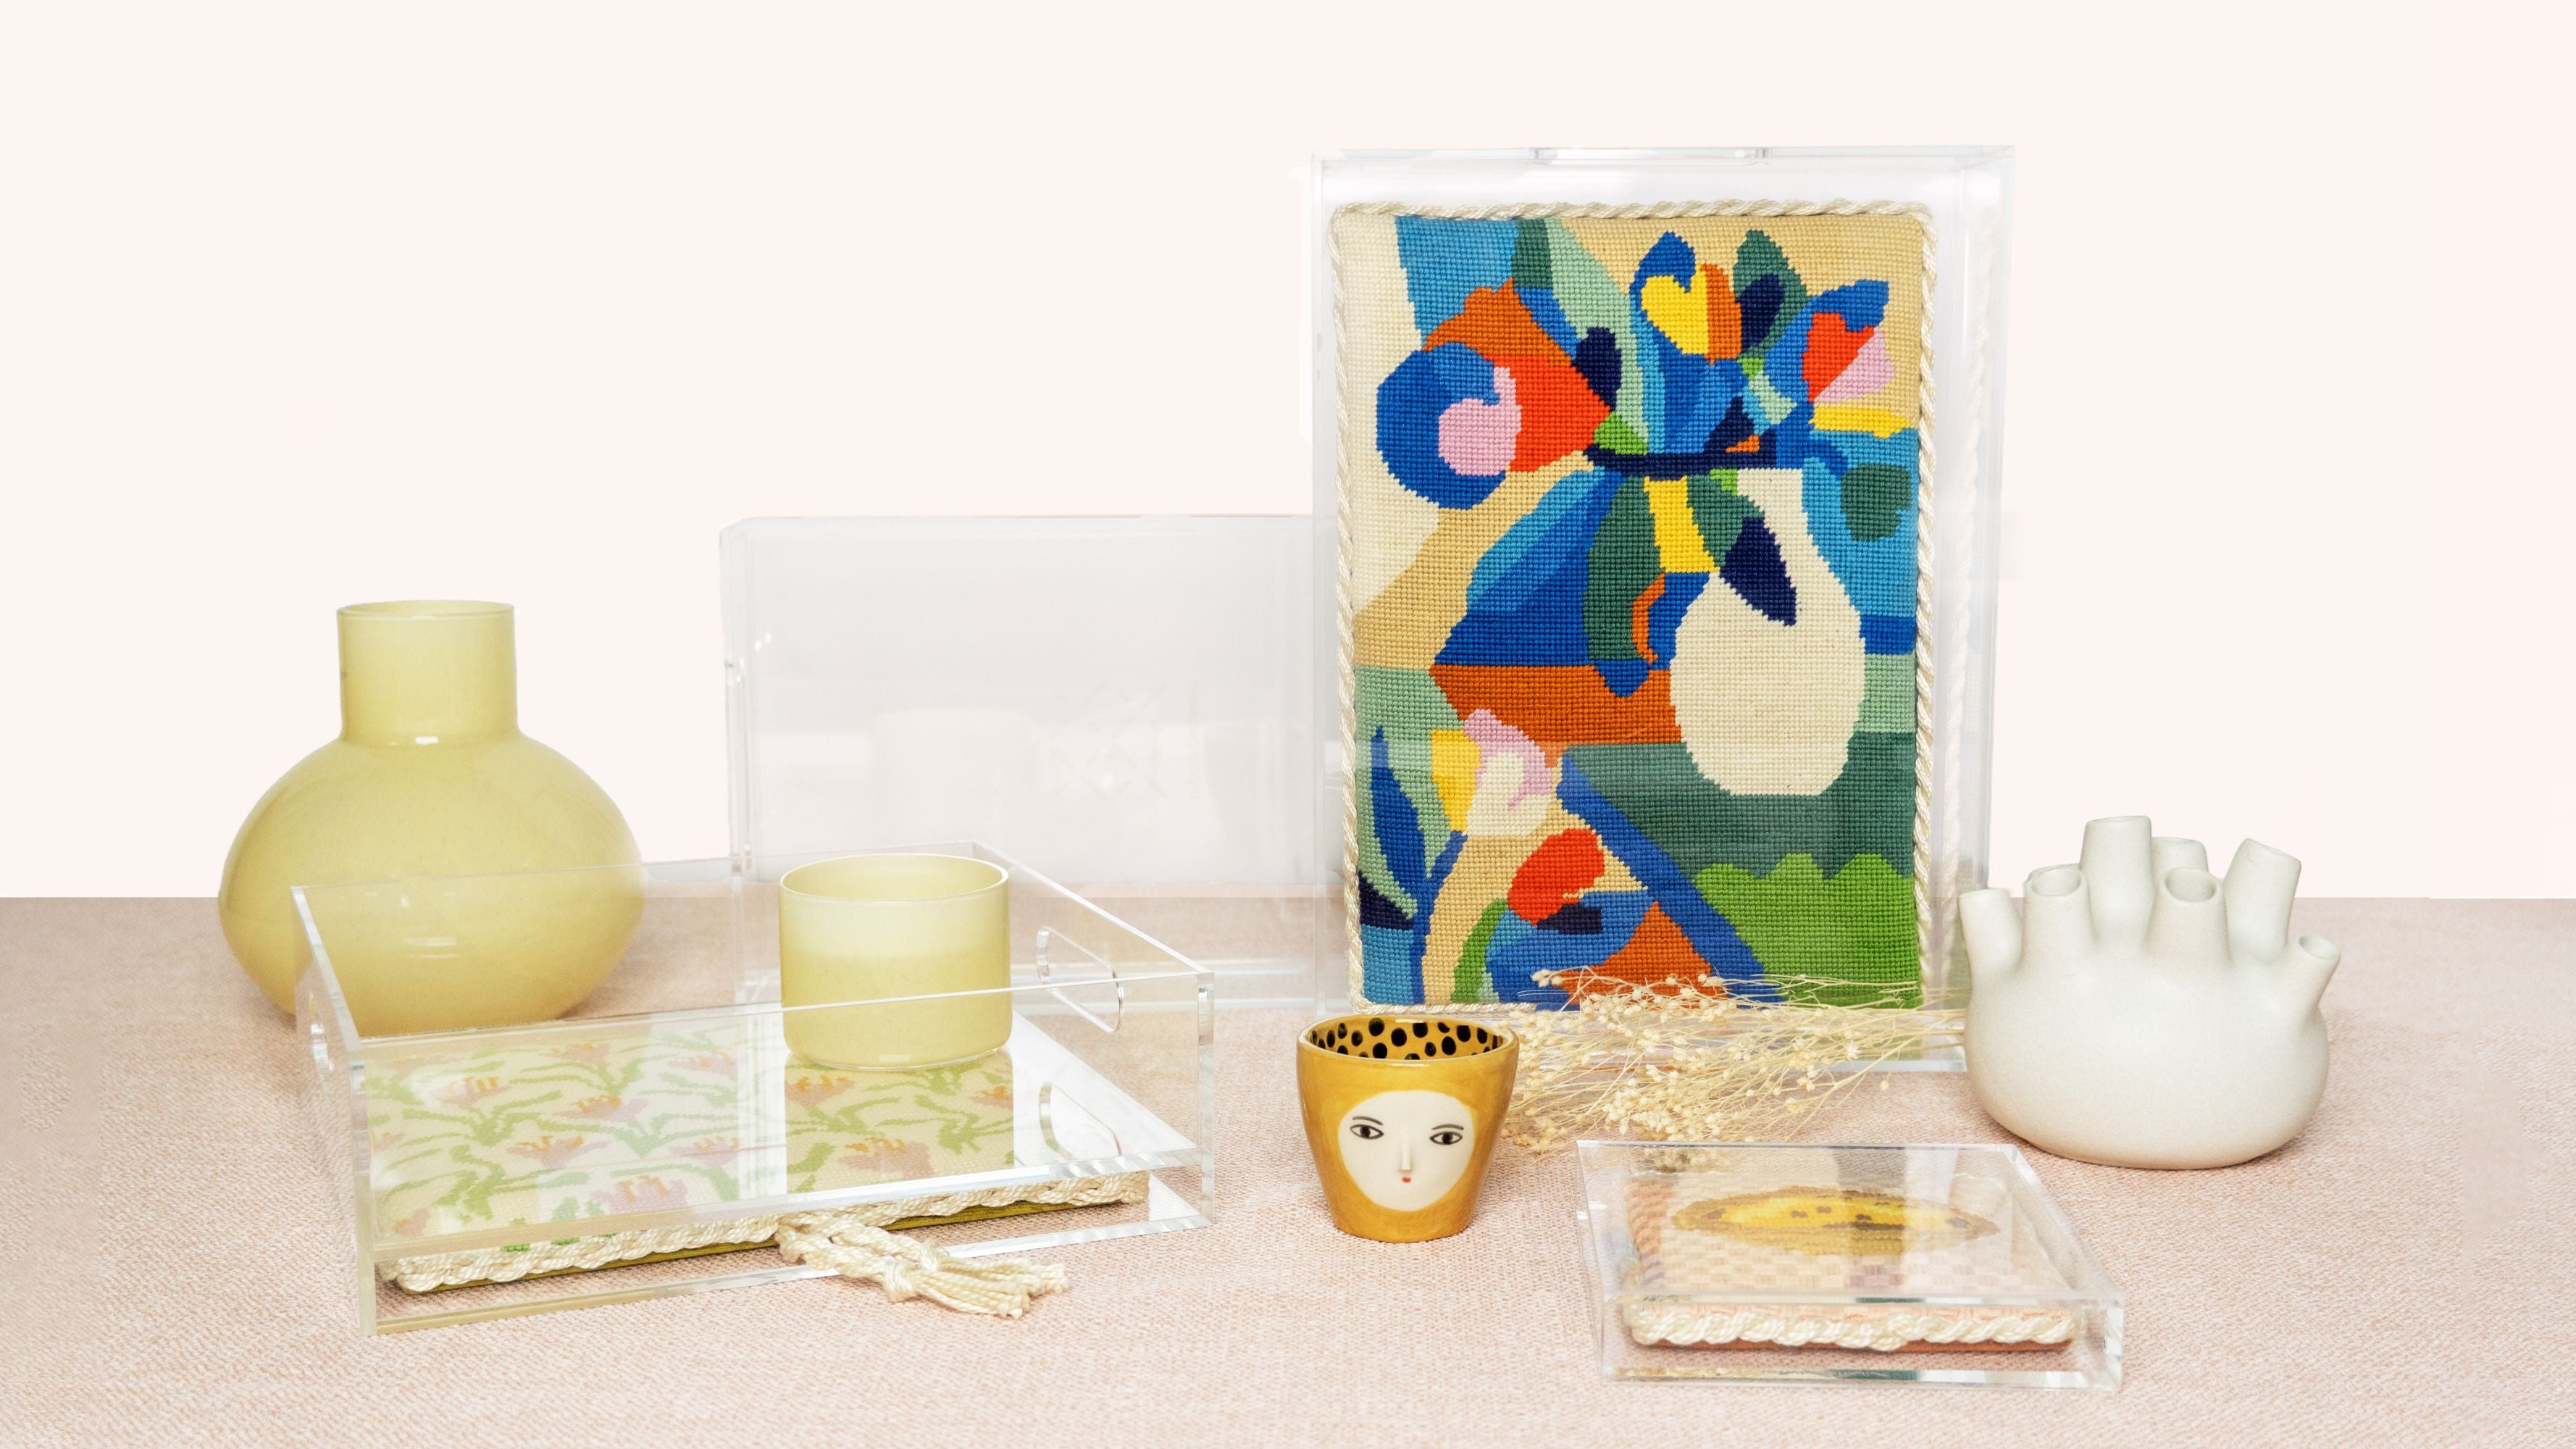
If you’re finishing a tray, you can follow the exact same process! For a more playful twist, try leaving both cording ends visible and twisting them into a small decorative knot or loop. It adds a fun detail and works beautifully with larger acrylic trays, we've done this with one of ours and loved the final result.

Looking for Acrylic Trays or Coasters?
We offer high-quality acrylic coaster and tray bases in our acrylic collection! They’re the perfect finishing touch to these decor needlepoint projects.
- You'll find all of the canvases that are fit for the acrylic sizes we offer here: Needlepoint Kits & Canvases for Acrylic Inserts
Available acrylic sizes:
Square Coaster (For 10x10cm / 4x4in canvas sizes)

- Shop our collection of canvases for acrylic coasters
Square Tray (For 20x20cm / 7.8x7.8in canvas sizes)

- Shop our collection of canvases for square trays
Rectangle Tray (For 20x28 cm / 8x11in canvas sizes)

- Shop our collection of canvases for rectangle trays (20x28)
Rectangle Tray (For 17x25 cm / 7x10in canvas sizes)

- Shop our collection of canvases for rectangle trays (17x25)
Whether you’re gifting a handmade piece or adding a special touch to your coffee table, these coasters and trays are simple to finish and super charming!
Why We Love This Project
Depending on the design and dimension, this project can be beginner-friendly and so satisfying to finish. It transforms your needlepoint into something you can use and display every day, and it’s an amazing gift idea too!
Ready to give it a try? Grab a coaster or tray base from our collection and follow the tutorial to create something you’ll love forever.


