When to Use the Binding Stitch in Needlepoint Projects (and When to Skip It)
For any passionate needlepointer, learning when to use the binding stitch is a key part of finishing a project beautifully and ensuring it lasts. This essential stitch is typically used to finish the edges of a needlepoint canvas, providing a polished look while preventing the fabric from fraying. However, not every project benefits from this technique. In this post, we'll explore when to use the binding stitch and when it’s best to opt for other finishing techniques.
What is the Binding Stitch?
Before we dive into specific projects, let's quickly cover the basics. The binding stitch is used to secure the edges of your needlepoint canvas, giving the project a professional finish. It's perfect for adding extra durability to pieces that will see a lot of wear and tear, while also giving a neat, finished look. But knowing when to apply it - or avoid it - is just as important as mastering the stitch itself.
How to Make the Perfect Binding Stitch
If you're not familiar with the binding stitch yet, you should know there are different ways to execute this stitch, although we advise you to learn the method that creates a beautiful herringbone pattern on the front of your work, giving it a clean and professional look. We believe this technique creates the best final result on the binding stitch, so we've made a special video for you to learn how to make it.
Check out the tutorial, where we show you how to achieve the perfect binding stitch with step-by-step instructions.
When to Use the Binding Stitch
There are several types of needlepoint projects that benefit from a strong, polished edge. Whether the item is functional or frequently handled, the binding stitch can provide both protection and a clean aesthetic. Here are some examples where it’s crucial to use the binding stitch:
Key fobs are one of the most handled needlepoint items, meaning their edges can quickly fray without proper finishing. Using the binding stitch on the edges of your key fob ensures that it remains intact and durable over time, even with constant use. It also helps maintain the shape of the canvas, giving your project a finished, professional look.

Learn the best way to finish this project on our Needlepoint Key Fob Finishing Tutorial.
Patches often get sewn onto garments or bags and experience a lot of movement. The binding stitch secures the edges, ensuring that your patch won’t unravel with wear. Without it, a patch's edges can fray or lose shape, compromising the overall look and longevity of the design.
Learn the best way to finish this project on our Needlepoint Patch Finishing Tutorial.
Because bookmarks are regularly slid in and out of books, their edges are particularly vulnerable to fraying. The binding stitch not only secures the edges but also adds a clean finish that matches the meticulous detail in the needlepoint design itself. It helps maintain the structural integrity of your bookmark.
Learn the best way to finish this project on our Needlepoint Bookmark Finishing Tutorial.
4. Needlepoint Sunglasses Cases
Like key fobs, sunglasses cases are often placed in and out of bags, where rough edges can catch on other items or fray. The binding stitch gives this project extra durability, ensuring the edges hold up over time and the case retains its shape.
Learn the best way to finish this project on our Needlepoint Sunglasses Case Finishing Tutorial.
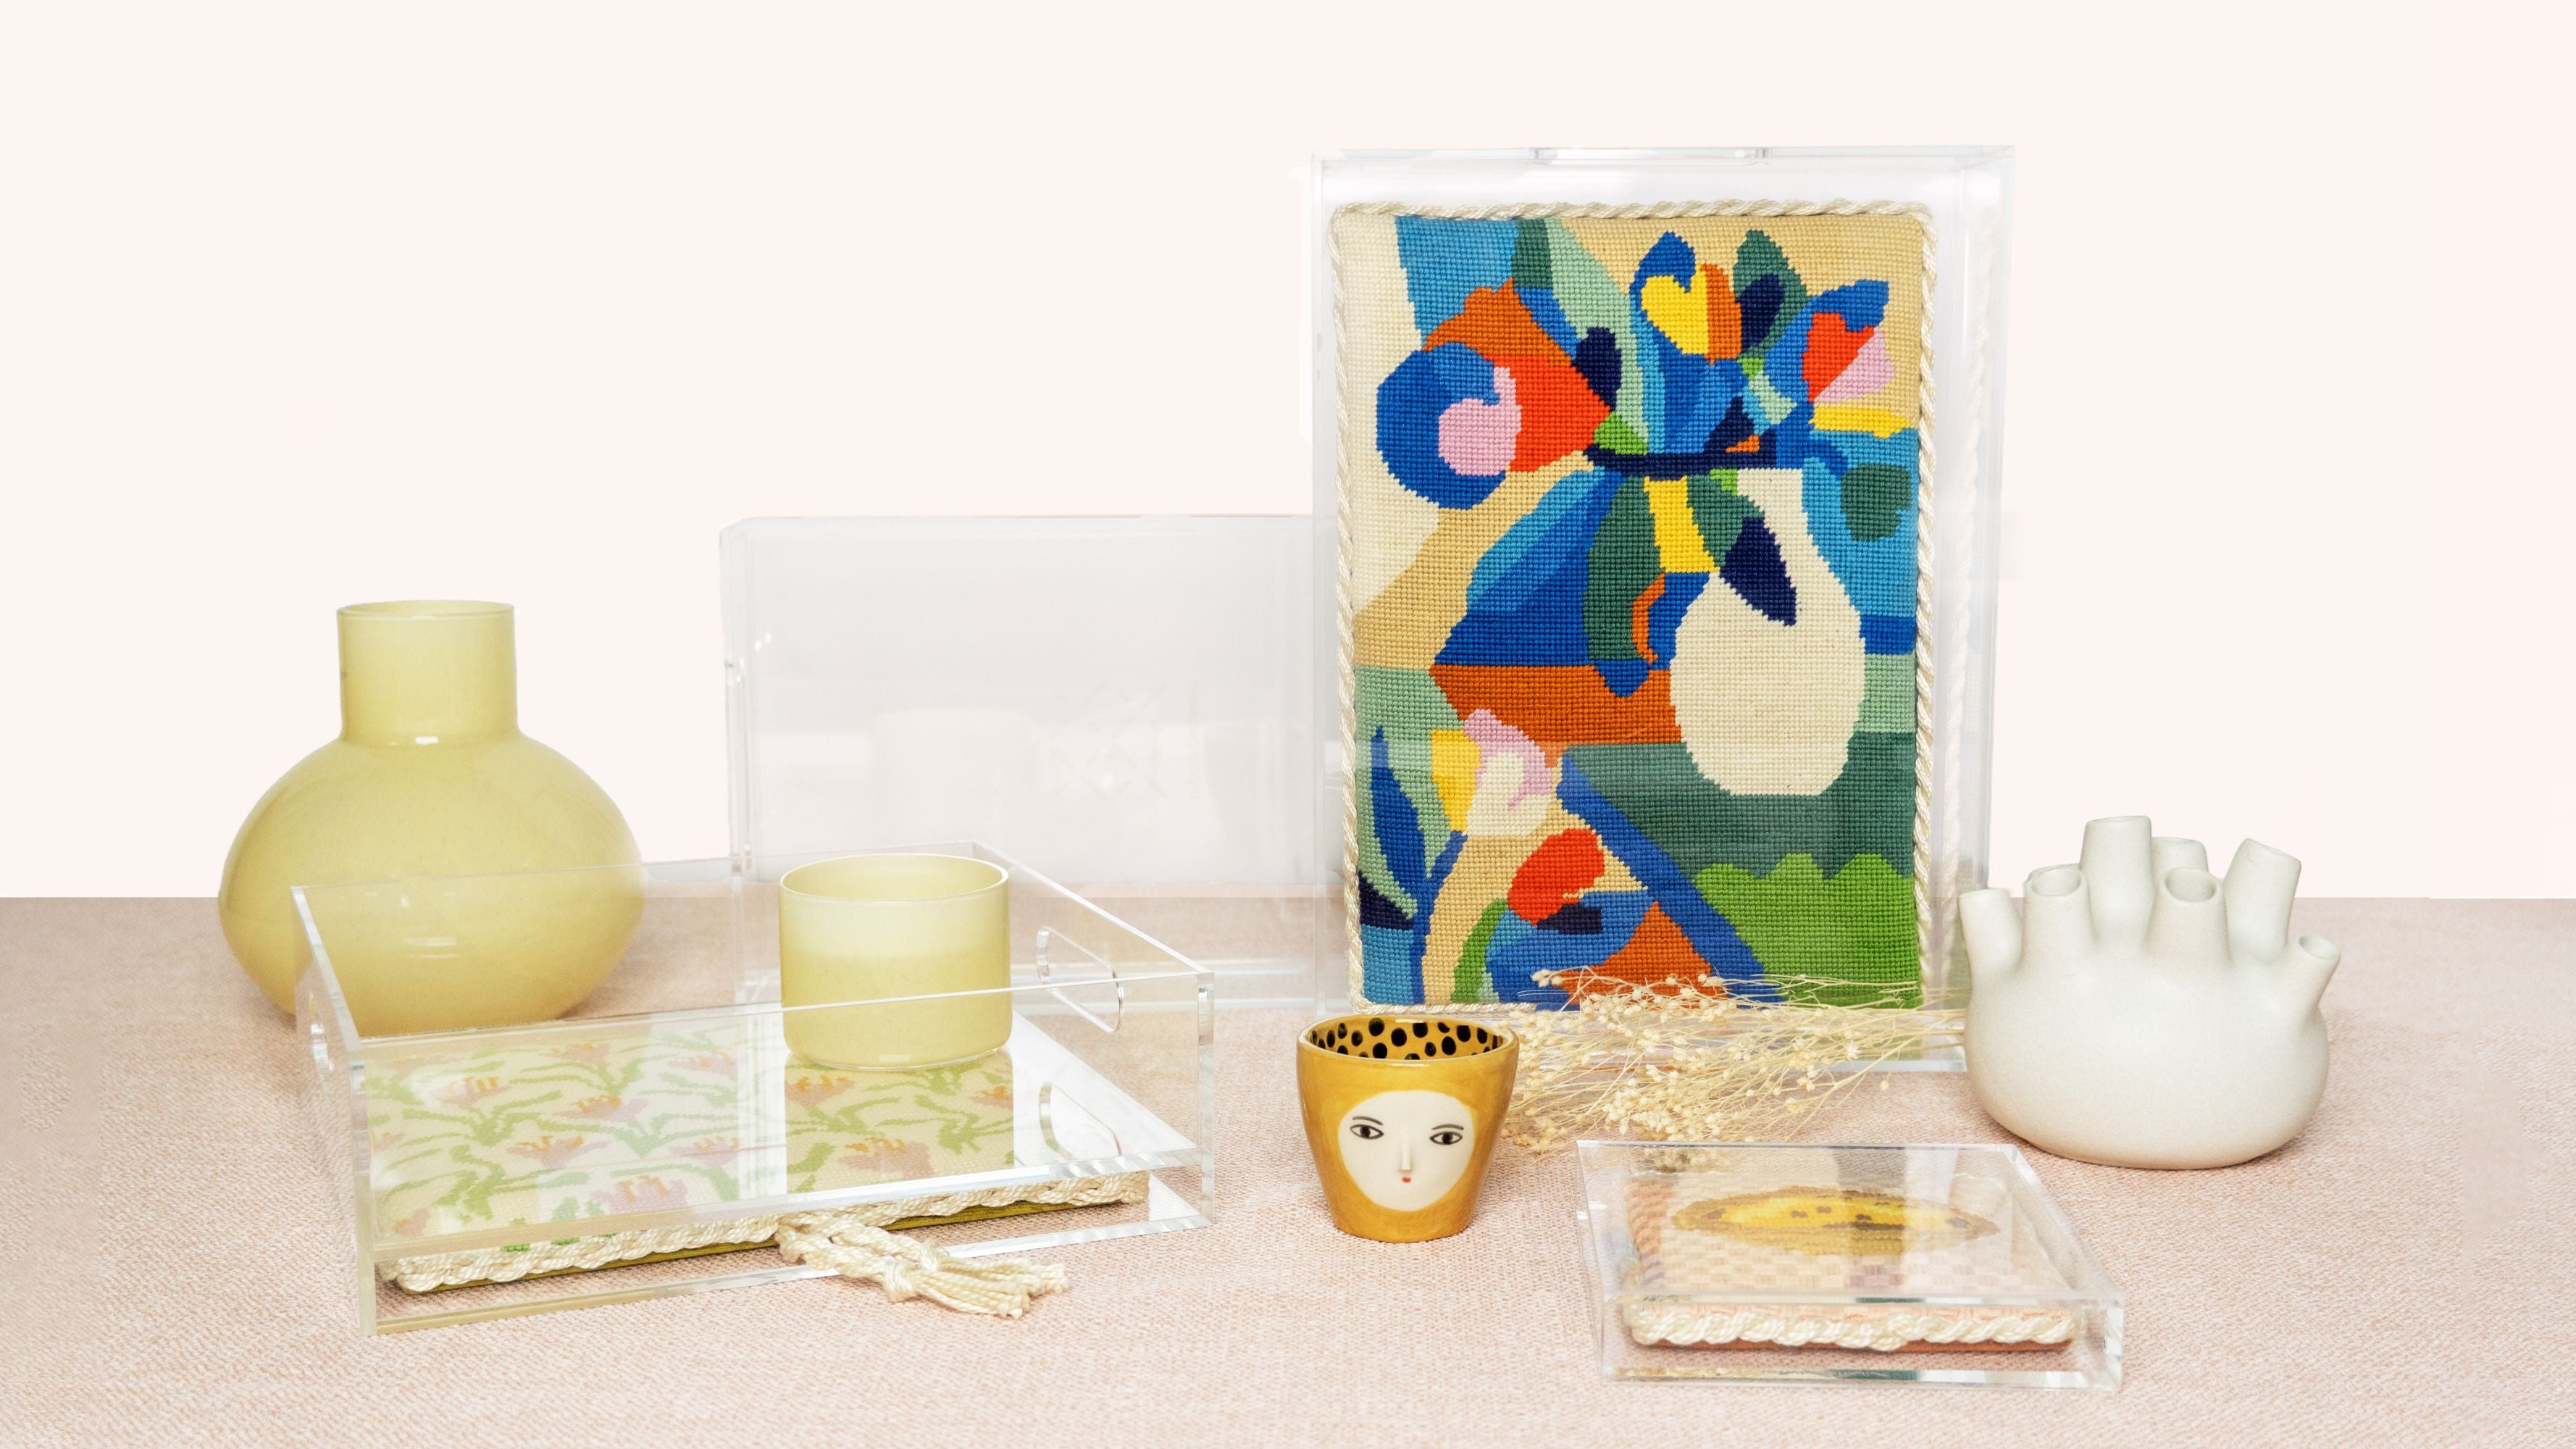
Clutch inserts are often handled, especially when inserting them in and out of the acrylic clutches, which can put pressure on the edges of your needlepoint canvas. Adding a binding stitch to the edges of your clutch insert will reinforce the piece, helping it withstand regular use while maintaining a crisp finish.
Learn the best way to finish this project on our Needlepoint Clutch Insert Finishing Tutorial.
6. Needlepoint Belts
Belts experience constant wear and strain, so securing the edges is essential. The binding stitch ensures the belt’s edges stay neat and intact, preventing fraying and giving it a long-lasting, finished look. It also ensures that the needlepoint fabric holds up against frequent buckling and handling.
7. Needlepoint Purse Straps
Purse straps endure a lot of wear and tear, and using a binding stitch is a smart way to protect the edges from fraying. This extra reinforcement not only prolongs the life of the strap but also adds a professional finishing touch to your project.
When to Skip the Binding Stitch
While the binding stitch is fantastic for functional and frequently handled projects, there are times when it’s not the best finishing option. In fact, for purely decorative projects, or those that don’t experience much wear, the binding stitch can detract from the overall design. Here’s when to leave it out:
When recently finishing a needlepoint ornament, we’ve tried using the binding stitch ourselves, and it didn’t give us the best results. The stitch tends to add unnecessary bulk to the edges, making the finish look less neat than intended, also due to the roundness of the design. Cording or other decorative finishes, such as ribbon, work much better to give ornaments a seamless, elegant edge. The binding stitch simply doesn’t produce the same level of refinement as other techniques for ornaments, so we think it's best to pass on this project.


Learn the best way to finish this project on our Needlepoint Ornament Finishing Tutorial.
Stockings are usually lined or finished with fabric or other embellishments, meaning the raw canvas edges are hidden and protected inside the lining. Because of this, there’s no need for a binding stitch. Instead, focus on the internal lining or edge finish, which will keep the project durable and beautiful without adding unnecessary bulk to the edges.
Learn the best way to finish this project on our Needlepoint Stocking Finishing Tutorial.
3. Needlepoint Cushions or Pillows
For needlepoint cushions or pillows, a cord piping finish is much more suitable than the binding stitch. Piping gives the edges a soft, decorative look while reinforcing the seam in a way that complements the plush nature of a pillow or cushion. The binding stitch would only add stiffness or bulk, making it less comfortable and less polished overall.
Learn the best way to finish this project on our Needlepoint Cushion Finishing Tutorial.
3. Framed Needlepoint Art
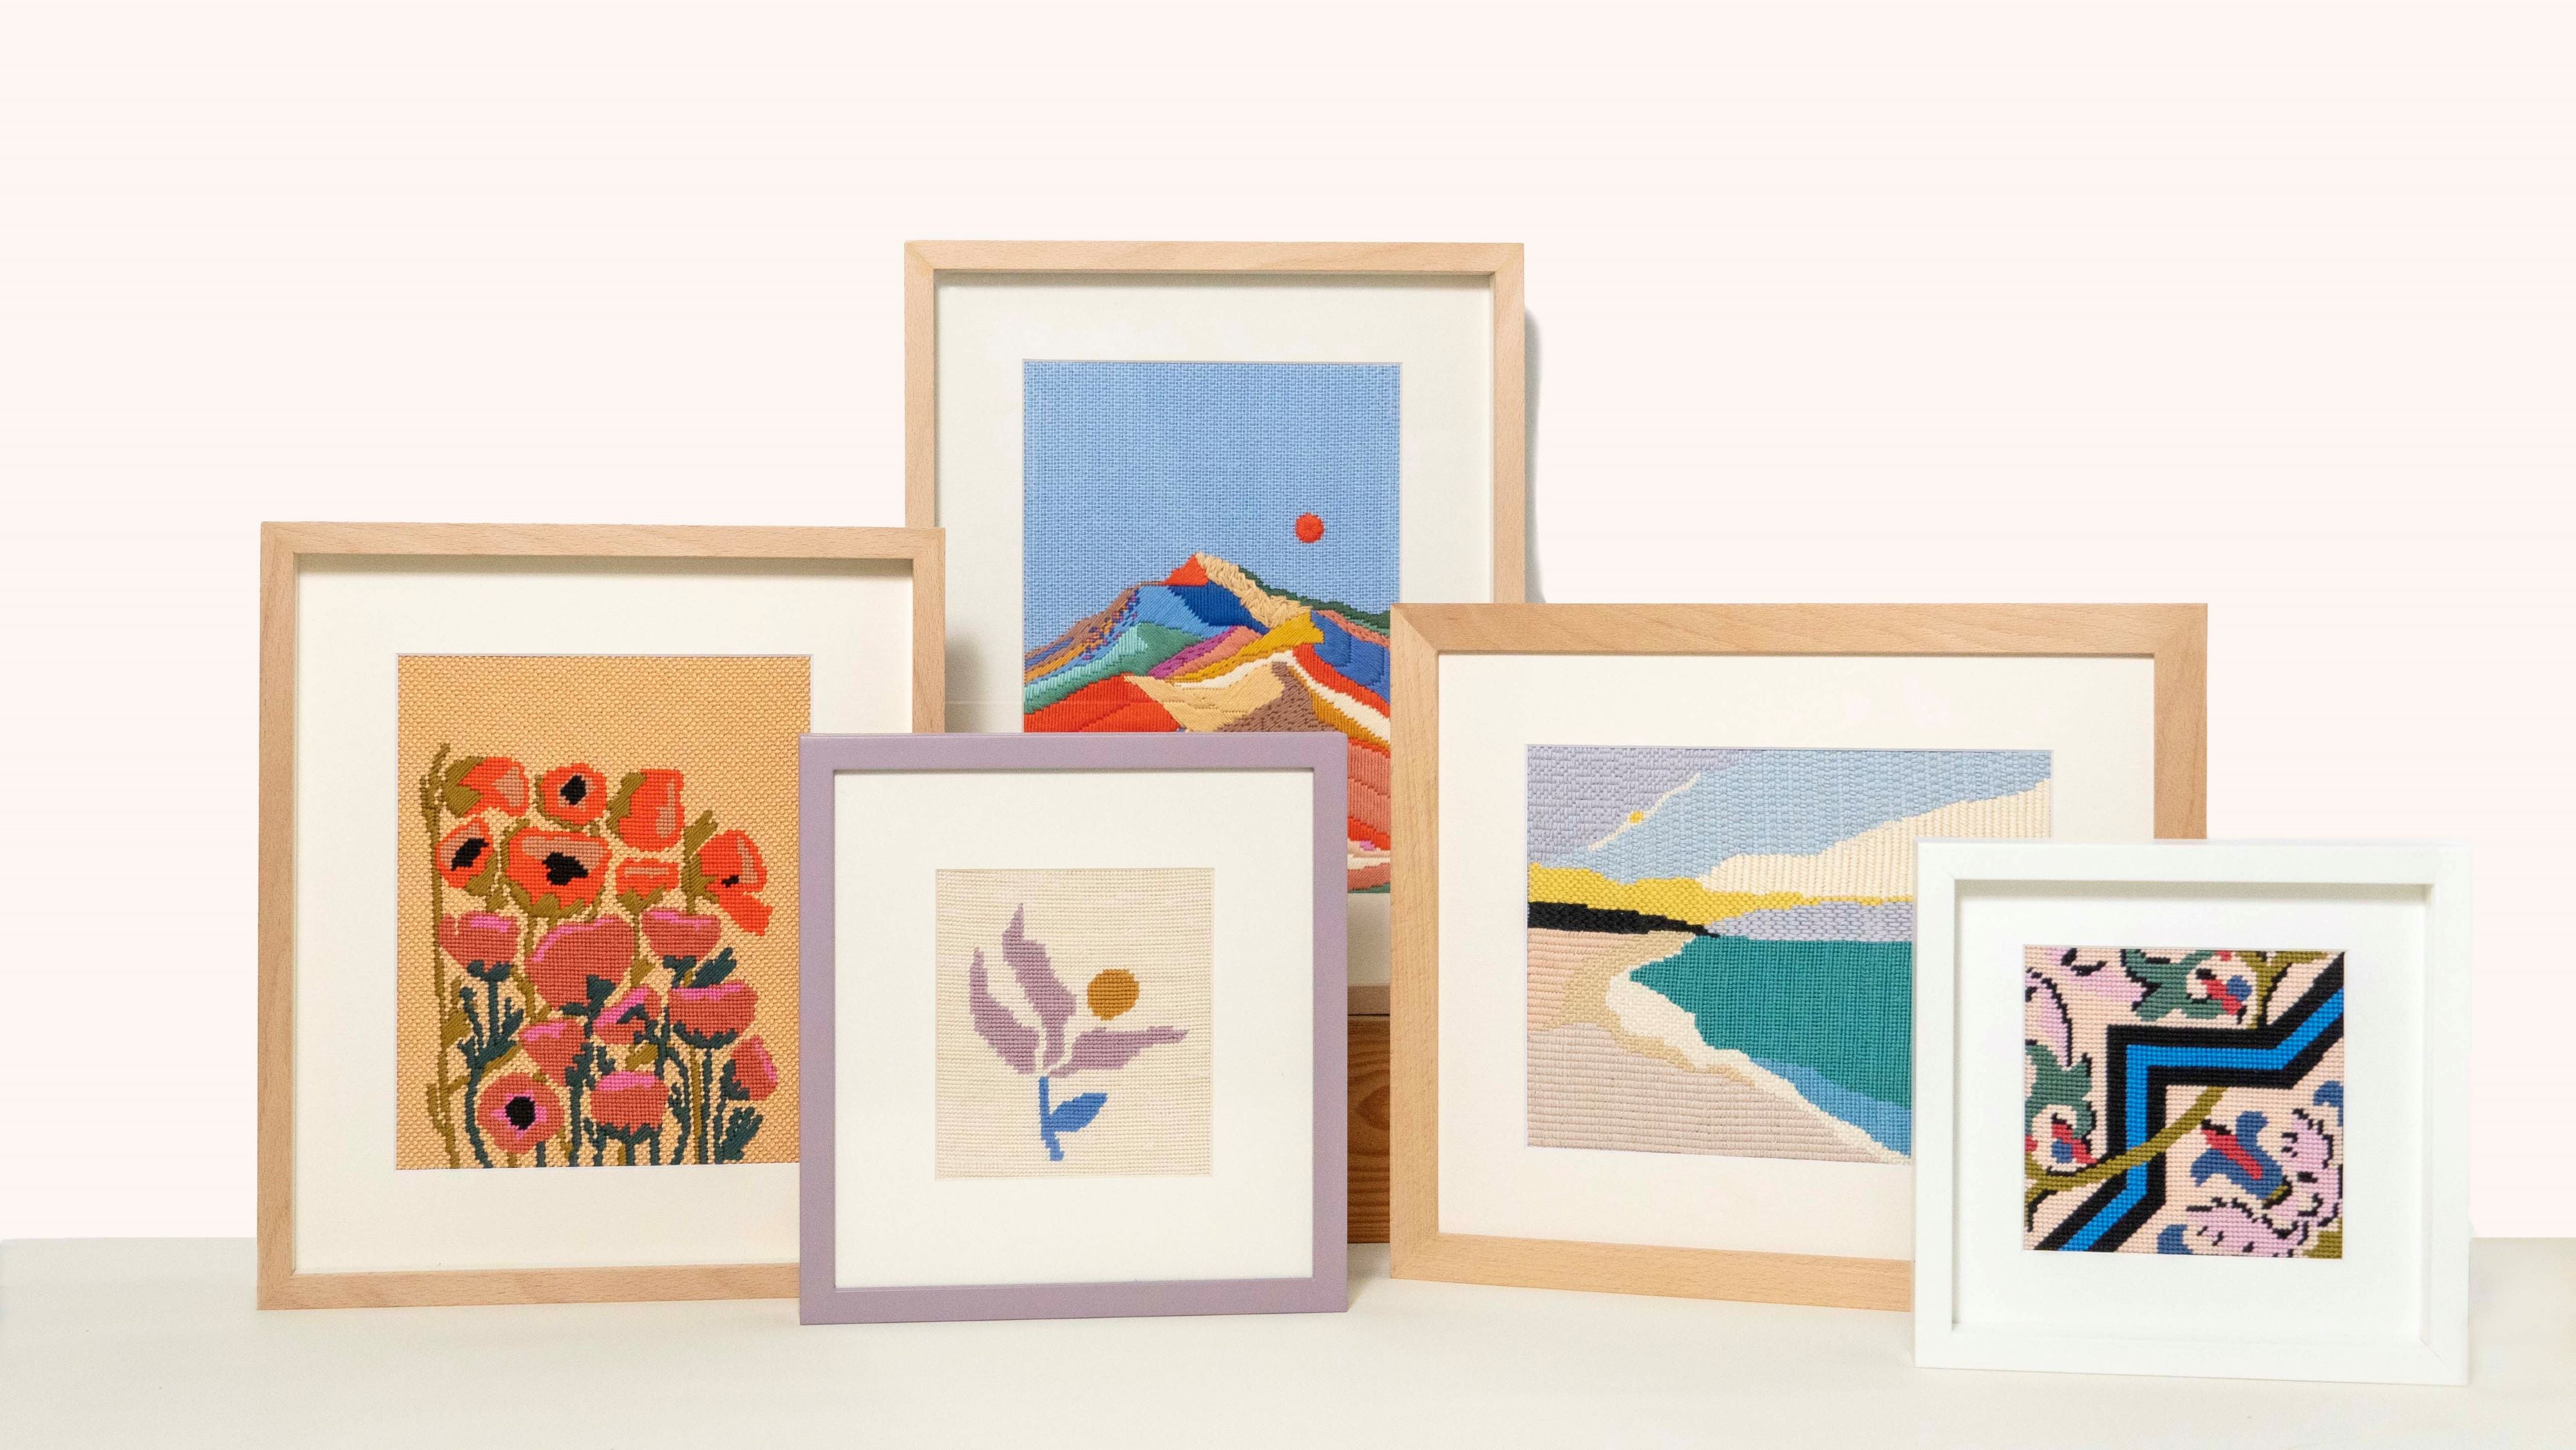
When your needlepoint project is intended to be framed, the edges are hidden behind the frame, so there’s no need to bind them. The canvas is stretched tightly and secured inside the frame, keeping it protected from fraying. Using a binding stitch would add unnecessary work without any visible benefits, so it’s best to skip it in favor of simply mounting and framing your design.
The Final Takeaway
The binding stitch is a versatile tool in your needlepoint arsenal, providing both durability and a polished look for many functional projects. For items like belts, key fobs, patches, bookmarks, and purse straps, it’s a must-use technique that will keep your work looking professional and long-lasting. However, for more decorative or soft-edged items like ornaments, stockings, and cushions, opting for alternatives like cording, piping, or simply leaving it as it is, will give you a cleaner, more elegant finish.
Understanding when to use the binding stitch—and when not to—ensures that each of your needlepoint creations looks as beautiful as it is durable.
Need more tips on finishing your needlepoint projects? Check out our DIY Needlepoint Finishing Guide, our Finishing FAQs or feel free to reach out with your doubts!
Happy Stitching!


