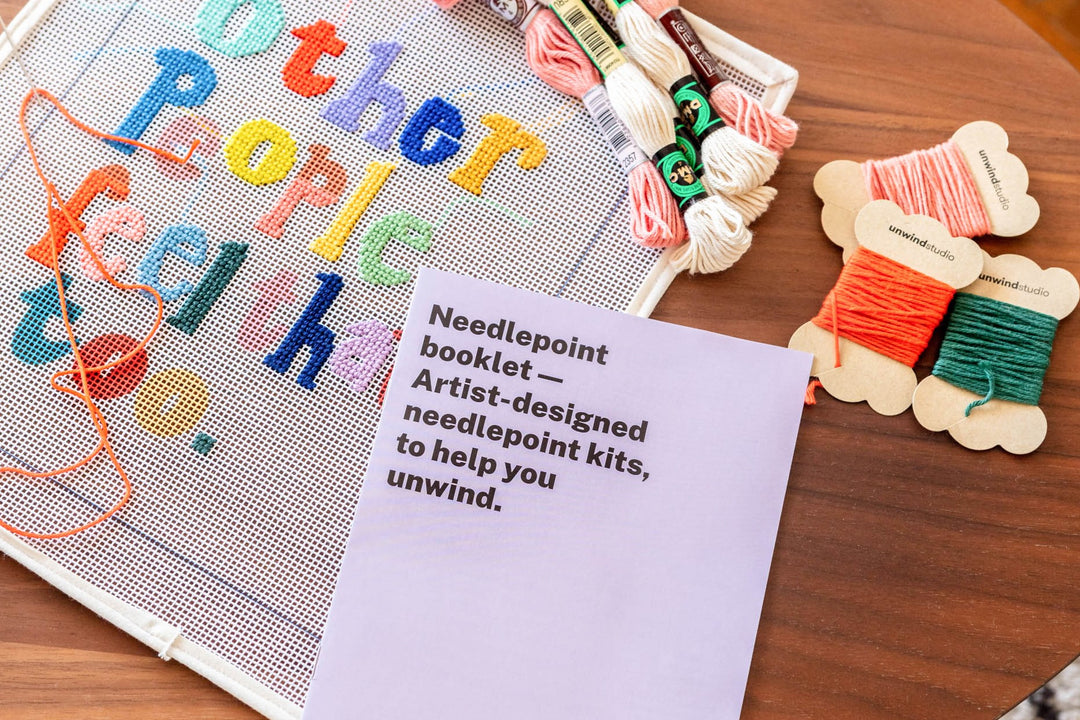
As we all know, crafts like needlepoint are a great way to express one’s creativity, but we can take it a step further by personalizing our own needlepoint projects.
In this blog post, we will go over how to make needlepoint letters, which stitches to use, and provide a free chart to download for your personalized projects.
What is canvas personalization?
Personalization has become an increasingly popular trend over the years - in a world where mass-produced products dominate the market, people search for their niche and turn to personalized items to feel a sense of exclusivity and uniqueness.
Personalizing your own needlepoint project will add a special touch to home decor, reflecting your personality and style. Adding a name, initial, date or a special message to the design turns it into something meaningful and sentimental that only you could create.
This is why personalized needlepoint is an excellent gift idea - it shows you’ve put thought and effort into this present, certainly being cherished by the recipient for years to come.
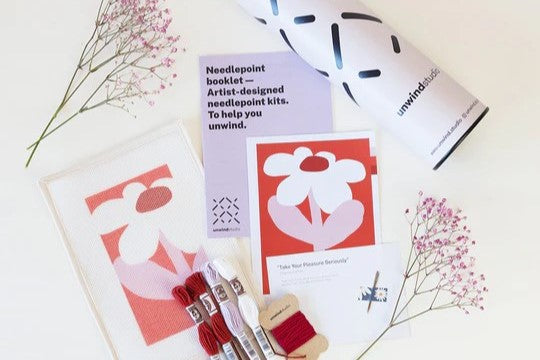
Best needlepoint products to personalize
Before we dive into making needlepoint letters, it's important to know which products are the best to personalize.
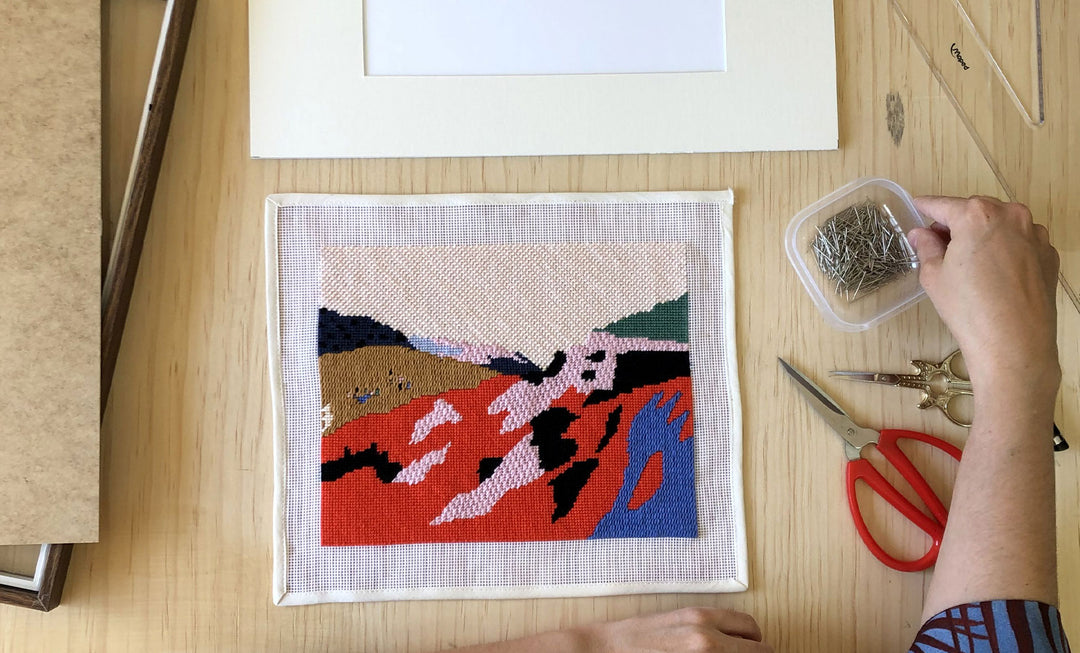
Some popular needlepoint projects to personalize include christmas stockings, ornaments, and pillows. Personalized stockings are a great addition to any holiday decor, and personalized ornaments can make for a great gift or home decor piece. Pillows with personalized needlepoint designs can also add a cozy, fun and unique touch to any living space.
How to use the needlepoint alphabet chart
The first step to making needlepoint letters is to use a chart.
A chart is a pattern that shows you which holes to stitch to create the letters or numbers. You can read out our blog post on How to read a Needlepoint Chart Pattern to learn more about needlepoint charts.
These are our tips on how to use our needlepoint alphabet chart:
-
Plan ahead: It is important to plan where your letters/numbers will go on the canvas and understand the blank space of your design. To help you, you can use squared paper to simulate the sentence/date/name you chose to stitch.
-
Count to the area where you want to start: to avoid stitching the letters or numbers off-centered or having no space for all of them, simply count your way to where you wish to start in the chart, and then count it in the canvas.
-
Learn how to count your chart/canvas: An easy way to get the hang of counting your chart/canvas, is to always think of the squares as intersections in your needlepoint canvas, instead of the actual holes of the canvas. This is really important so you don't get confused when counting your design.
- Start stitching, and just follow the pattern of the letters & numbers: This part is pretty easy if you already understood the basics of working with charts, so go get your counting goggles on, and stitch away!
Recommended needlepoint stitches
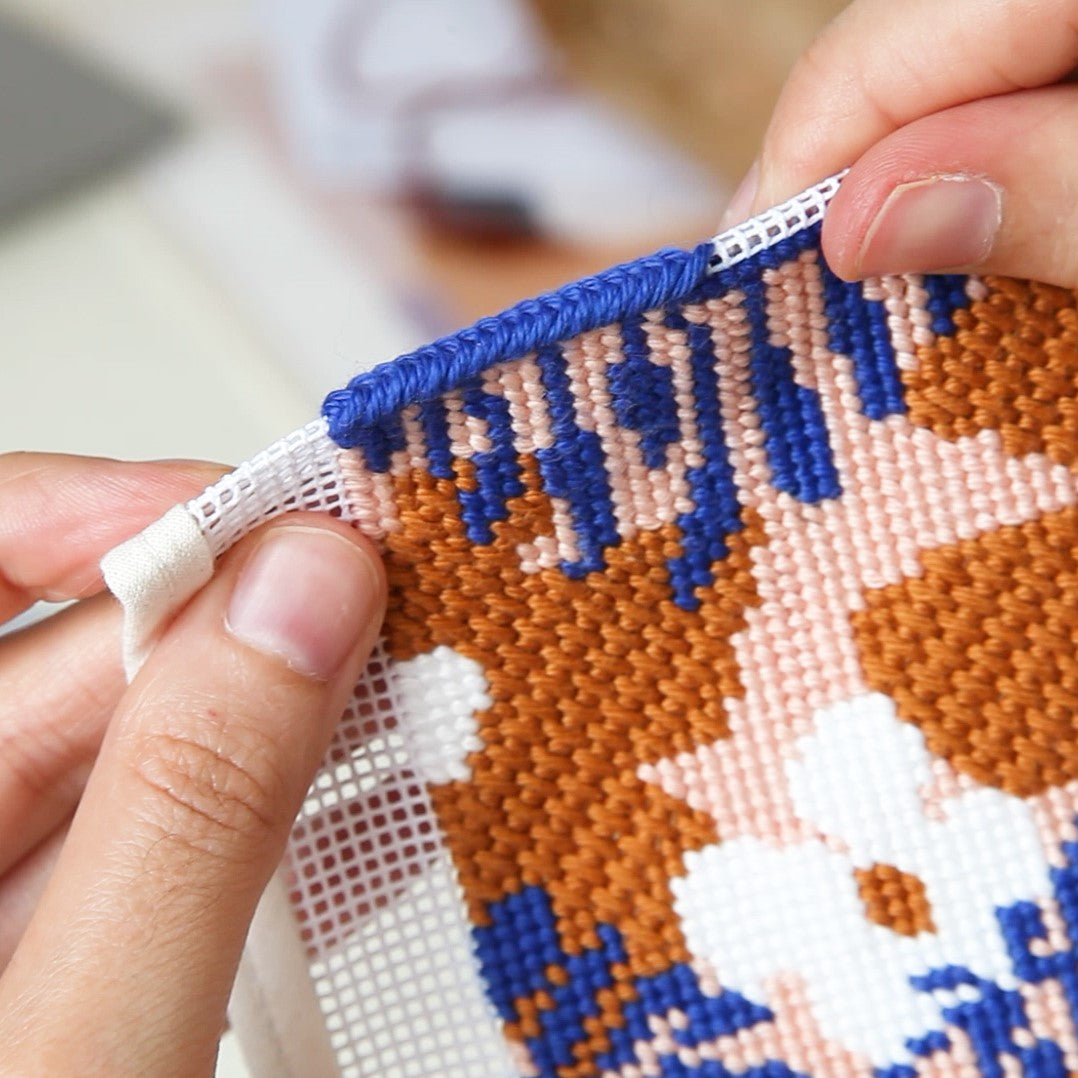
The most common stitch used for needlepoint letters is the Tent stitch. The Tent stitch is the most granular stitch and allows for maximum detail, which is useful when creating letters with limited space.
The backstitch enables you to follow the lines on the canvas in any direction, making it perfect for creating intricate letterings. By making stitches of varying lengths that follow the lines on the canvas, you can easily create elegant and well-proportioned letters.

Download our free needlepoint alphabet chart
To help you get started with your needlepoint letter projects, we have created a free alphabet chart for personalization. You can download this chart and use it to create your own unique and fun needlepoint designs here. This chart includes both letters and numbers to stitch names, phrases or special dates.
Conclusion
Making needlepoint letters is a fun and easy way to add a personalized touch to your needlepoint projects. By using a chart, choosing the right colors, and using the recommended stitches, you can create beautiful and unique designs.
We hope that our free alphabet chart for personalization will help you get started on your next needlepoint project.
Happy stitching!